EN-7
Preparing your projector (continued)
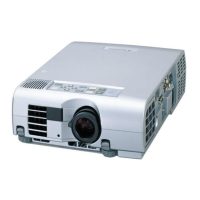
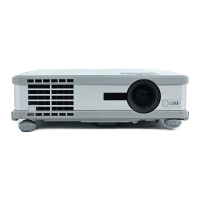
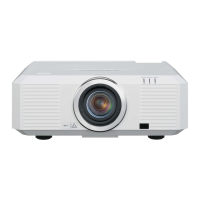
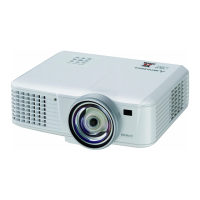
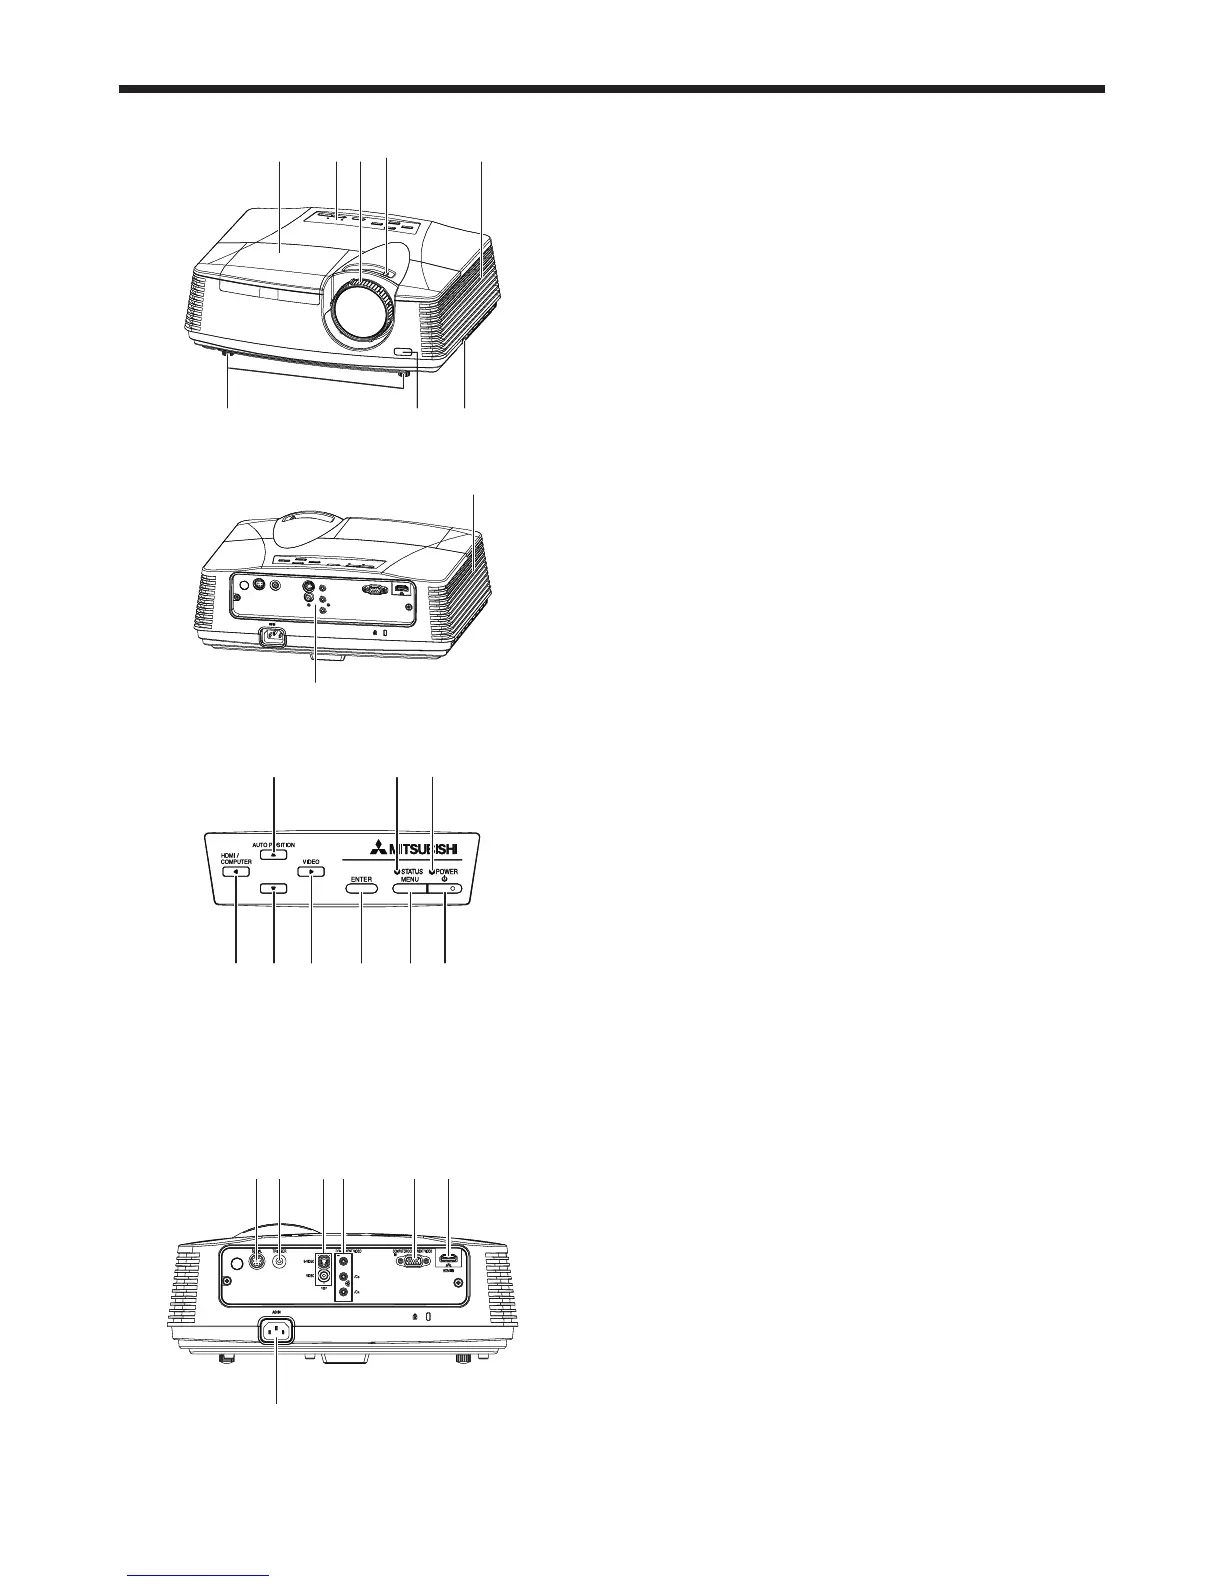
Overview
FOCUS ring
ZOOM ring
Control panel
Air inlet grille
Remote control sensor (Front)
Air outlet grille
Terminal board
Adjustment feet
Lock bar (SECURITY ANCHOR)
Attach a chain, etc. to this lock bar to anchor the projector.
Lamp cover
Caution:
Do not replace the lamp immediately after using the projector
because the lamp would be extremely hot and it may cause burns.
Control panel
Power button
POWER indicator
MENU button
STATUS indicator
ENTER button
AUTO POSITION / p button
HDMI / COMPUTER / t button
q button
VIDEO/ u button
Important:
While the menu or the screen for the keystone adjustment or
password entry is being displayed, the HDMI / COMPUTER,
VIDEO, and AUTO POSITION buttons function as the t, u,
and p buttons respectively.
Terminal panel
VIDEO IN and S-VIDEO IN terminals
COMPONENT VIDEO IN terminals
COMPUTER IN/COMPONENT VIDEO IN terminal
(Mini D-SUB 15-pin)
HDMI IN terminal (HDMI 19-pin)
SERIAL terminal (Mini DIN 8-pin)
Used for projector control by computer. Contact your
dealer for details.
TRIGGER terminal
Used for the optional electric screen.
Power jack
1
2
3
4
5
6
7
8
9
•
10
1
2
3
4
5
6
7
8
9
•
1
2
3
4
5
•
6
•
7
 Loading...