44
9.6 Use of materials with different setting
When using materials with different settings, the menu function is recommended to use.
Eight data set values can be stored in the memory for the items marked with “MENU #” ( pointed out by * in
the figue below ) on the screen. This allows the operator to select eight operation patterns stored in the
memory through the key operation on the panel.
• Setting and changing data in each menu screen is possible only when the MC1 input signal is off (dur-
ing operation stop ).
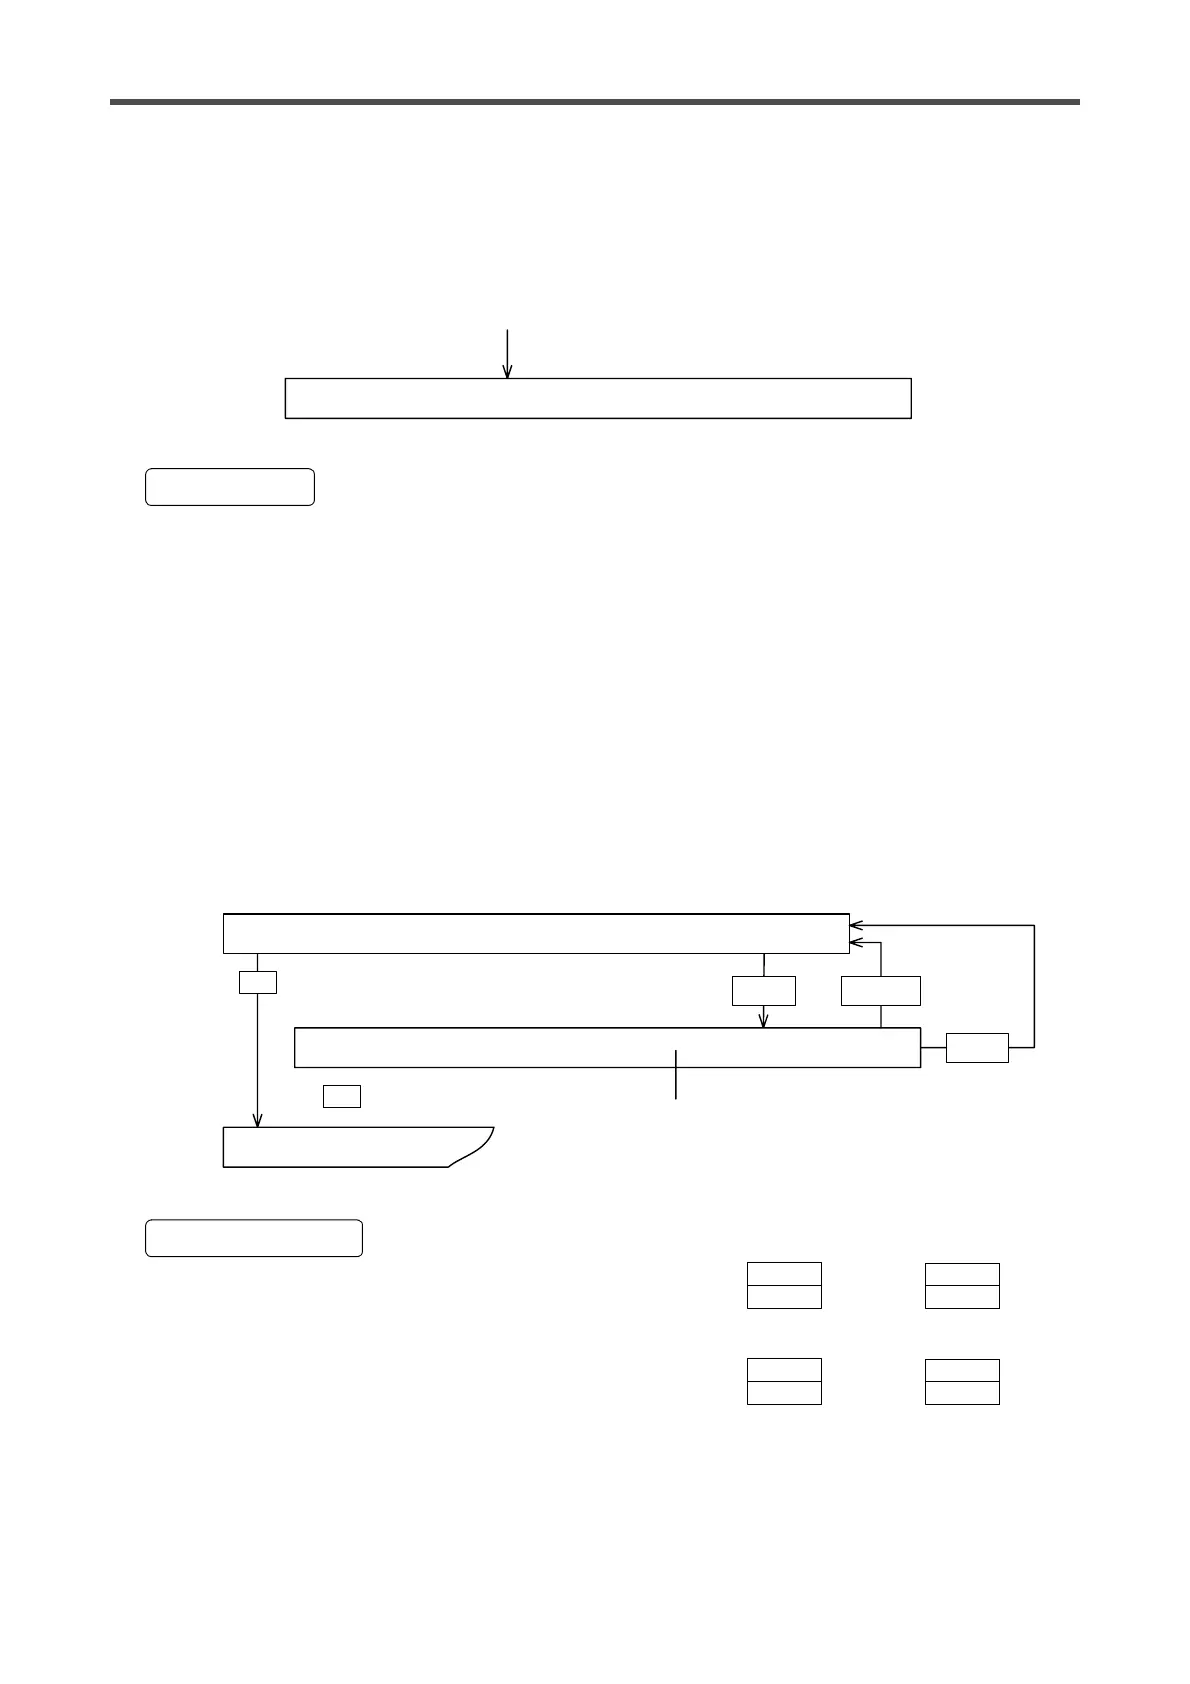
• Menu 0
Call up the screen that carries the item to be set. Select menu according to the method described
above. By using the pulser dial to set the setting values, the new setting is automatically memorized.
• Menu 1 through 7
Call up the screen that carries the item to be set. Select one from menu 1 through menu 7 according
to the method described above. After setting the set values using the pulser dial, press the [ENTER]
key twice to save the new setting.
• Operation to save settings for menu 1 through menu 7
• Menu 0 through menu 3 can be switched over by pressing the through keys
while the menu shift indicator LED ( green ) is OFF.
• Menu 4 through menu 7 can be switched over by pressing the through keys
while the [ MENU SHIFT ] indicator LED ( green ) is ON. Then the menu shift indicator LED goes out.
• The initial condition is set to menu 0.
S R T . T S E T M E N U # S E T S T A R T T I M E R
S E T → # # . # s
T
*
1. Data setting
S R T . T S E T M E N U 1 S E T S T A R T T I M E R
S E T → # # . # s
T
Set up new setting value.
S R T . T S E T M E N U 1 M E M O R I Z E ?
S E T → # # . # s
T
Memorize new set value.
Data is not
changed.
ENTER CANCEL
Inquiry message appears.
T
T
( Next screen )
ENTER
( Example ) Cange the start timer data in menu 1
2. Menu switch over
MENU 4
MENU 0
MENU 7
MENU 3
MENU 4
MENU 0
MENU 7
MENU 3