-63-
Revision 7/F3512
© Moffat Ltd, January 2005
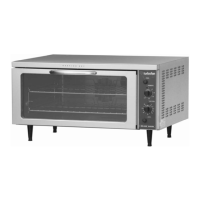
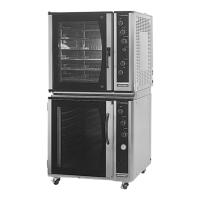
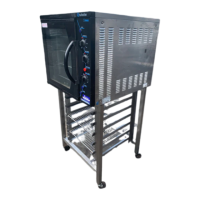
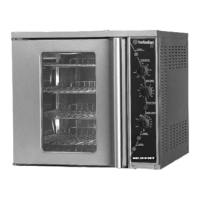
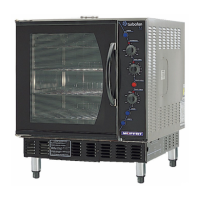
E35 Turbofan Ovens
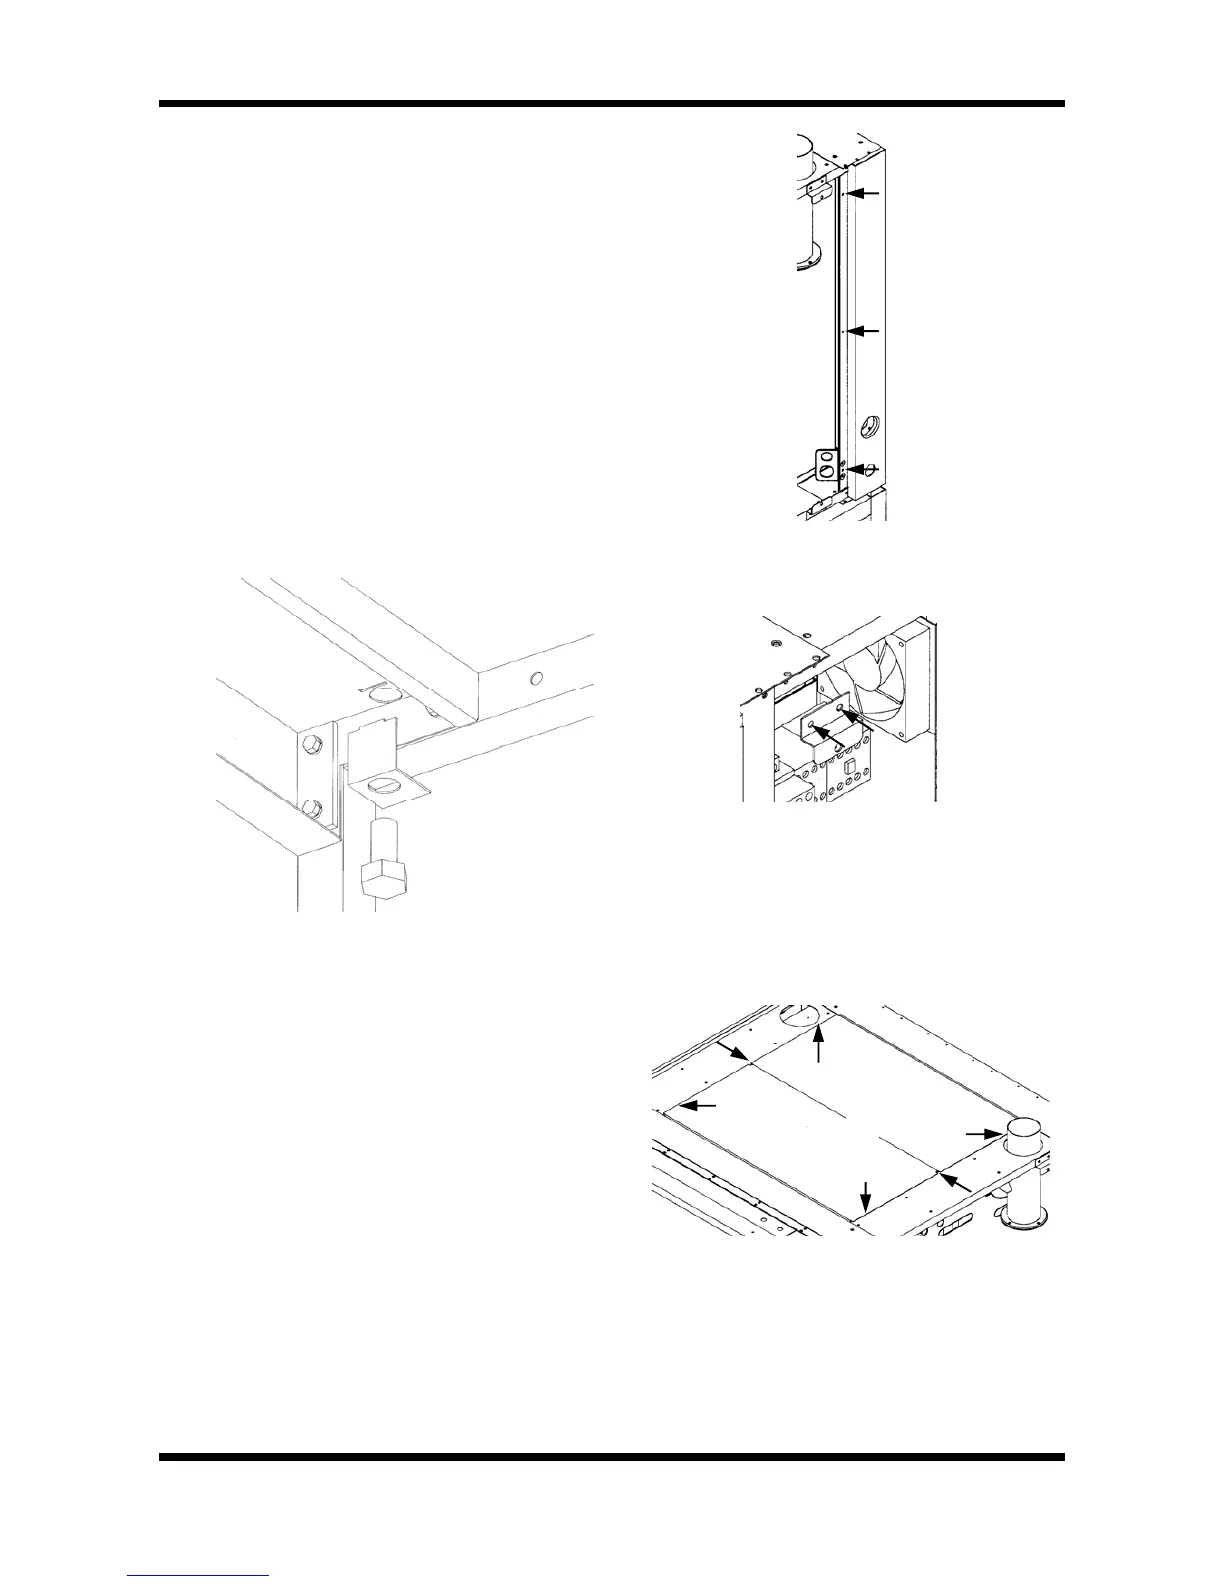
B. STAND
1) Place one stand frame (A) on working surface
with threaded holes face up.
2) Fit both sides (C), to the stand frame with the
screws and washers (E). Ensuring the clamp
plates (D) are fitted on the upright sections
inside the sides (Figure A.2).
3) Place the other stand frame (A) on working
surface with threaded holes face up.
4) Turn the assembly (as in 1&2 above) over
onto the stand frame.
5) Secure the sides to the stand frame with the
screws and washers (E). Ensuring the clamp
plates (D) are fitted on the upright sections
inside the sides (Figure A.2).
6) Feet are already inserted into the ends of the
stand frames.
Figure A.4
Figure A.2
E
F
B
C
A
Figure A.5
L
Figure A.3
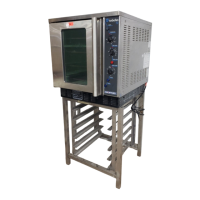
C. BOTTOM OVEN
Onto Stand
1) Remove feet from oven.
2) Oven should be place onto stand with
threaded holes in ovens foot plates lining up
with holes on stand (at ends of sides B).
3) Secure oven using screws (F). It is essential
that the Bolting Bracket (E) is correctly in
position, refer Figure A.2. Bolt up through
mounting bracket and stand into oven foot
plate.
4) Adjust stand feet to level the oven.
Remove Panels
5) Remove side panels from oven, each side
panel is held on by 4 screws.
6) Remove rear RH side corner panel (power
and water entry points), secured with 3
screws at front edge of panel. (Figure A.3)
7) Remove the 2 front top side panel support
brackets, 2 screws each. (Figure A.4)
Stacking Assembly
8) Place insulation panels (L) onto oven top
(Figure A.5) fitting into the top of the oven to
cover the insulation. There are 3 screws (M)
down each side to secure the 2 panels.
9) Assemble loosely the front (G), back (H) and
sides (I), with one screw (J) at each corner
(Figure A.6), in from the sides.
10) Place stacking assembly on top of the lower
oven and loosely attach, using 2 screws (K)
in each corner of the unit (at front and back
up from the sides).