20
6. ACCESSORIES HOLDER
The images are non-binding and the accessories are not represented, as various variants are possible according to
models and options
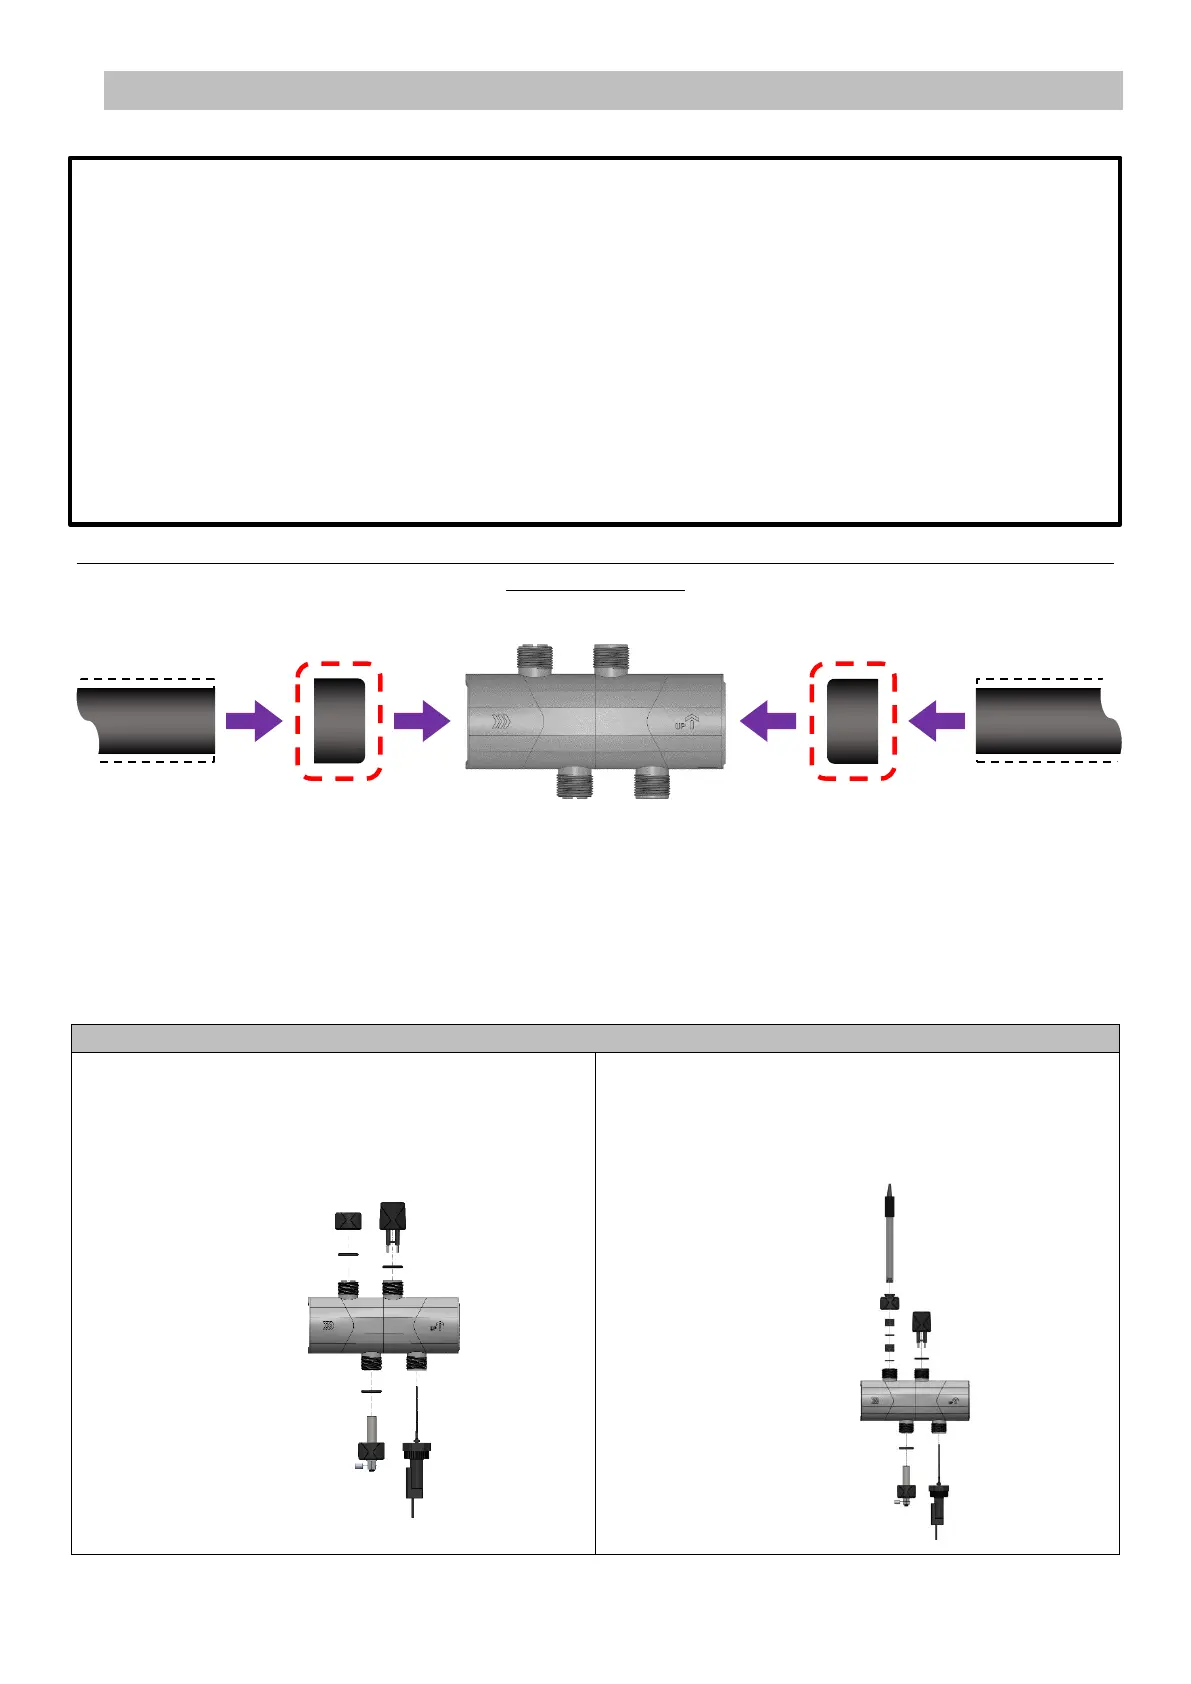
A: Pipe (If the outer diameter is 2’’, cut to a length of 4’’4)
A: Pipe (If the outer diameter is 1’’5, cut the pipe on a length to be adapted according to the chosen
reducer)
B: Reducer (not included) (only to be fitted if pipe A has an outer diameter of 1’’5)
C : Accessories holder (2’’)
→ Parts A, B, C are to be assembled using suitable glue.
EXPLODED VIEWS OF ACCESSORIES ASSEMBLY
Accessories holder without a pH probe
Accessories holder with a pH probe
I
• All the preinstalled accessories are equipped with seals. There is thus no need to apply Teflon tape on the
threadings.
• All the preinstalled accessories in the accessories holder have a specific position. You must respect the position
of each accessory according to the original assembly plan provided. Any changeover of accessories could result
in malfunctioning and even in complete and irreversible deterioration of equipment performance.
• All the accessories must be screwed on and tightened by hand.
• It is vital to respect the markings " ››› " (water flow direction) and " UP ↑ " (up/down assembly direction)
marked on the accessories holder.
• Ensure that the salt / temperature / water shortage sensor and probe are installed at the top of the accessories
holder.