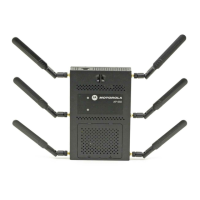
System Configuration
4-11
5. Click Undo Changes (if necessary) to undo any changes made. Undo Changes reverts the
settings displayed on the Adaptive AP Setup screen to the last saved configuration.
6. Click Logout to securely exit the access point Access Point applet. A prompt displays
confirming the logout before the applet is closed.
4.4 Configuring Data Access
Use the AP-7131 Access screen to allow/deny management access to the access point from
different subnets (LAN1, LAN2 or WAN) using different protocols such as HTTP, HTTPS, Telnet, SSH
or SNMP. The access options are either enabled or disabled. It is not meant to function as an ACL in
routers or other firewalls, where you can specify and customize specific IPs to access specific
interfaces.
Use the access point’s Access screen checkboxes to enable or disable LAN1, LAN2 and/or WAN
access using the protocols and ports listed. If access is disabled, this effectively locks out the
administrator from configuring the access point using that interface. To avoid jeopardizing the
network data managed by the access point, Motorola recommends enabling only those interfaces
used in the routine (daily) management of the network, and disabling all other interfaces until they
are required.
The Access screen also has a new facility allowing customers to create a login message with
customer generated text. When enabled (using either the access point Web UI or CLI), the login
message displays when the user is logging into the access point. If the login message is disabled, the
default login screen displays with no message.
To configure access for the access point:
1. Select System Configuration -> AP-7131 Access from the menu tree.

 Loading...