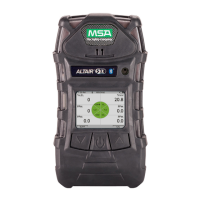
ALTAIR 5X PID
57
Maintenance
US
Device Re-assembly
(1) Ensure all sensors are fully seated in the circuit board.
(2) Visually inspect the green gasket, assuring that it is seated properly in the front housing.
(3) Attach front case and tighten two case screws using 5.5 in-lbs of torque.
(4) Attach the battery pack and tighten the two battery pack screws using 5.5 in-lbs of torque.
(5) Turn on the device and verify all sensors are showing on the measuring page.
(6) Calibrate the device and ensure that all sensors show successful calibration.
Maintenance Procedure
Recommended Supplies
Background Information
The sensor's rugged, durable design provides for trouble-free operation over the course of its lifetime.
However, in certain conditions, maintenance may be required. This is customer required maintenance
and is not covered under warranty.
Parts that may need cleaning or replacing over time include the UV Lamp, Cell Assembly, Teflon Filter,
Cotton Filter, Cap, and Spacer. See Recommended Supplies section above.
Over time when the sensor is exposed to harsh chemicals or in a polluted environment, lamp window
contamination can occur. This will degrade the sensor's performance. The contamination will block
some of the UV light and decrease the sensors gain.
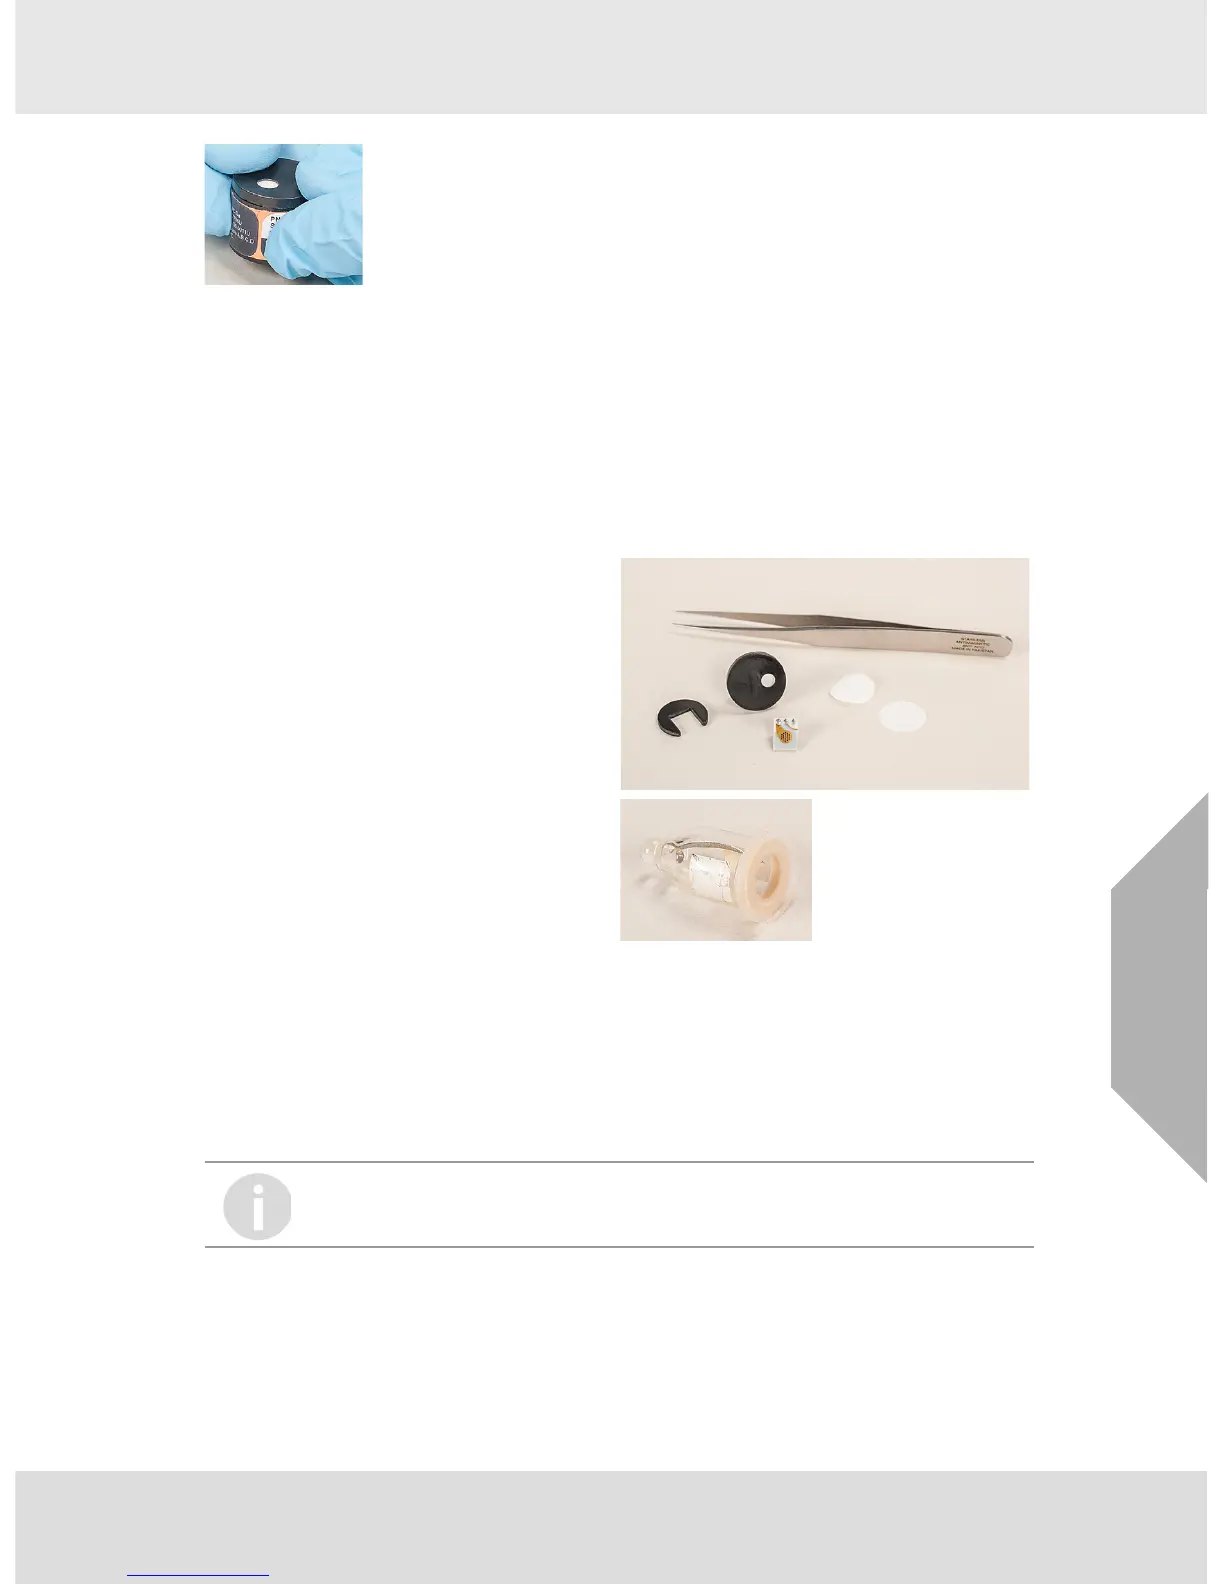
(6) Align the Filter Cap key with the notch in the housing:
Z Starting at the side opposite the notch, press down the Filter Cap until
it snaps onto the housing.
Z If the key is incorrectly aligned, there will be a noticeable bulge on the
side of the cap.
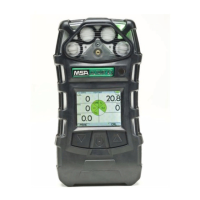
MSA PID Sensor Maintenance Kit P/N:10165247
- Cell Assembly
- Teflon Filter
- Cotton Filter
- Filter Cap
- Spacer
- Tweezers
MSA 10.6eV Lamp P/N: 10165272
If several bump or calibration tests fail on the PID sensor, this is an indication that the
lamp could be contaminated. Follow the Cleaning Procedure above.


 To Next Page