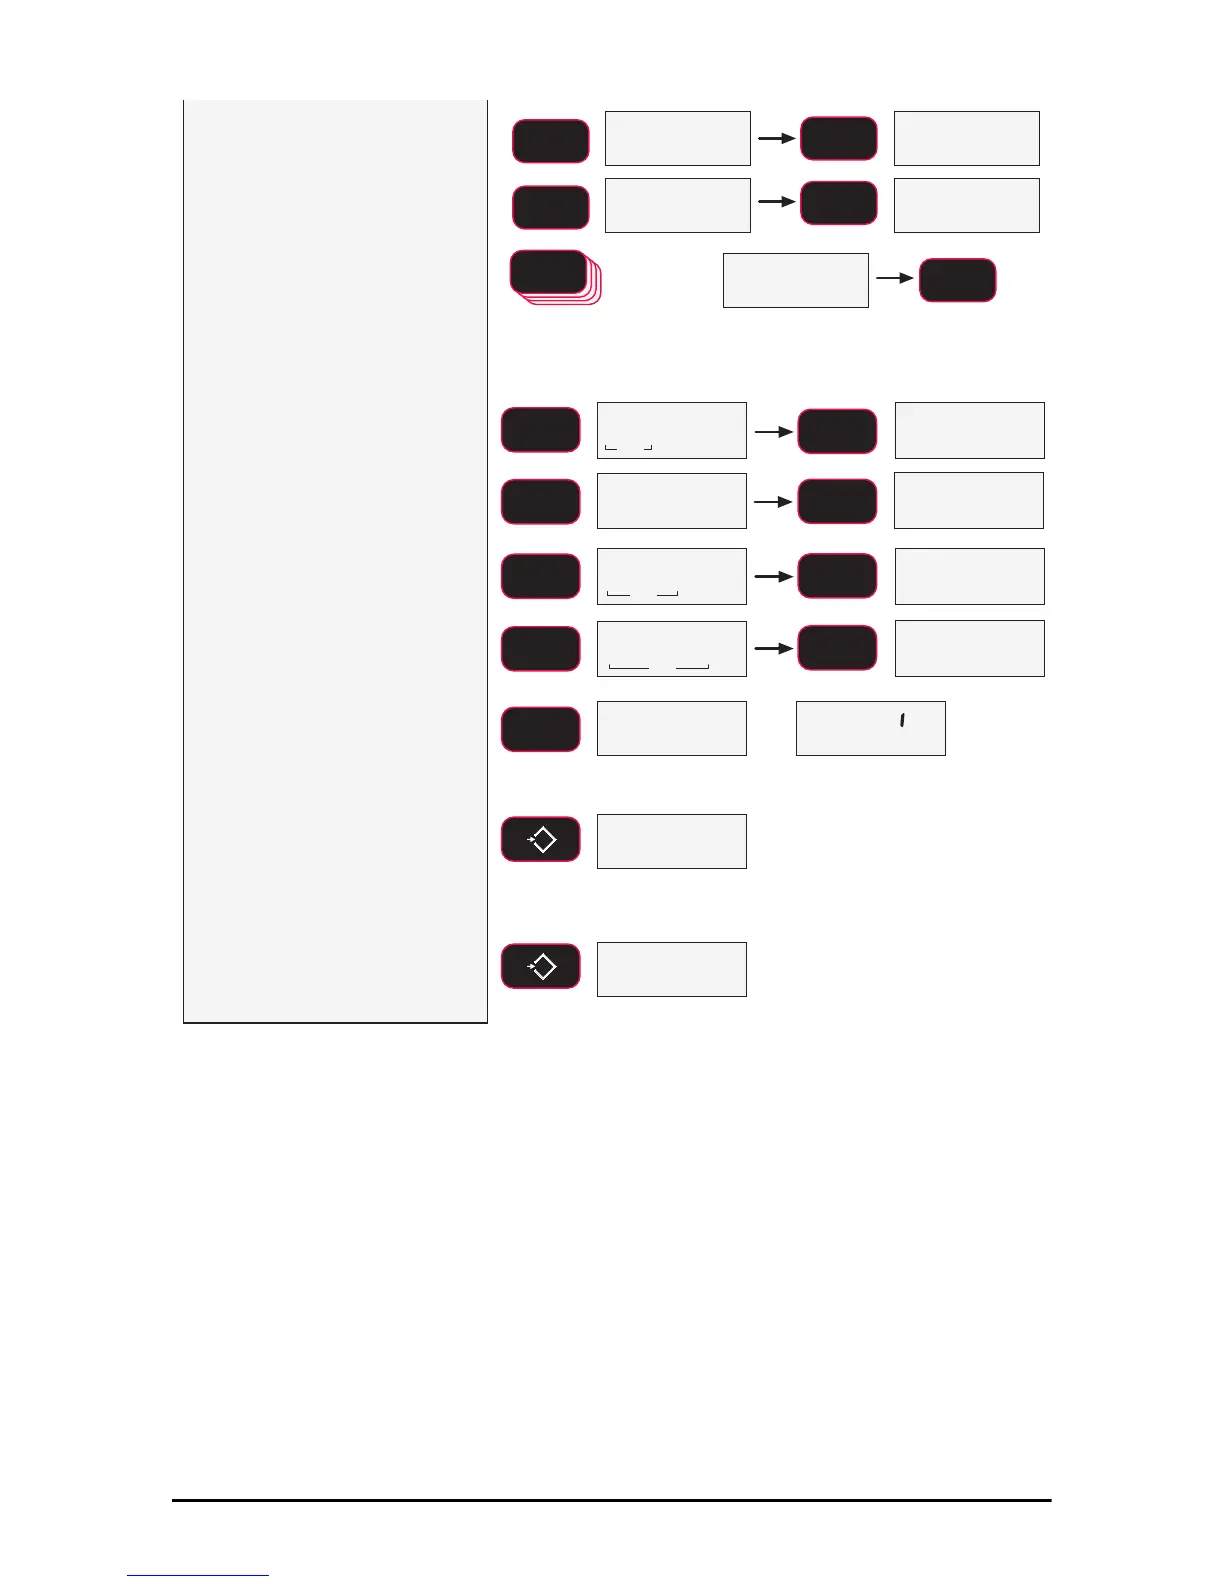
7) To input the C-Cal value,
press F2 to start the number
entry process.
8) Use F2 to change the
number, and F1 to enter
the number. Add the next
digit by pushing F2 and
scrolling as required.
Repeat this sequence
until the entire C-Cal
number is entered.
5 times
fixed
blinking blinking
blinking
blinking
SCROLL
F2
SCROLL
F2
SCROLL
F2
F2
SCROLL
ENTER/SELECT
F1
Error Correction: If you input a wrong value, press ZERO to step
back one digit and reenter.
To input a decimal point, push POWER while a digit is blinking.
F1
9) Once the entire C-Cal
value is entered, press
F1 to finalize the number.
The 7300 modifies its
span factor registers to
adjust the calibration to
the value of the C-Cal. If
the C-Cal input was in
the acceptable range, the
LCD will read PASS.
Multiple C-Cal span points are
possible, but are only
accessible using MSI’s
optional SCCMP program.
10) When the final C-Cal
number is finished, press
ZERO to exit and save
the new C-Cal
calibration. The LCD
reads STORE to
indicate a successful
calibration.
11) Press ZERO again to exit
the CAL menu and start
standard link tension
operation.
blinking
blinking
fixed
fixed
fixed
3DVV
SCROLL
F2
SCROLL
F2
ENTER/SELECT
F1
ENTER/SELECT
F1
ENTER/SELECT
F1
ENTER/SELECT
F1
blinking
SCROLL
F2
SCROLL
F2
blinking
0
EXIT/SAVE
ZERO
0
EXIT/SAVE
ZERO
6WRUH
SCROLL
F2
blinking
&$/ '
6HWYS