221 HP/LHP
18
Auger pulley
To remove/replace the auger pulley:
1. Remove the belt cover by following the procedures
described in the belt section of this chapter.
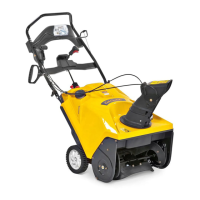
2. Block the auger by placing a piece of wood down
the discharge chute.
See Figure 3.2.
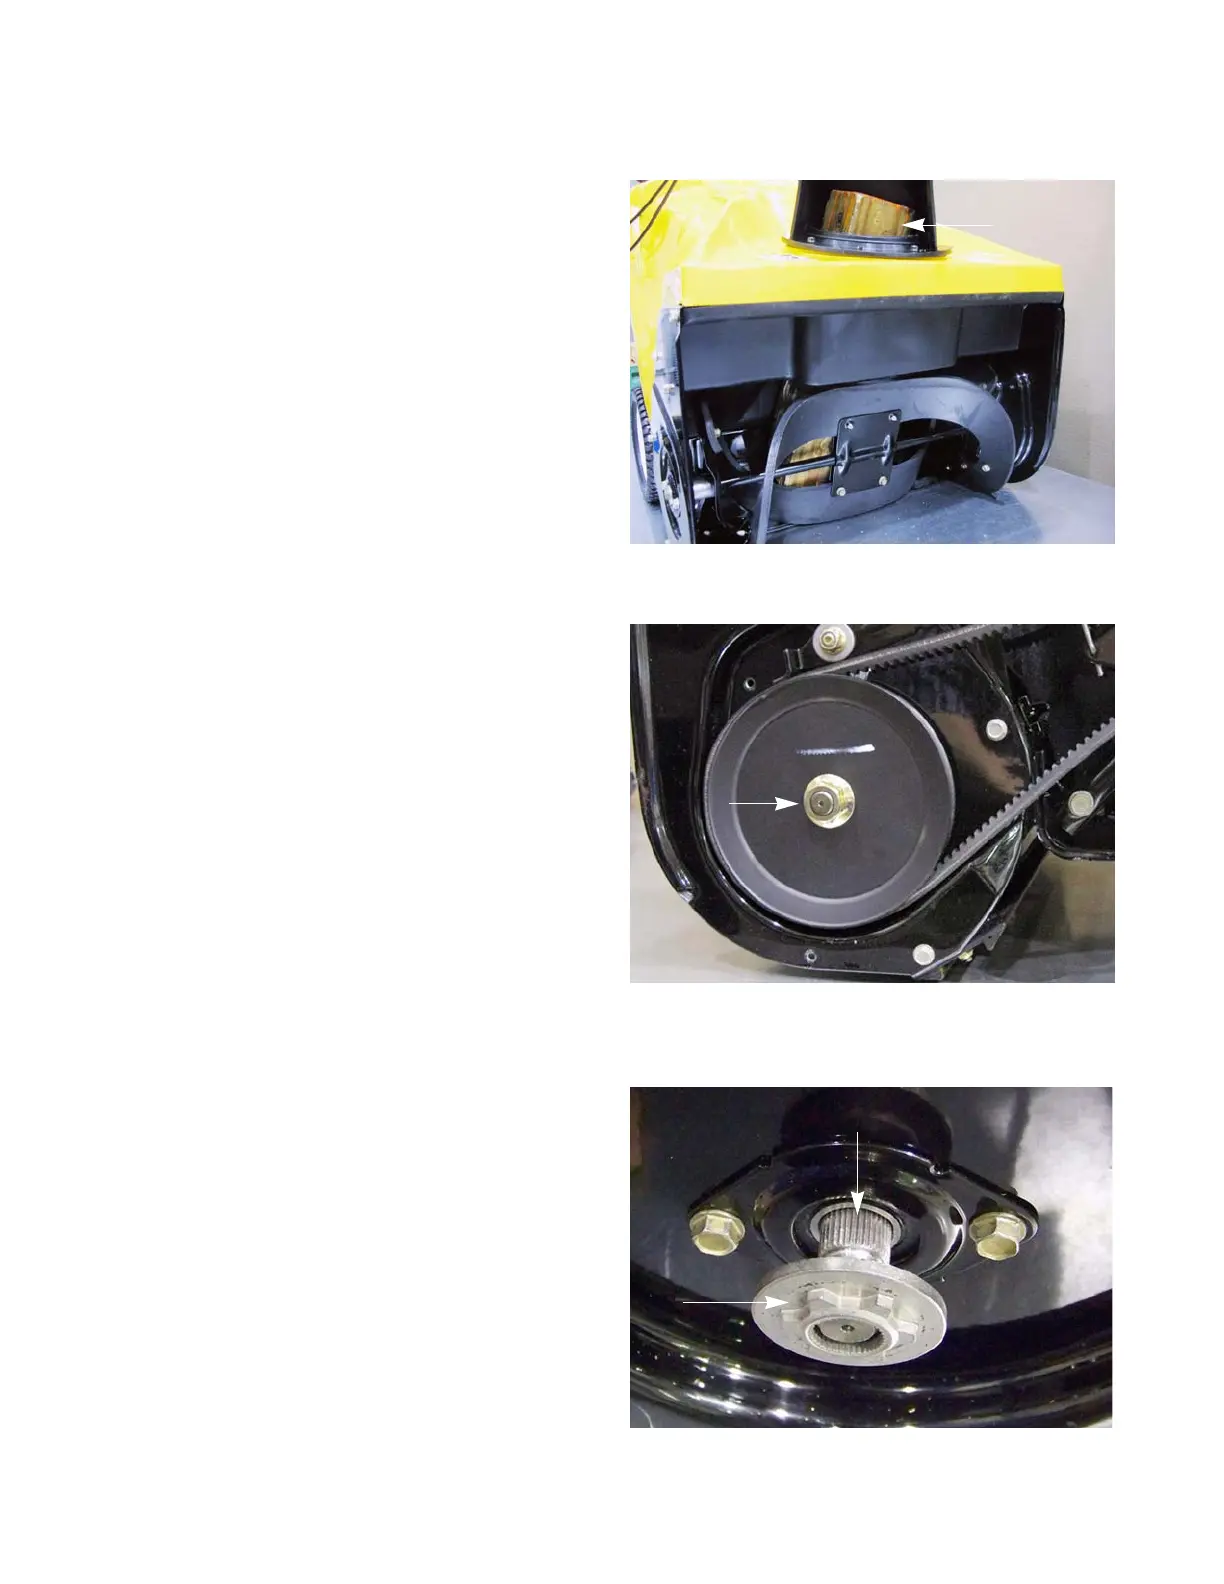
3. Remove the pulley nut using (indicated by the arrow
in
Figure 3.3.) a 7/8” wrench.
NOTE: The pulley nut has right hand threads.
NOTE: The pulley nut is the same part number as
the pulley nut on rider transmission pulleys.
4. Slide the pulley with the belt off of the auger.
NOTE: The recess that the pulley sets in, acts as a
belt keeper.
5. Inspect the hub and splines of the auger shaft for
signs of damage.
See Figure 3.4.
NOTE: If the hub and/or the splines are damaged,
inspect the auger for signs of impact dam
-
age.
6. Install the pulley by following the previous steps in
reverse order.
NOTE: Tighten the auger pulley nut to a torque of
25 - 40 ft lbs (33 - 54 Nm).
7. Test run the snow thrower before returning it to ser-
vice.
Figure 3.2
Wood block
Figure 3.3
Figure 3.4
Hub
Splines
 Loading...