18.2. Setting up a new model
Menu: (
MEMO) NEW
Moving to the NEW menu:
4 to MENU, r (SETUP appears),
3 to MEMO, r (GO TO appears),
3 to NEW, r (model type flashes)
When you set up a new model, the C
OCKPIT SX always
offers the last selected model type as the starting point.
Select the desired model type using the 3-D digi-
adjustor: EASY, GLIDER, ACRO, HELI
A brief press r on the 3-D digi-adjustor takes you into
the IN MEM menu. Here you select the memory in
which the new model is to be stored.
When you have selected a memory for the new model,
press the 3-D digi-adjustor briefly r to move into the
NAME menu. (Î 18.3.)
Notes:
• Only vacant memories are offered
When you leaf through, you will only see the memo-
ries which still contain no data.
• EnterIN MEM = 0 for no new model
If you select 0 using the 3-D digi-adjustor, and con-
firm your choice with a brief press on the 3-D digi-
adjustor r, a new model is not set up, and you are re-
turned to the NAME menu.
• Conclude with a long press ª
This is an alternative method of concluding the pro-
cess without setting up a new model (wait for the
confirmation beep). In this case you are returned to
the INFO 1 display.
The method of setting up the individual model types is
described in the following sections:
13.3.1. for EASY 14.3.1. for GLIDER
15.3.1. for ACRO 16.3.1. for HELI
18.3. Entering / changing the model name
Menu: (
MEMO) NAME
The method of entering the model name is described in
detail in the sections covering each model type.
The procedure for changing the model name:
4 to MENU, r (SETUP appears),
3 to MEMO, r (GO TO appears),
3 to NAME,
r (current name appears, first character flashes)
Enter the desired characters one by one:
3 4 select number, symbol or letter
(0 to 9, :, /, <, -, >, ?, space, A to Z)
r proceed to next character
ª interrupt data entry process, go to INFO 1
After the sixth character a brief press r returns you to
the NAME menu.
18.4. Copying model memories
Menu: (
MEMO) COPY
There are two reasons for copying model memories:
1. You may wish to set up a new model, and already
have a similar model stored in another memory.
2. You may wish to try out different settings on a model
without changing the settings in the existing memory.
When you copy a memory, the current model memory
is always used as the source; it is copied into the se-
lected destination memory.
Moving to the KOPIE menu:
4 to MENU, r (SETUP appears),
3 to MEMO, r (GO TO appears),
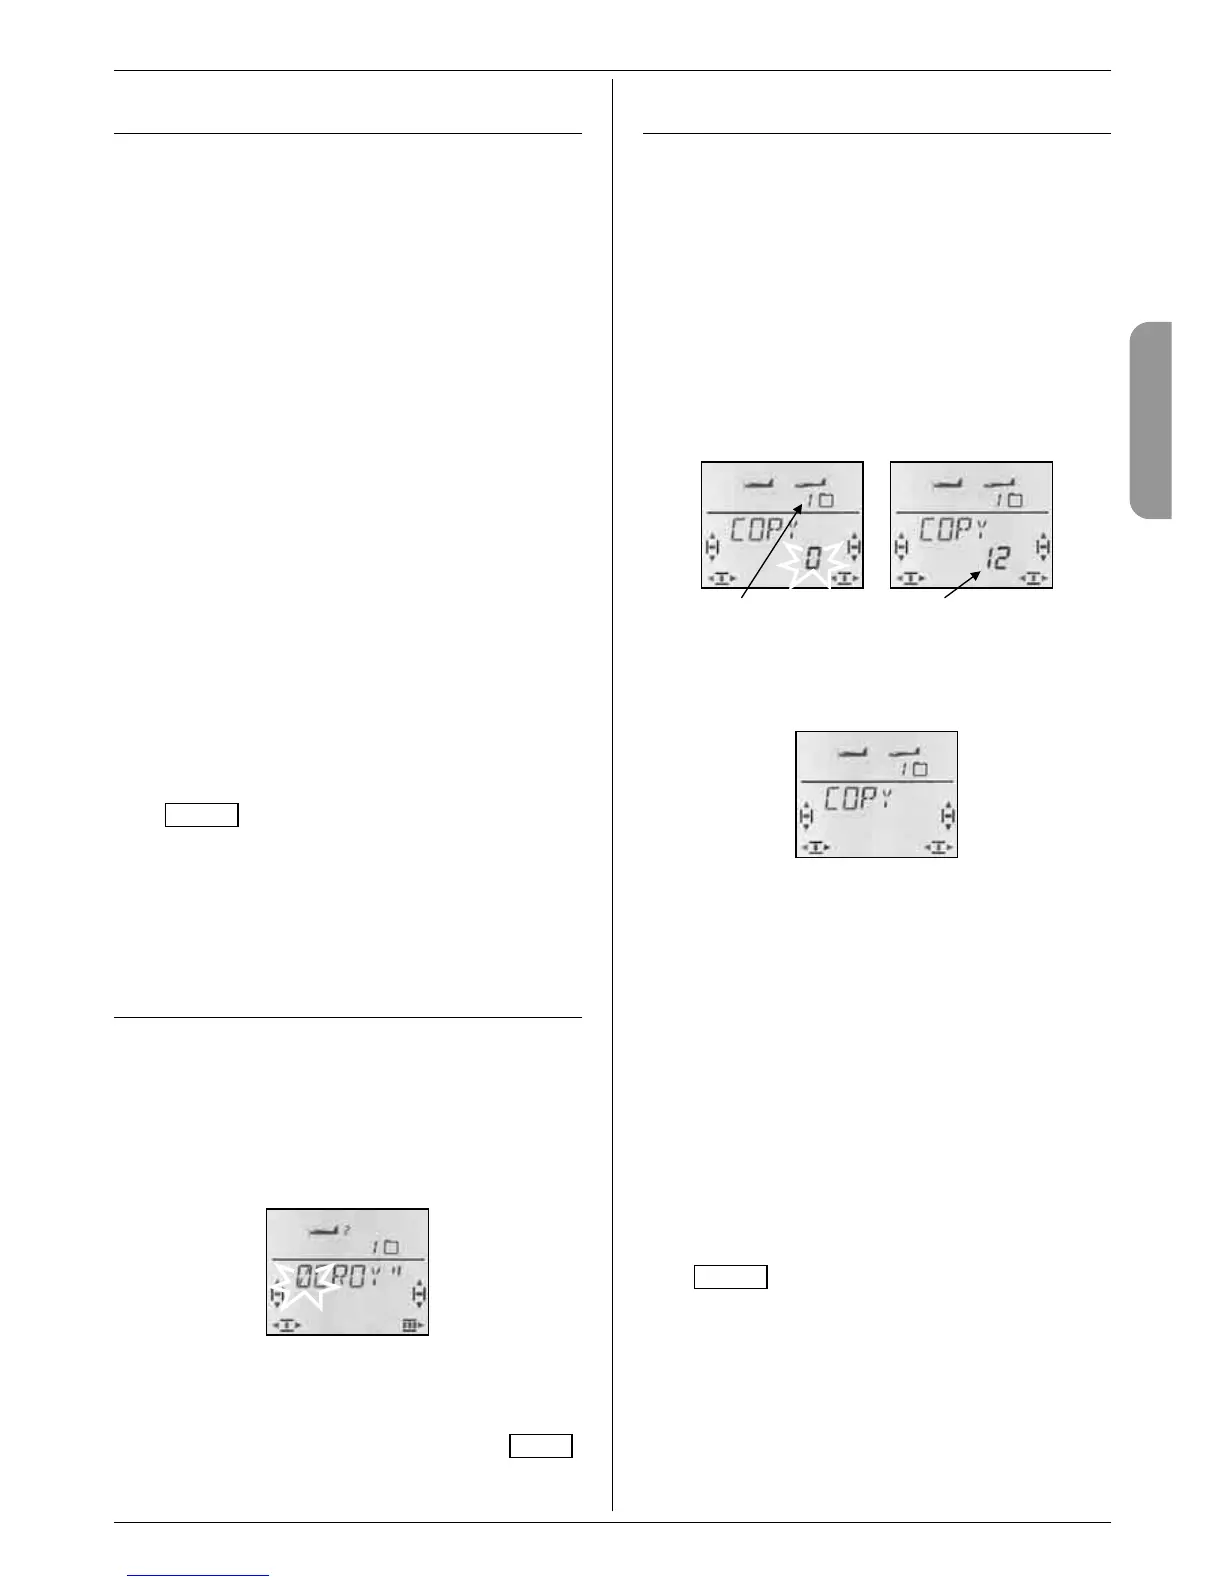
3 to COPY, r (0 flashes)
Current memory Destination for copy
Select the destination for the copy using the 3-D digi-
adjustor. A brief press r on the 3-D digi-adjustor carries
out the copy process, then returns you to the KOPIE
menu.
Notes:
• Only vacant memories are offered
When you are selecting a memory, you will only see
the memories which still contain no data.
• If all model memories contain model data, you
will be unable to select a destination memory.
In this case the flashing 0 cannot be changed using
the 3-D digi-adjustor.
• Select COPY = 0 if you do not wish to copy
If you select 0 with the 3-D digi-adjustor and confirm
your choice with a brief press r, a new model will not
be set up, and you will be returned to the COPY
menu.
• Concluding with a long press ª
This is an alternative method of concluding the pro-
cess without setting up a new model (wait for the
confirmation beep). In this case you are returned to
the INFO 1 display.
Important: no automatic switch to the copy
When the copy process is complete, you remain in the
current memory. If you wish to make changes to the
copy, you must select the copy in the GO TO menu.