© 2020 Natus Medical Incorporated 17 026057 RevE
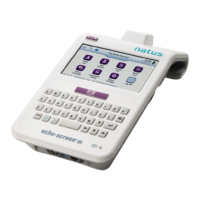
Performing a TEOAE, DPOAE, or DPOAE+ Screening Echo-Screen III Pro Instructions for Use
2 Optionally (if configured by your administrator), touch Risks to add risk factors for the
patient.
IMPORTANT: If you are working with a patient that was uploaded from the audble data
manager, you will not see the risk factors that were set for the patient in the audble software.
However, any risk factors you specify for the patient on the device will be merged with the
patient’s risk factors in the audble database when you import the patient back into the audble
data manager.
3 Optionally touch Comment to add comments for the test.
Note: To view test comments after they are saved, touch Comment on the test
selection screen or on the test result screen.
Note: Touch Cancel or press the Back key on the keyboard to close the Add
Comment screen without saving your changes.
4 Optionally (if configured by your administrator), touch Exam to specify the screening as
Initial, Follow-Up, or Unknown.
5 Optionally (if configured by your administrator), touch Location to specify where the
screening was performed, Inpatient, Outpatient, Home, or Unknown.
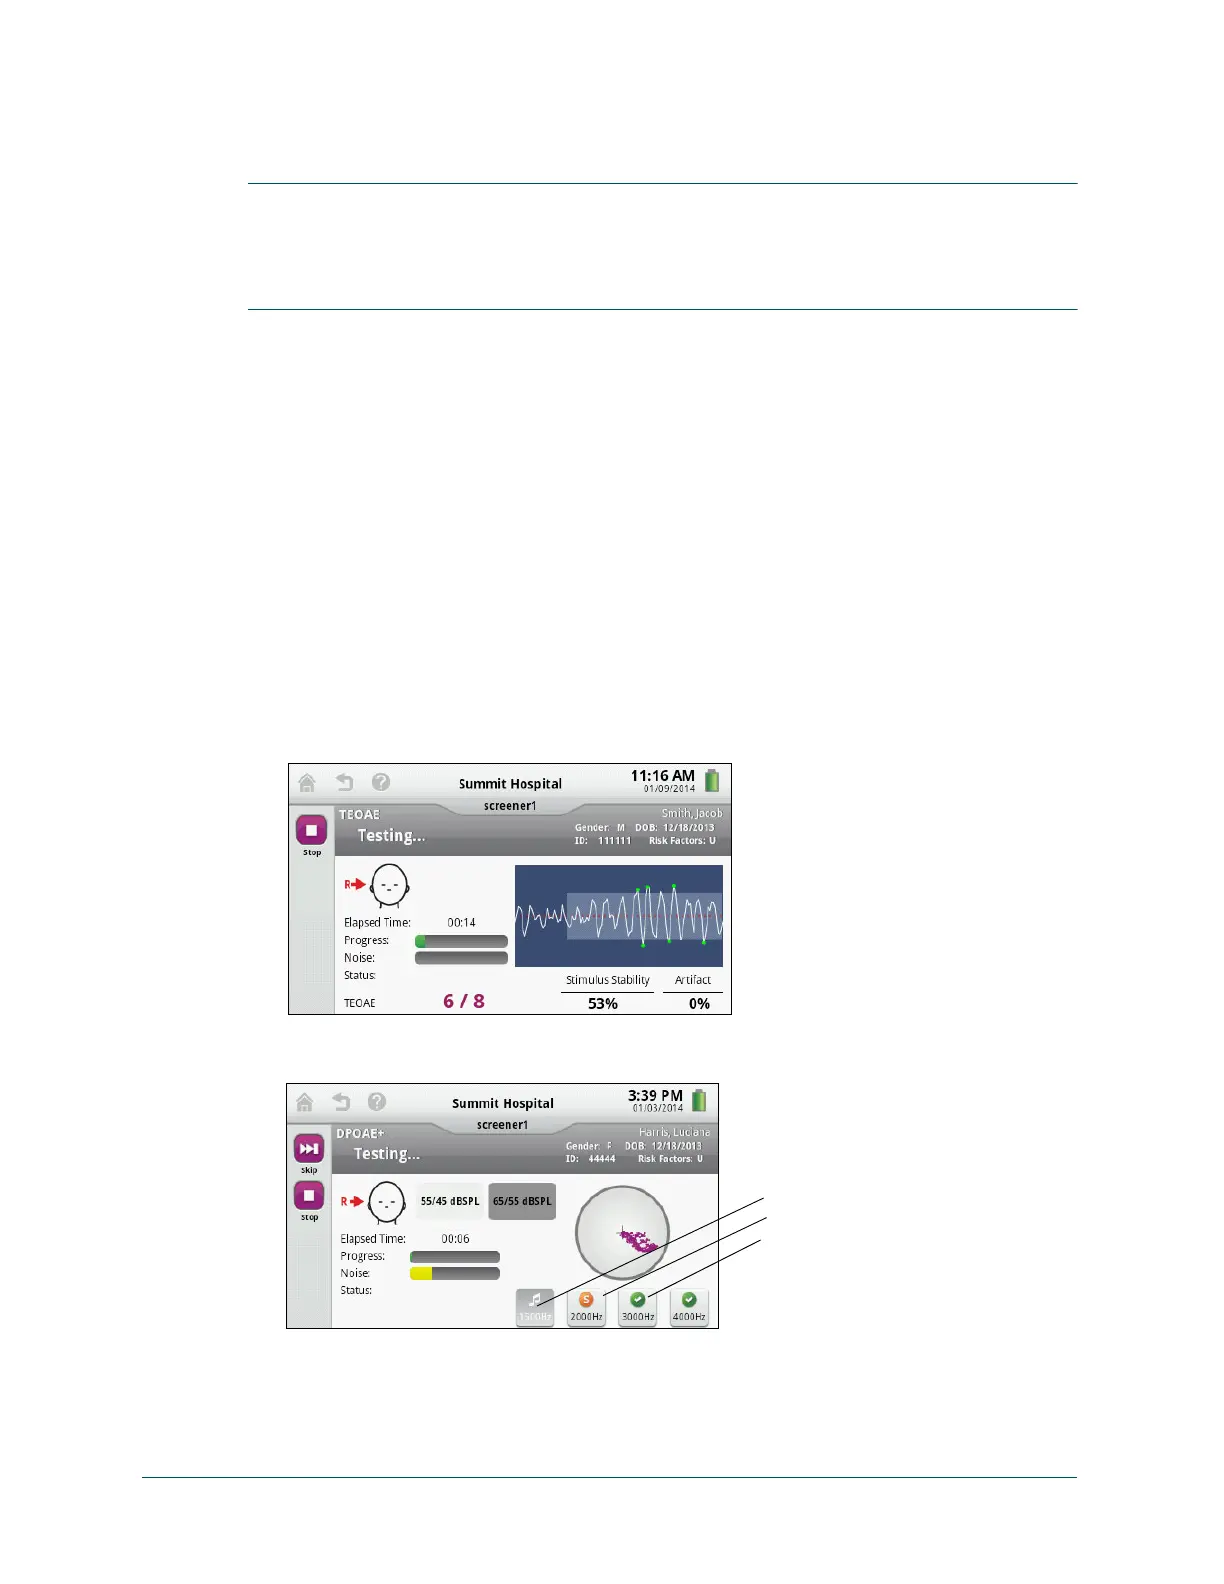
6 Touch R or L for the ear you want to test first (right or left).
7 Touch Start Screening. Calibration is performed before the test begins. If Probe Error
appears, reposition the probe, and touch Re-Screen.
The test starts automatically after calibration completes.
DPOAE and DPOAE+ tests are performed at four frequencies. DPOAE+ tests the four fre-
quencies first at 65/55 dBSPL and then at 55/45 dBSPL.
Note: You can stop the test at any time. For DPOAE or DPOAE+ tests, you can
skip the active screening frequency. If you skip any frequencies, the result of the
testing is Incomplete.