Using the Pre Config Files
26
Using the Pre Config files
1. At the Main Screen, Click FILE->OPEN -> Alog Pre Config or ISDN Pre Config.
2. Save file as your customers name and date (e.g. NECi 05_Feb_2005)
3. Use this manual to help customize your customer’s requirements
Remember: save the file regularly while you are making changes.
If the XN120 has a different hardware config than the PCPro
Pre Config file
1. Insert cards into the XN120
2. Set the Normal switch to OFF and power up the XN120 (COLD start the XN120)
3. After boot -switch “Normal” to ON
4. Connect to the XN120 with PCPro and open Pre Config
5. Upload the Pre Config file to the XN120
6. Disconnect from PCPro
7. WAIT for LED 4 to stop Flashing on the XN120 base board
8. Power Xn120 off WAIT 10 seconds
9. Power Xn 120 on
10. Connect PC Pro
11. Download All
12. Check Card Configuration
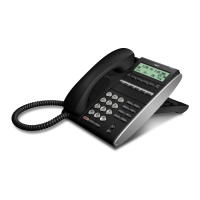
Alog Pre config – covers 3x8 (KSU Base unit)
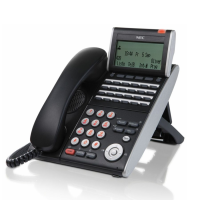
ISDN Pre config – Covers 3x8 (KSU Base unit) and 2BRIU I (in slot 5)

 Loading...