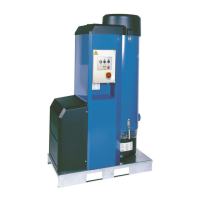
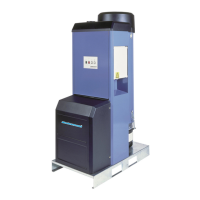
E-PAK 500
29
EN
NOTE! If E-PAK 500 is NOT connected to a pilot signal, it should start immediately
if terminals 3 and 4 in the start and control unit are linked by a jumper, see Section
‘5.1 Start and control unit’.
5. Compare the direction of rotation with the arrow on the motor. If these correspond, allow
the starting procedure to continue.
6. If the direction of rotation is incorrect, stop the unit by switching the standby and reset
switch to position 0. Disconnect power with the maintenance switch. Open the start and
control unit, see Figure 8, and switch two of the incoming phase conductors. Ret the
cover of the start and control unit.
8.2.2 Checking the Y/D time setting
NOTE! The Y/D time setting is factory preset and does not normally need to be adjusted.
However, if adjustment is needed, the set time in Y mode should be just sufcient for the motor
to reach full speed before switching to D mode.
This is particularly important when the unit is equipped with a pilot signal. Too long a time
in Y mode means unnecessary heating of the motor and a delay before the unit delivers full
vacuum.
NOTE!
Too short a time in Y mode may damage the starter.
Adjust the Y/D timer K4T in order to increase or decrease the time-setting, see Figure 8, item 3.
To access the Y/D timer K4T, open the cover of the start and control unit. Ret the cover of the
start and control unit after adjustment.
8.2.3 Checking the automatic start and stop function
When switched to position 1, the lamp in the standby and reset switch should light up indicating
that the starter is in the standby mode and ready to receive a signal from the PS cable.
In standby mode, the unit may be started by pressing the manual start button, see Figure 9.
When a valve at a workstation equipped with a PS microswitch is opened, the unit starts
automatically. When the valve at the workstation is closed, the unit switches over to idling mode
and after a delay of approximately 30 seconds, a lter cleaning operation is performed. The
lter cleaning valve stays open.
After an additional time delay of approximately 10 minutes, the unit stops and the lter
cleaning valve closes.
The lter cleaning delay is set by the DIR time relay and the stop delay is set by the SSR time
relay.
8.2.4 Checkingtheltercleaningfunction
Press the manual lter cleaning button, see Figure 9, and check that the lter cleaning procedure
starts. The lter cleaning valve is located at the top of the lter housing under the enclosure.
A distinct change in sound can be heard as the valve releases atmospheric air into the lter,
indicating that the function works properly.
8.2.5 Checking the vacuum limiting valve
The vacuum limiting valve is located next to the side channel fan, see Figure 4, item 4.
With the duct system completely closed, including all valves at all workstations, check that
the vacuum limiting valve (or both, if two are tted) opens and lets in air to limit the vacuum.
 Loading...