46
User Manual
l Set by the front panel or remote controller : press direction key to move the cursor, press “OK” to confirm the start position, then move the cursor
to select the area you want to mask, press “OK” again to confirm the end position. Press “clear” to cancel the area.
l Back to the channel setting interface, click save to activate the setting.
l The selected mask area will take effect both in the real-time and the record.
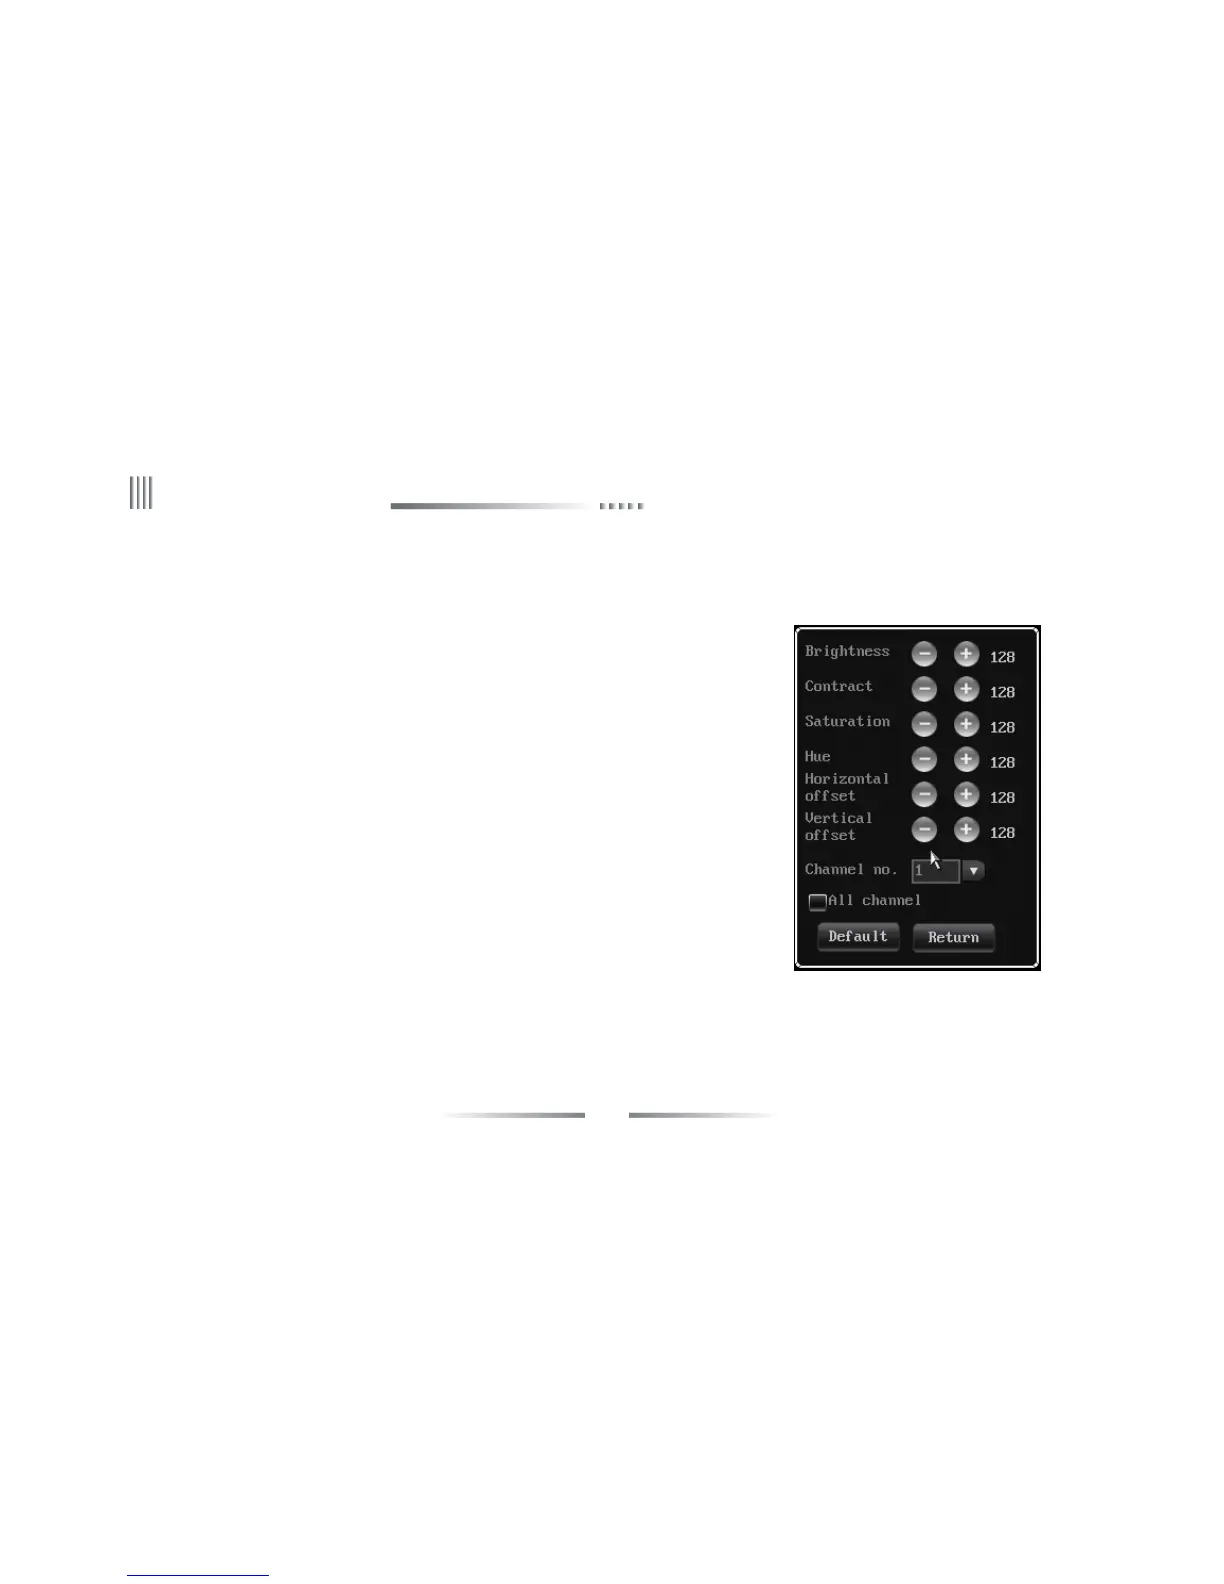
3.Video adjustment
l After login,user can “display setup”-> “Video Para” or right click mouse and press “image”
button remote controller instead, then select the “Video Para” to enter the interface.
l Default video parameter: brightness(128), contrast(128), saturation(128), hue(128).
l Channel No.: used to switch channels,user can also setup all channels directly.
Adjustment Method:
(1) Select the parameters you want to change, then press “+” “-” button on the remote controller.
(2) Click the left mouse on the “+” “-” to change the value , the “+” “-” on the interface can
indicate the increase or decrease of the value.
(3) Video input adjustment
Video input adjustment: adjust black edges on each channel. The input video is normally
with black edges, actually DVR reduced black edges by moving the capturing window position
to capture more effective information.
Horizontal offset: set the capturing window potion.
Vertical offset: fixed.
4.4.2 Preview Digital Zoom
Setup method:after login, right click the channel to enlarge to full screen,then click mouse wheel to start setting, left click to select start point, then
move to the end point and click again. Drag any border to enlarge the selected area. Double left click the mouse to cancel the selection, right click