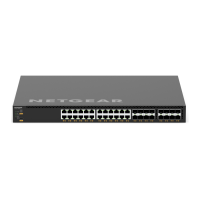
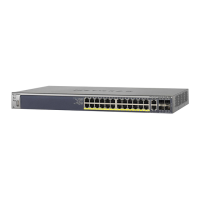
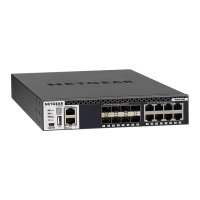
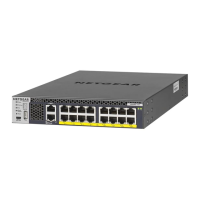
When you apply power, the Power LED lights and the ports LEDs for attached devices
light. For more information, see one of the following sections:
•
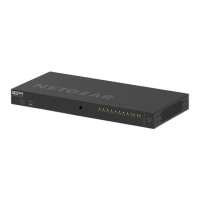
LEDs of the 8-port PoE+ and PoE++ models on page 16
•
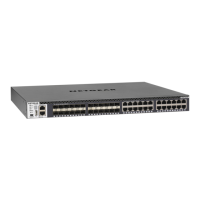
LEDs of the 24-port PoE+ and PoE++ models on page 21
•
LEDs of the 40-port PoE+ and PoE++ models on page 26
•
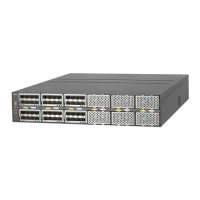
LEDs of the LED tiles model on page 29
•
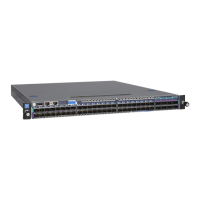
LEDs of the aggregation model on page 32
If the Power LED does not light, check to see that the On/Off power switch in the
On position, the power cable is plugged in correctly, and the power source is good.
Optional Step 9: Connect a console to the
switch
This procedure is optional. You can configure and manage the switch through the main
local browser interface or the audio-video user interface. If you want to use the
command-line interface (CLI), you can use a Telnet or secure shell (SSH) connection, or
you can connect a console to the switch. To be able to use a console, you need the
following items:
•
A computer with a Windows, Mac, or Linux operating system, a UNIX workstation,
or a VT100/ANSI terminal.
•
Depending on the connector type at your computer or terminal, use one of the
following cables, both of which are included in the product package:
-
USB Type C cable for use with the USB Type-C console port
-
Ethernet cable for use with the RJ-45 RS-232 console port
Hardware Installation Guide56Installation
AV Line of Fully Managed Switches M4250 Series

 Loading...
