Network Settings
28
ProSAFE 8-Port and 16-Port Gigabit Click Switch
Your settings are saved.
10. In the LAG ID menu, select 2.
11. Select the check box beneath each port for LAG ID 2.
12. Click the APPL
Y button.
Your settings are saved.
Use Browser-Based Access to Specify LAG Membership
To specify LAG membership:
1. Set up your computer to use an IP address in the same subnet as the IP address of the
switch.
2. Use an Ethernet cable to connect your computer to an Ethernet port on the switch.
3. Launch a web browser
.
4. In the address field of the browser
, enter the IP address of the switch.
You can find the IP address of the switch by using the ProSAFE Plus utility or get it from
the DHCP server
. If the switch cannot get an IP address from a DHCP server, enter
192.168.0.239.
You are asked to enter the password for the switch.
5. Enter the switch’s password in the password field.
The switch’s default password is password.
The Switch Information screen displays.
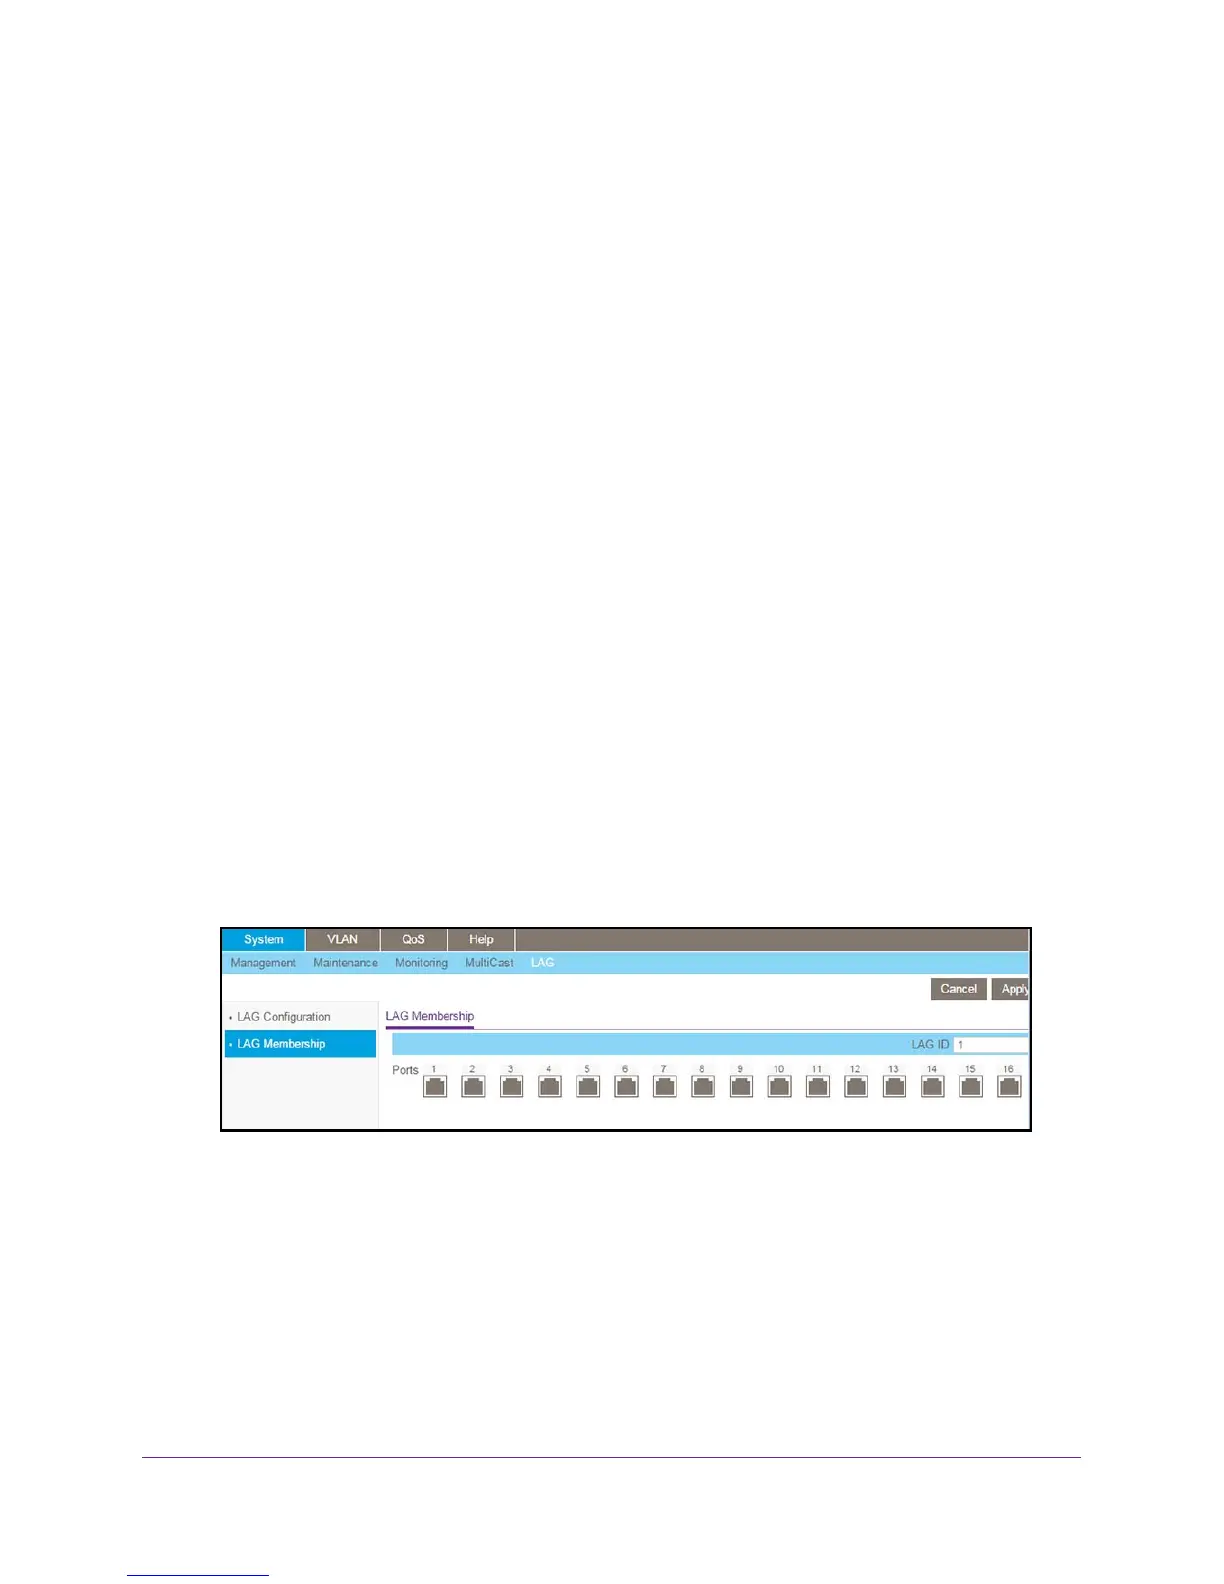
6. Select System > LAG > LAG Membership.
7. In the LAG ID menu, select the LAG ID.
8. Select the ports for the LAG.
9. Click the Apply button.
Your settings are saved.
 Loading...