Installation and Configuration
12
ProSafe Wireless-N Access Point WNAP210
3. The login screen displays. Enter admin for the user name and password for the password,
both in lower case letters.
4. Click Login.
Your web browser should automatically find the access point and display the General screen.
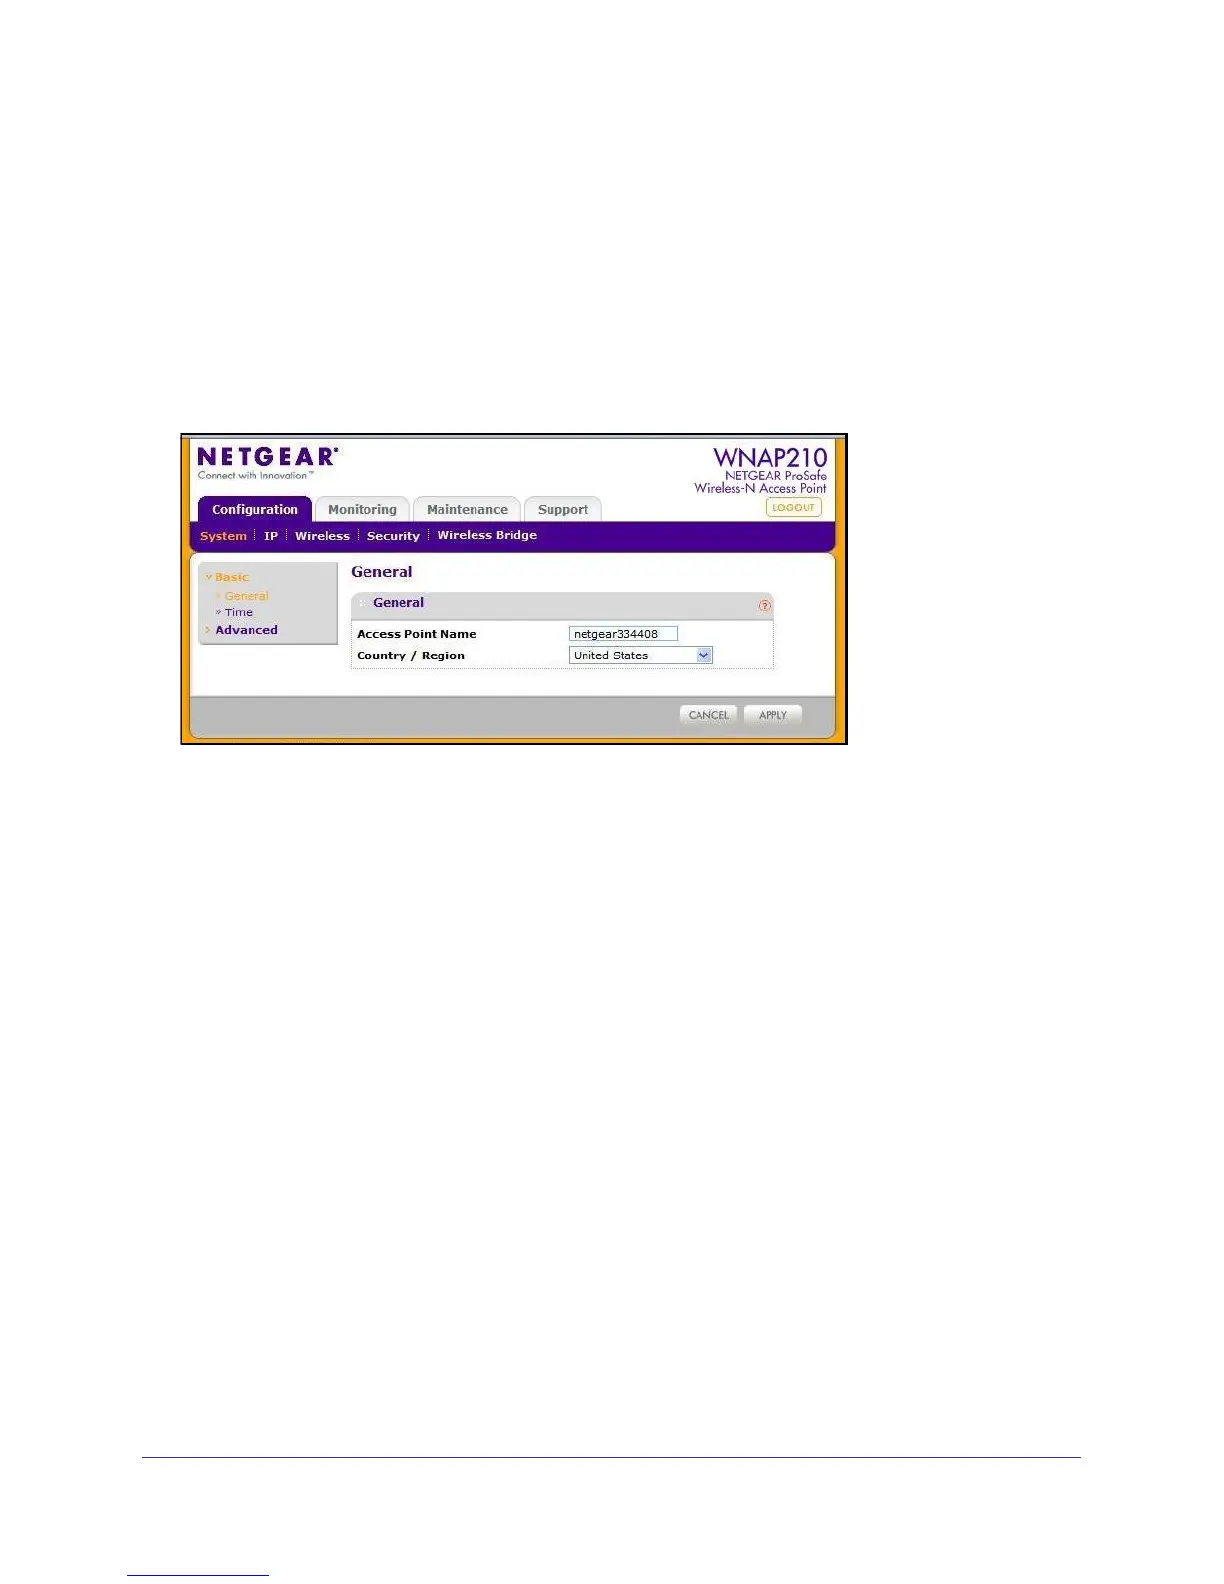
Configure LAN Settings
When you log in, the General screen displays:
To configure the LAN settings:
1. Enter the access point name.
This unique name is the access point NetBIOS name. The access point name is printed
on the rear label of the access point. The default is netgearxxxxxx, where xxxxxxx
represents the last 6 digits of the access point MAC address. You can replace the default
name with a unique name up to 15 characters long.
2. From the Country/Region drop-down list, select the region where the access point will be
used (the country/region is not configurable in the United States but is configurable in the
rest of the world). Click Apply.
Note: If your country or region is not listed, check with NETGEAR support.
 Loading...