Model H1301 Recovery and Recycling System
Installation, Operation and Maintenance Manual
Revision-L September, 2019
Page 49 of 105
VII. System Maintenance Procedures (continued)
G. Condenser Coil Cleaning
To insure optimum cooling efficiency the condenser coil of the refrigeration system should
be kept clean. Initial cleaning should be performed before each use to gain perspective on
the cleaning period required for the ambient conditions of the machine location. A cleaner
environment will require less frequent cleaning of the condenser coil. When the condenser
coil becomes restricted with dust, the machine will take longer to reach the cooling set
point, and the cascade system #1 will operate at increased high side pressures. A badly
soiled condenser will cause system #1 to shut down from over pressure conditions. During
operation the high side pressure gauge should never increase to above 300 psi as
indicated by the high side pressure gauge located on the rear of the machine.
Cleaning Procedure
Required Materials:
Source of Compressed air With nozzle
Soft Brush
Vacuum Cleaner
Straight Blade Screwdriver
1. Disconnect the main electrical power from the machine.
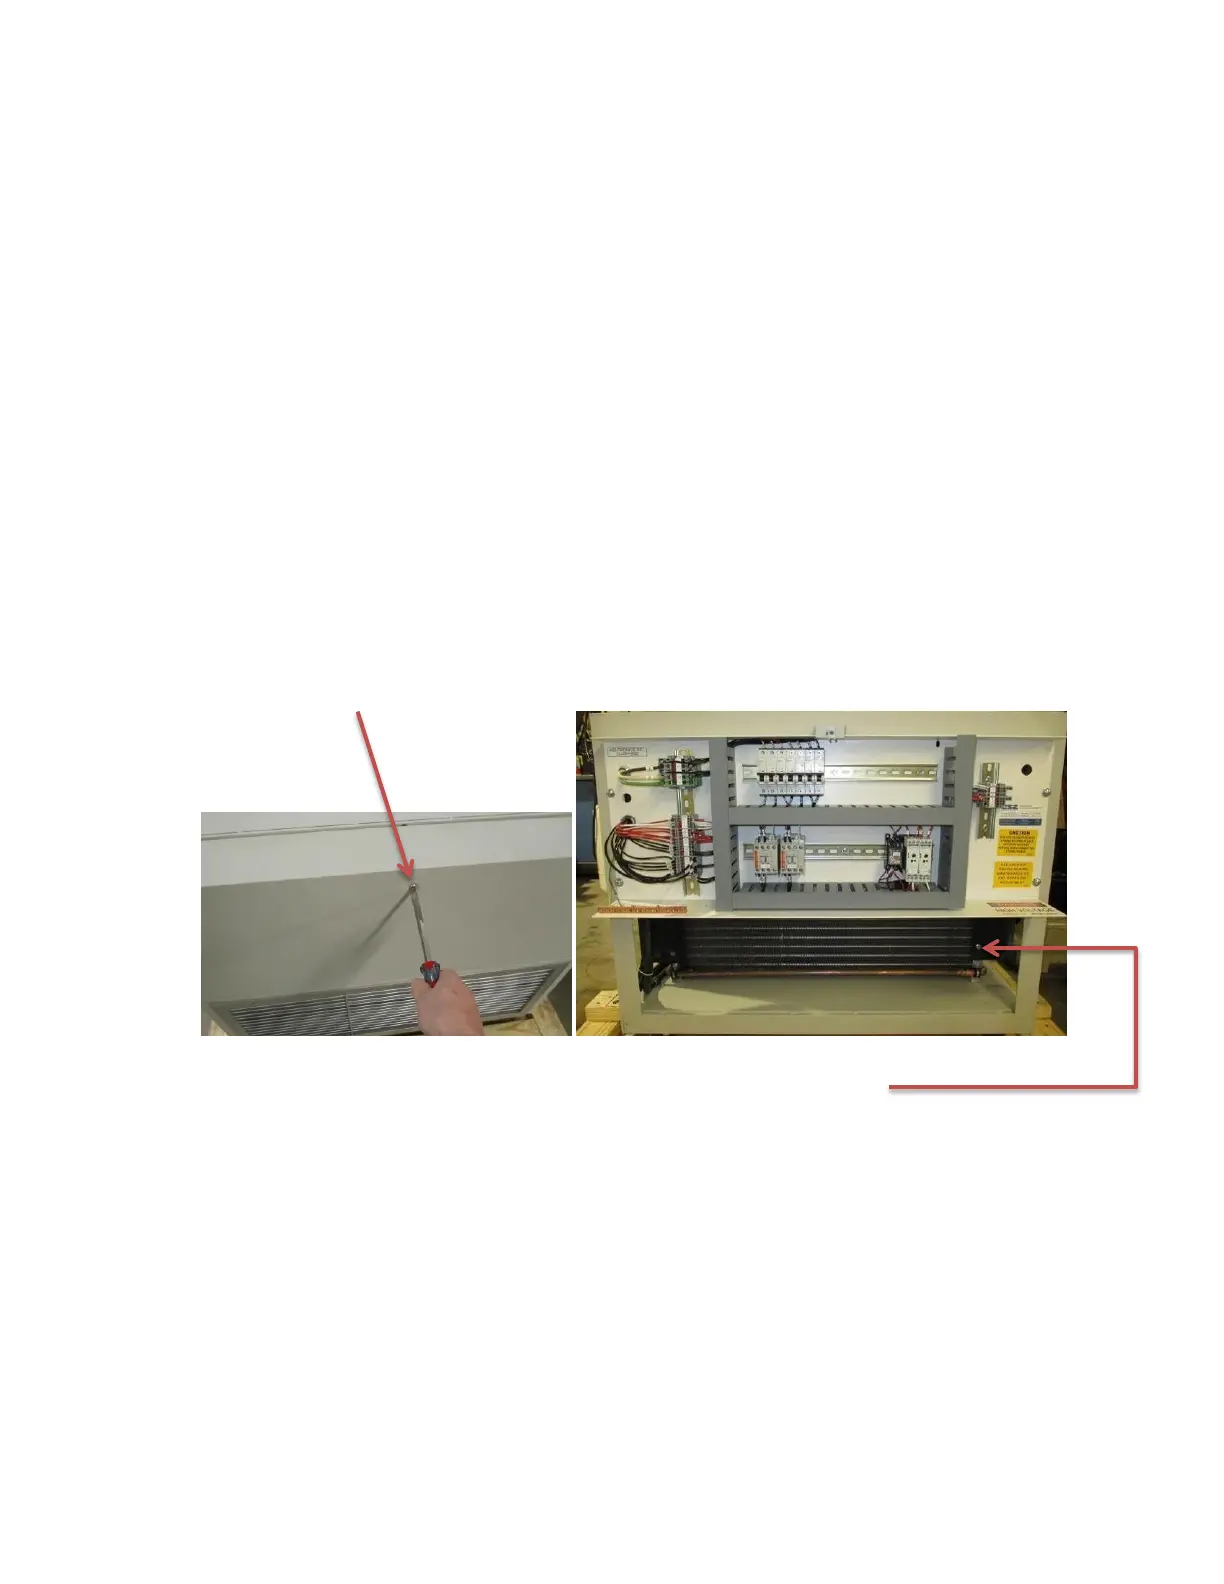
2. Remove the lower-front panel located directly below the front control panel by loosening
the one captive screw at the top-center of the panel.
The condenser coil is directly below the main wire box of the machine.
3. Remove either one of the lower side panels of the machine by loosening the four
captive screws on each corner of the panel.
4. Use compressed air to blow through the condenser coil from the interior of the machine
out the front of the machine.
5. Use a soft brush and a vacuum cleaner to remove dust from the front of the condenser
under the main wire box of the machine.
6. Install the side panel and front panel back into position.
7. Reconnect main electrical power back to the machine.