25
OpenSPR 1-Channel Operation Manual V4.1.01
3. Clean the flow cell with a lint-free wipe soaked in isopropanol (80% isopropanol will work
for this purpose as well). Ensure the channels of the flow cell are clear of any large dust
or debris. Allow the flow cell to air dry.
4. Clean a blank chip with a lint-free wipe soaked in DI water followed by isopropanol.
Inspect the chip such that no fingerprints or residue is present in the center near the
optical path.
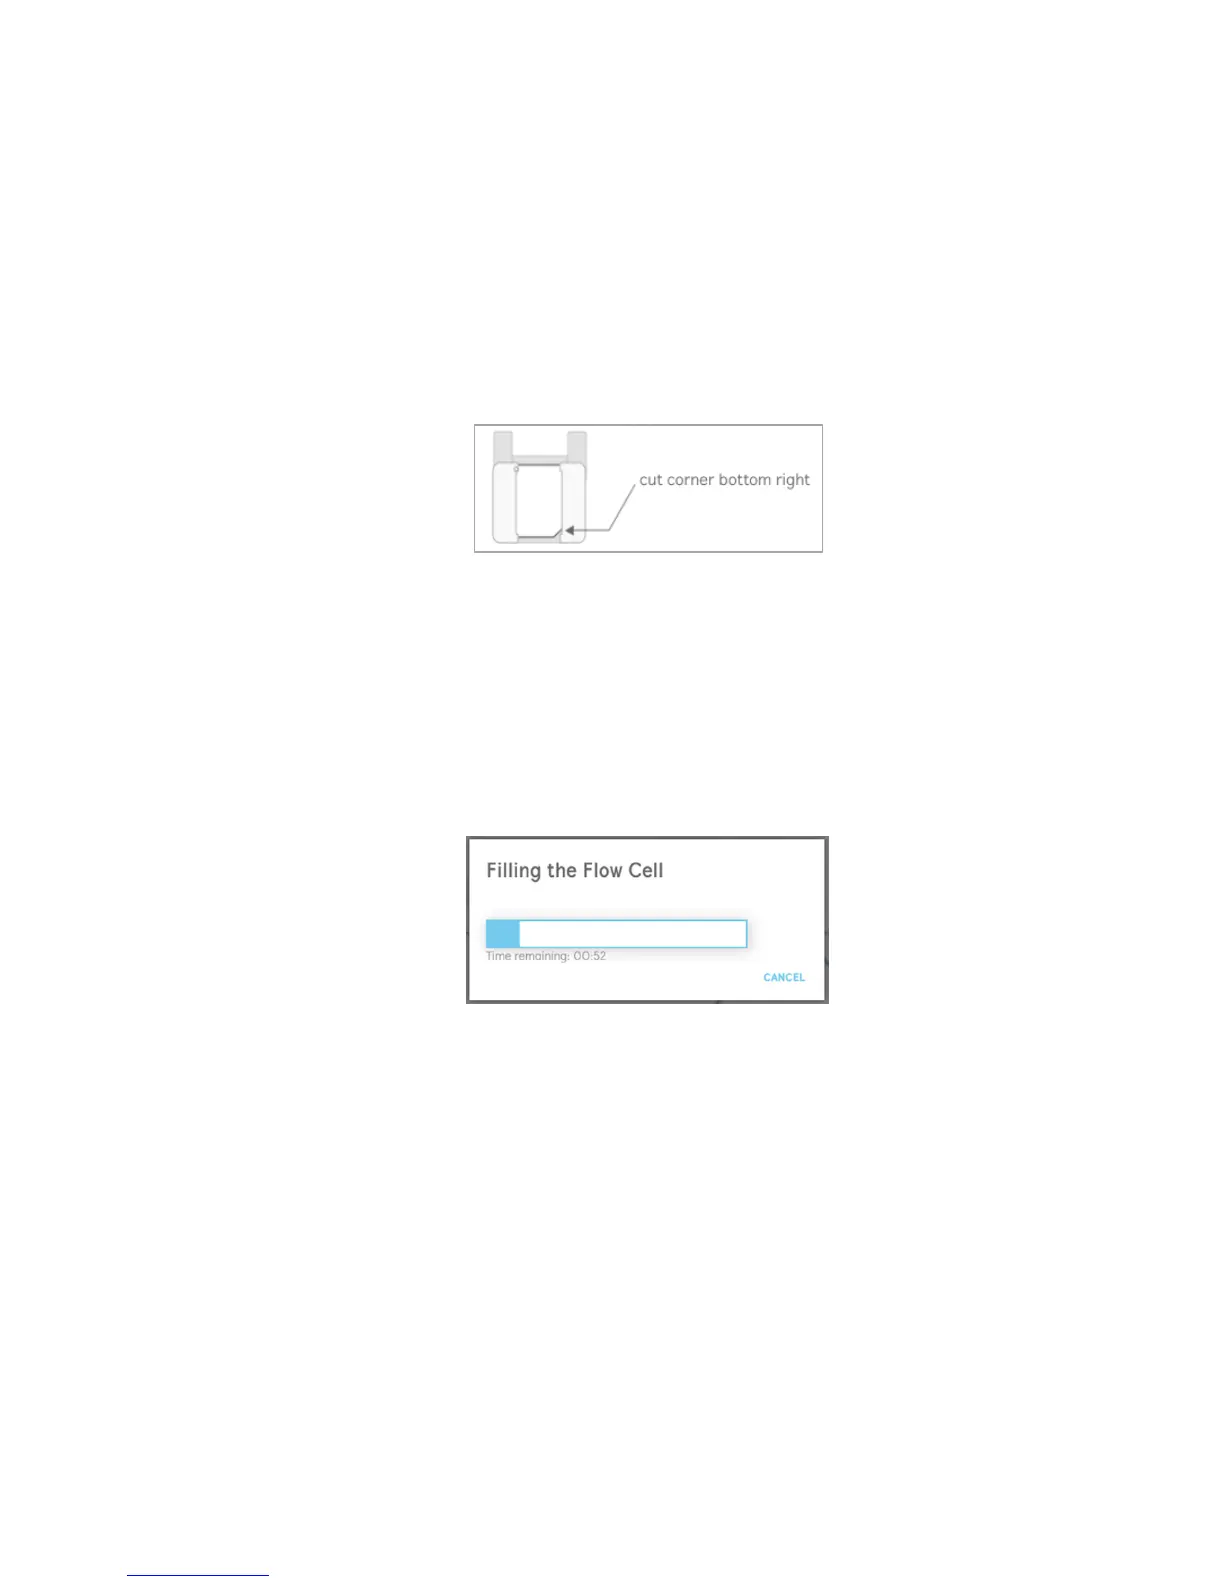
5. Install the blank chip into the sensor holder with the cut corner located in the bottom
right [Figure 2.18]. The entire window of the holder should be covered by the chip with
proper installation.
Figure 2.18 Proper installation of blank chip into the sensor holder.
6. Install the holder containing the blank chip into the sensor stage, close the lid of the
OpenSPR, then dock the stage using the button available in the window.
7. Once the blank chip is fully installed into the OpenSPR, select “Next” in the window [Figure
2.17] to proceed.
8. The flow cell will now begin to fill with running buffer. This process will take approximately
2 minutes to complete – a progress bar will display the time remaining [Figure 2.19].
Figure 2.19 Progress bar filling flow cell with buffer for references.
9. Once the flow cell filling is complete, the user is asked to inspect the channels within the
optical path for the presence of bubbles [Figure 2.20]. The optical path must be clear of
bubbles to obtain proper references.
If bubbles are present, load at least 150 µL of 80% isopropanol into the injection port and
click inject to clear the bubbles. The injection progress will be displayed in the window
[Figure 2.21]. Repeat this process until all bubbles have been removed.