EasyManuals Logo

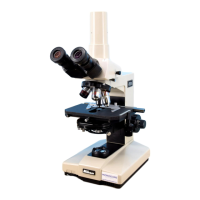
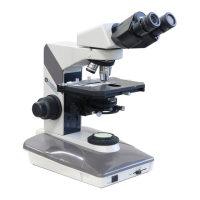
Nikon Labophot Repair Manual

Nikon Labophot
118 pages
To Next Page IconTo Next Page
To Previous Page IconTo Previous Page
Page #32 background imageLoading...
Page #32 background image
R-4104.A
DISASSEMBL Y PROCEDURE
4. Base Unit
4.
Base
Unit
(OPTIPHOT, LABOPHOT)
1)
Remove
lens cap @ .
2)
Releasing
HS
screws
@x4,
remove
base
@ and bottom plate
@.
Beforehand,
take off
@ and @ (only @
for
LABOPHOT).
< Field diaphragm (Fig. 36 and 37) >
3) Releasing
PM
screws @ x
2,
remove biade mount @ from bottom plate
@.
4)
Remove
field
diaphragrn controlling
ring
@.
5)
Remove
retaining
ring
@ , and then biade guide
way
@ , biades @ and dowel
@will
separate.
G810
·~
V.
'<20 y
.<10
/
Fig. 32
6) Take out lens
@(LABOPHOT:
@)
from filter receptacle
e@
(LABOPHOT: From
bottom plate
@>
).
7) Remove retaining
ring@
(LABOPHOT:
-@).
and then @ and @ (LABOPHOT:
@ and @
),
and spacer
ring
@ (LABOPHOT:
@)
will
separate.
-
29
-

Table of Contents

Other manuals for Nikon Labophot

Questions and Answers:

Question and Answer IconNeed help?

Do you have a question about the Nikon Labophot and is the answer not in the manual?

Nikon Labophot Specifications

General IconGeneral
IlluminationBuilt-in transmitted light, halogen lamp
StageMechanical stage with coaxial controls
FocusCoarse and fine focus knobs
Observation MethodsBrightfield, Phase Contrast
CondenserAbbe condenser
Power SupplyAC 100-240V, 50/60Hz

Related product manuals