Do you have a question about the Nikon Scan and is the answer not in the manual?
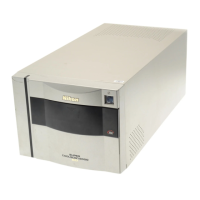
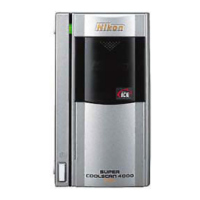
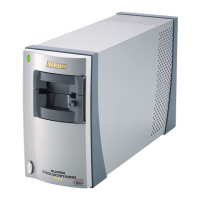
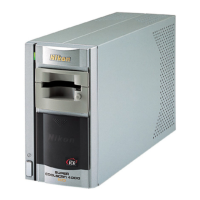
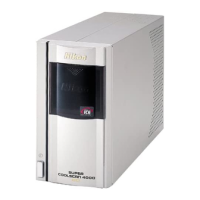
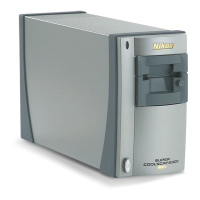
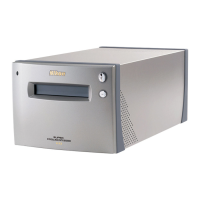
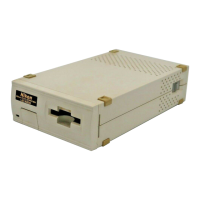
Lists Nikon scanners compatible with Nikon Scan Macintosh software, including flatbed and film models.
Describes automated scanning capabilities using optional feeders like AF-10 and SF-100.
Notes on scanner differences and directs users to relevant appendices for specific models.
Details minimum hardware and software requirements for installing and running Nikon Scan Macintosh.
Explains the steps to install the Nikon Scan plug-in and the Nikon Control application.
Guides on how to launch the Nikon Scan plug-in from Nikon Control or other imaging applications.
Details selecting the Nikon Scan plug-in and configuring application preferences via the dialog box.
Presents the main dialog box interface, including scanner selection and initial controls.
Provides a brief description of the standard acquisition procedure after the Main dialog box is displayed.
Explains selecting the desired scanner from the pop-up menu in the Main dialog box.
Details setting the application gamma value and enabling the gamma correction function.
Covers inserting/positioning media and ejecting film for film scanners.
Explains selecting the type of media to be scanned, such as Color or Grayscale.
Describes using different color filters for grayscale scanning to drop out unwanted colors.
Details buttons for rotating, flipping, and resizing the preview image in the crop/preview area.
Explains how to set up a new crop area or move/resize the current crop area.
Covers setting output size, resolution, scale, and aspect ratio locking for the crop.
Guides on adjusting image focus for film scanners, including manual adjustment.
Describes using the Autoexposure function to perform a prescan after a preview operation.
Sets brightness for Color/Grayscale or threshold for B&W Line Art images using slider controls.
Adjusts contrast for Color or Grayscale images, affecting tone curve and gradation subtlety.
Adjusts color balance using Red, Green, and Blue controls, impacting overall color cast.
Displays RGB values or CMY percentages at the cursor position within the preview area.
Explains how gamma curves are displayed for Color and Grayscale media types, including master and primary curves.
Describes viewing the histogram as a statistical representation of image densities and brightness.
Guides on manually or automatically altering gamma curves and forcing them to linear states.
Details setting the darkest (Black Point) and lightest (White Point) pixels to optimize tonal range.
Explains using automatic adjustment to select optimal neutral Black and White Points for contrast.
Describes how to save the current Main dialog box settings to a file within the system folder.
Explains how to delete previously saved user settings.
Guides on recalling factory default, last session, or user-saved settings into the Main dialog box.
Covers saving settings to an external file and reading them back into the application.
Resets modified gamma curves, brightness, contrast, and color balance adjustments to default.
Explains software interpolation for precise image scaling and resolution on specific models.
Details choosing the film format to scan, affecting resolution, scanning area, and prescan.
Covers setting preview and final scan quality to high speed or high quality modes.
Explains performing lamp calibration using the Make Shading function after lamp replacement.
Guides on enhancing edge contrast by applying sharpening effects like Sharpen More or Blur.
Shows the Main dialog box for AX-110/AX-210, noting differences like lack of Eject Film/Autofocus buttons.
Explains using transparency adapters and Auto Document Feeders with AX-110/AX-210 scanners.
Describes software interpolation options (Bilinear, Nearest Neighbor) for AX-110/AX-210.
Guides on applying sharpening effects like Sharpen More or Blur to images on AX-110/AX-210.