Connectivity
124
or address book application you want to synchronise your
game deck data with.
Options in Remote sync main
view: Synchronise, New sync profile, Edit sync profile,
Delete, View log, Help, and Exit.
Creating a new synchronisation profile
Glossary: Synchronisation profile is the settings
for the remote server. You can create several profiles if
you need to synchronise your data with multiple
servers or applications.
1 If no profiles have been defined, the game deck asks
you if you want to create a new profile. Select Yes.
To create a new profile in addition to existing ones,
select Options→ New sync profile. Choose whether you
want to use the default setting values or copy the
values from an existing profile to be used as the basis
for the new profile.
2 Define the following:
Sync profile name - Write a descriptive name for the
profile.
Bearer type / Host address / Port / HTTP authentication -
Contact your service provider or system administrator
for the correct values.
Access point - Select an access point you want to use
for the data connection. For more information, see
‘Connection settings’, p. 41.
User name - Your user ID for the synchronisation server.
Contact your service provider or system administrator
for your correct ID.
Password - Write your password. Contact your service
provider or system administrator for the correct value.
Calendar - Select Yes if you want to synchronise your
calendar.
Remote calendar - Enter a correct path to the remote
calendar on the server. Must be defined if the previous
setting Calendar has been set to Yes.
Contacts - Select Yes if you want to synchronise your
contacts.
Remote contacts - Enter a correct path to the remote
address book on the server. It must be defined if the
previous setting Contacts has been set to Yes.
3 Press Done to save the settings.
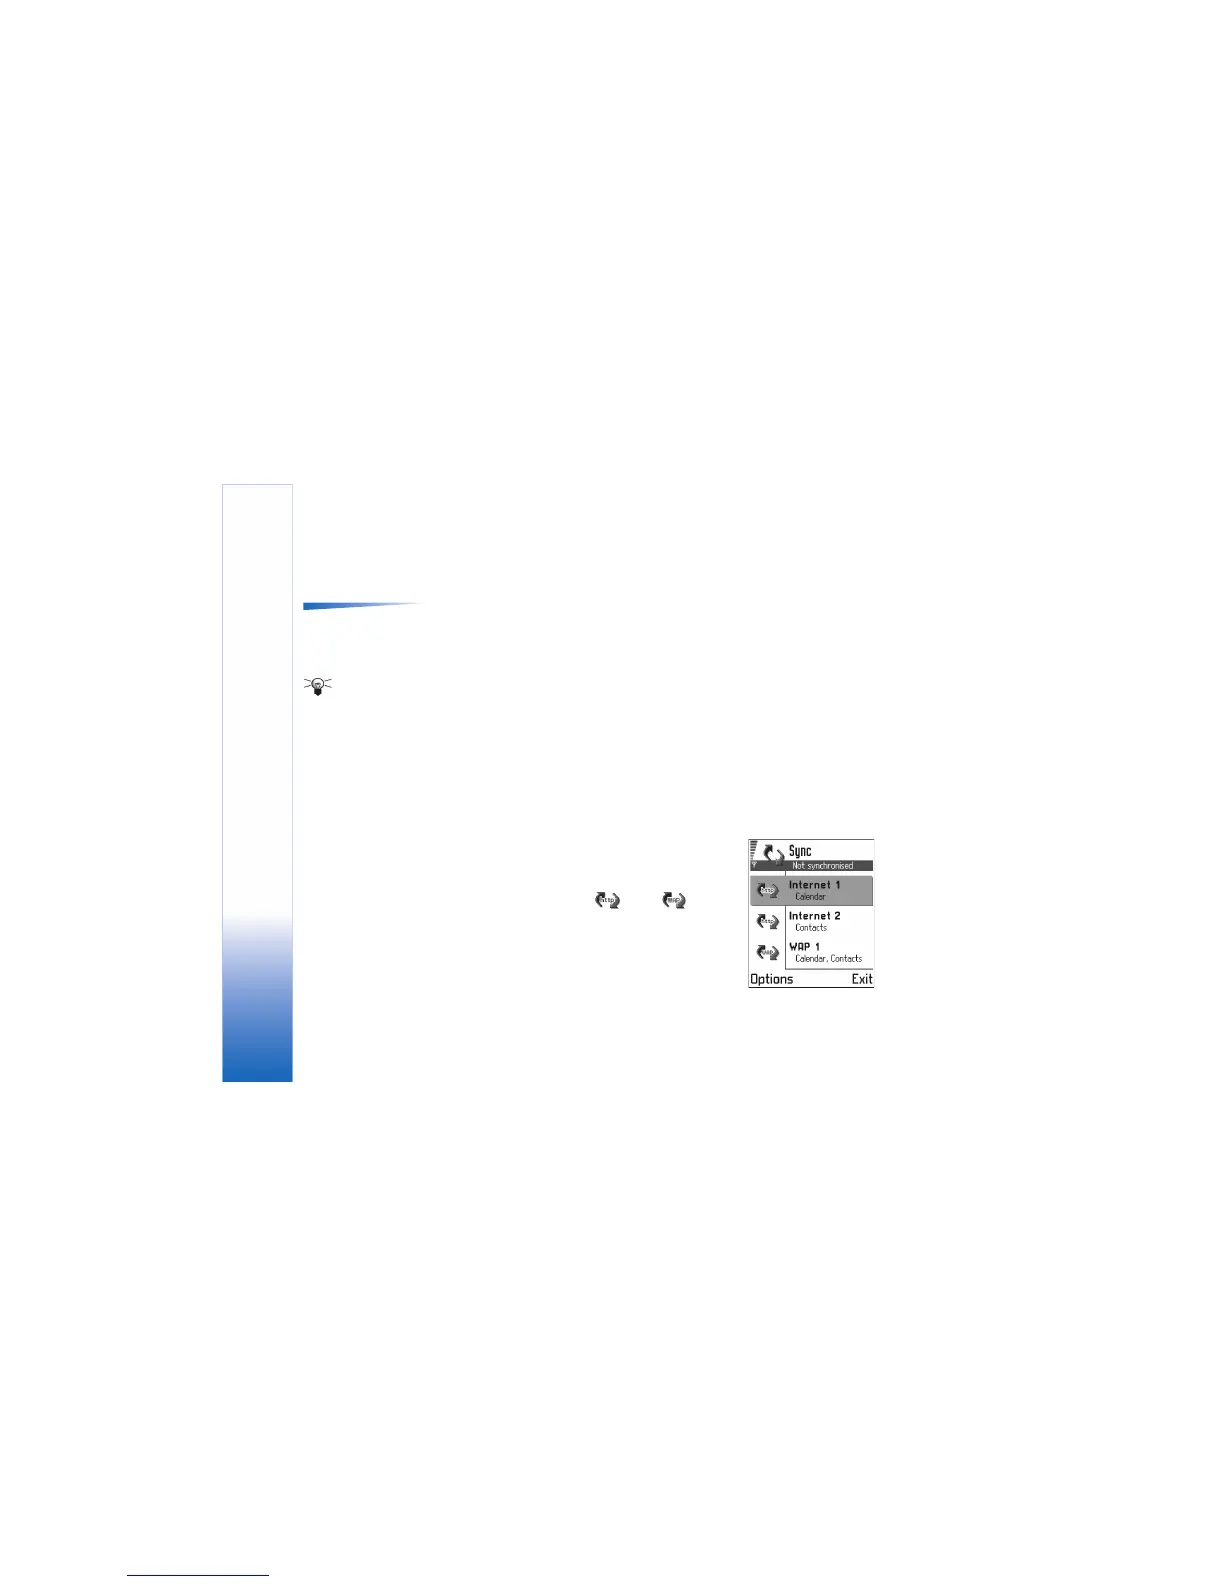
Synchronising data
In the Sync main view, you
can see the different profiles.
You can also see which
protocol the profile uses:
http or WAP and
what kind of data will be
synchronised: Calendar,
Contacts, or both.
1 In the main view, scroll to
a profile and select

 Loading...