Setting up your receiver
OCEASOFT LoRaWAN Receiver User Guide Page 15
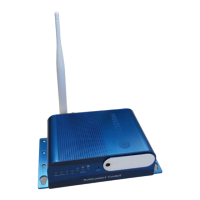
Connect your computer to the configuration interface
1. Plug the Ethernet network cable into the Ethernet port on the back of the
receiver.
Figure 9 – Advanced model with Ethernet cable
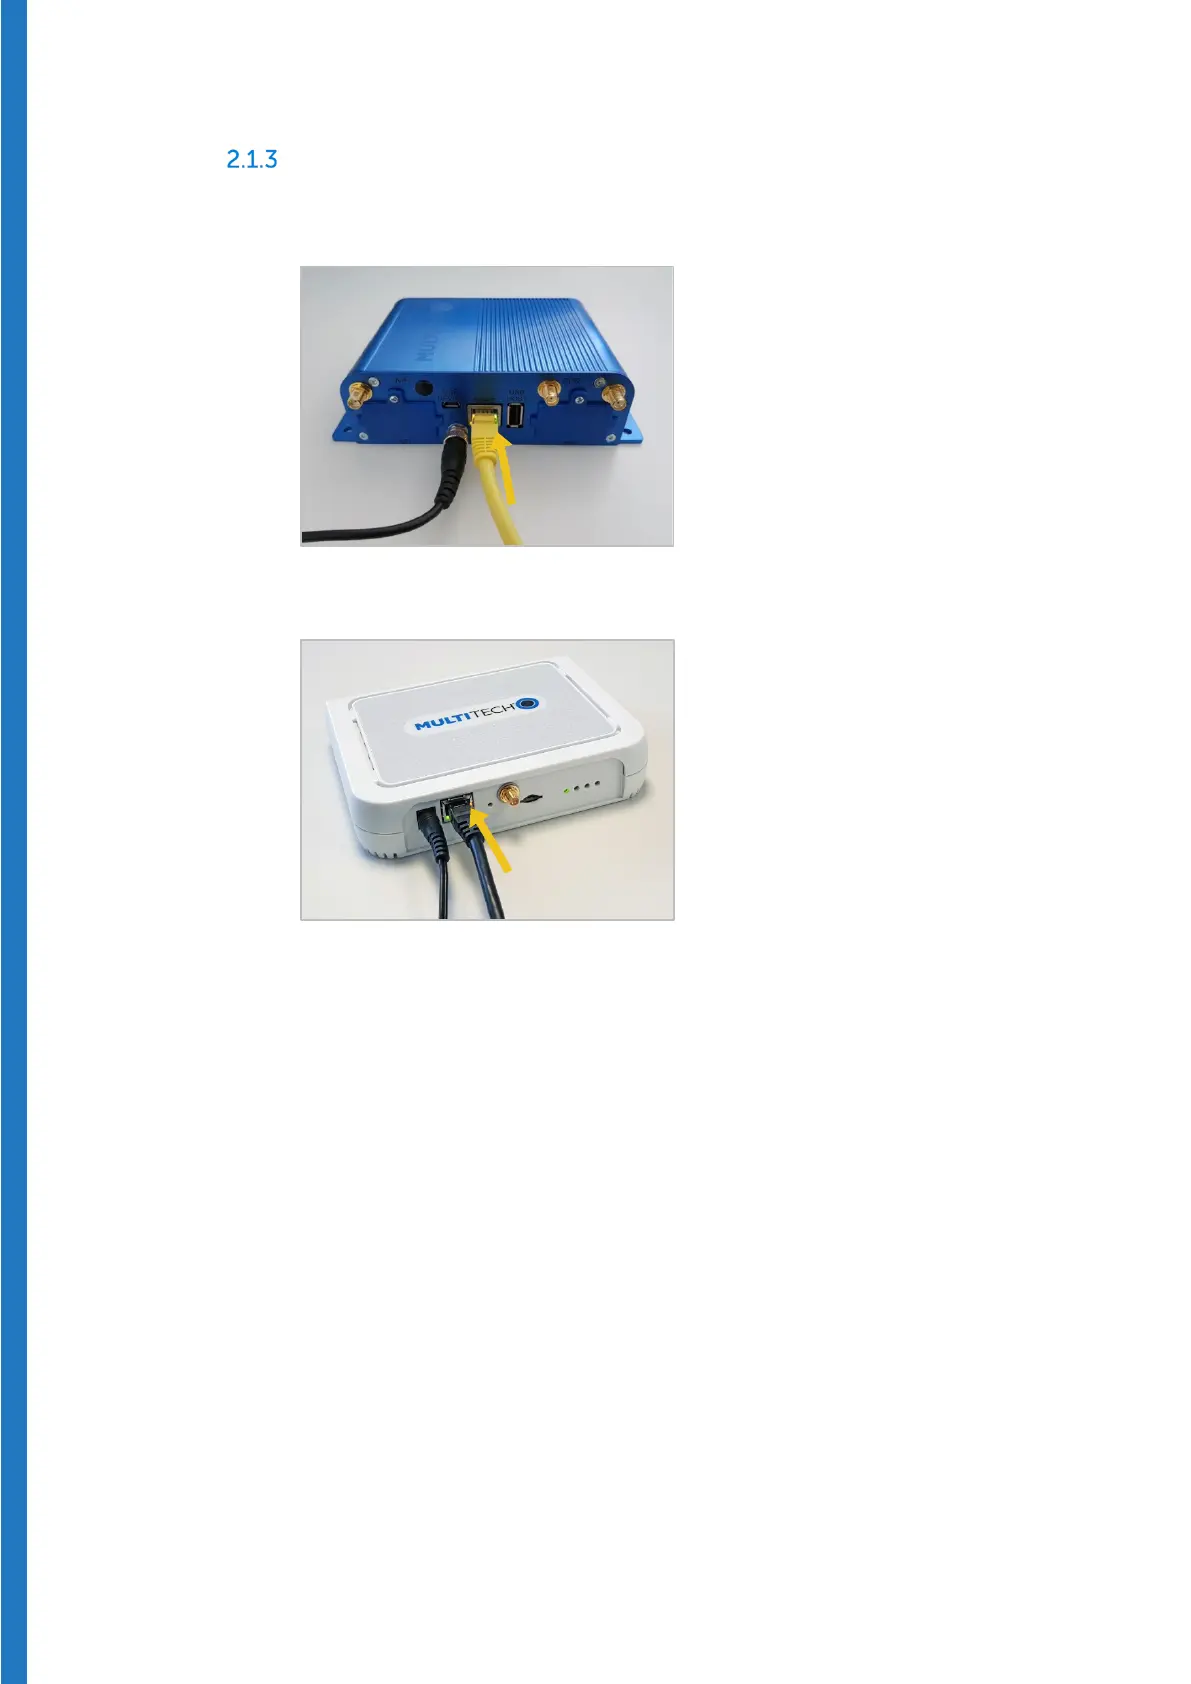
Figure 10 – Pro model with Ethernet cable
2. Plug the other end of the cable into one of the following:
a. Local Area Network
If your Local Area Network uses the following IP addresses:
192.168.2.x, you may skip to step 3. Otherwise, or if you are unsure,
see step 2.b (below).
b. Computer
The receiver does not have a DHCP client or server, which means
you must manually set an IP address on your computer in order to
communicate with the receiver. In your computer’s network
settings, assign the following IP information temporarily (make sure
you change it back when done configuring your receiver):
IP: 192.168.2.199
Mask: 255.255.255.0
Do not change the Default Gateway or DNS