EN-28 Defender 3000 Indicators
4.2 Calibration Menu
Enter the calibration menu C.A.L to perform calibrations.
4.2.1 Initial Calibration
When the scale is operated for the first time, a zero and span calibration are recommended to ensure accurate
weighing results.
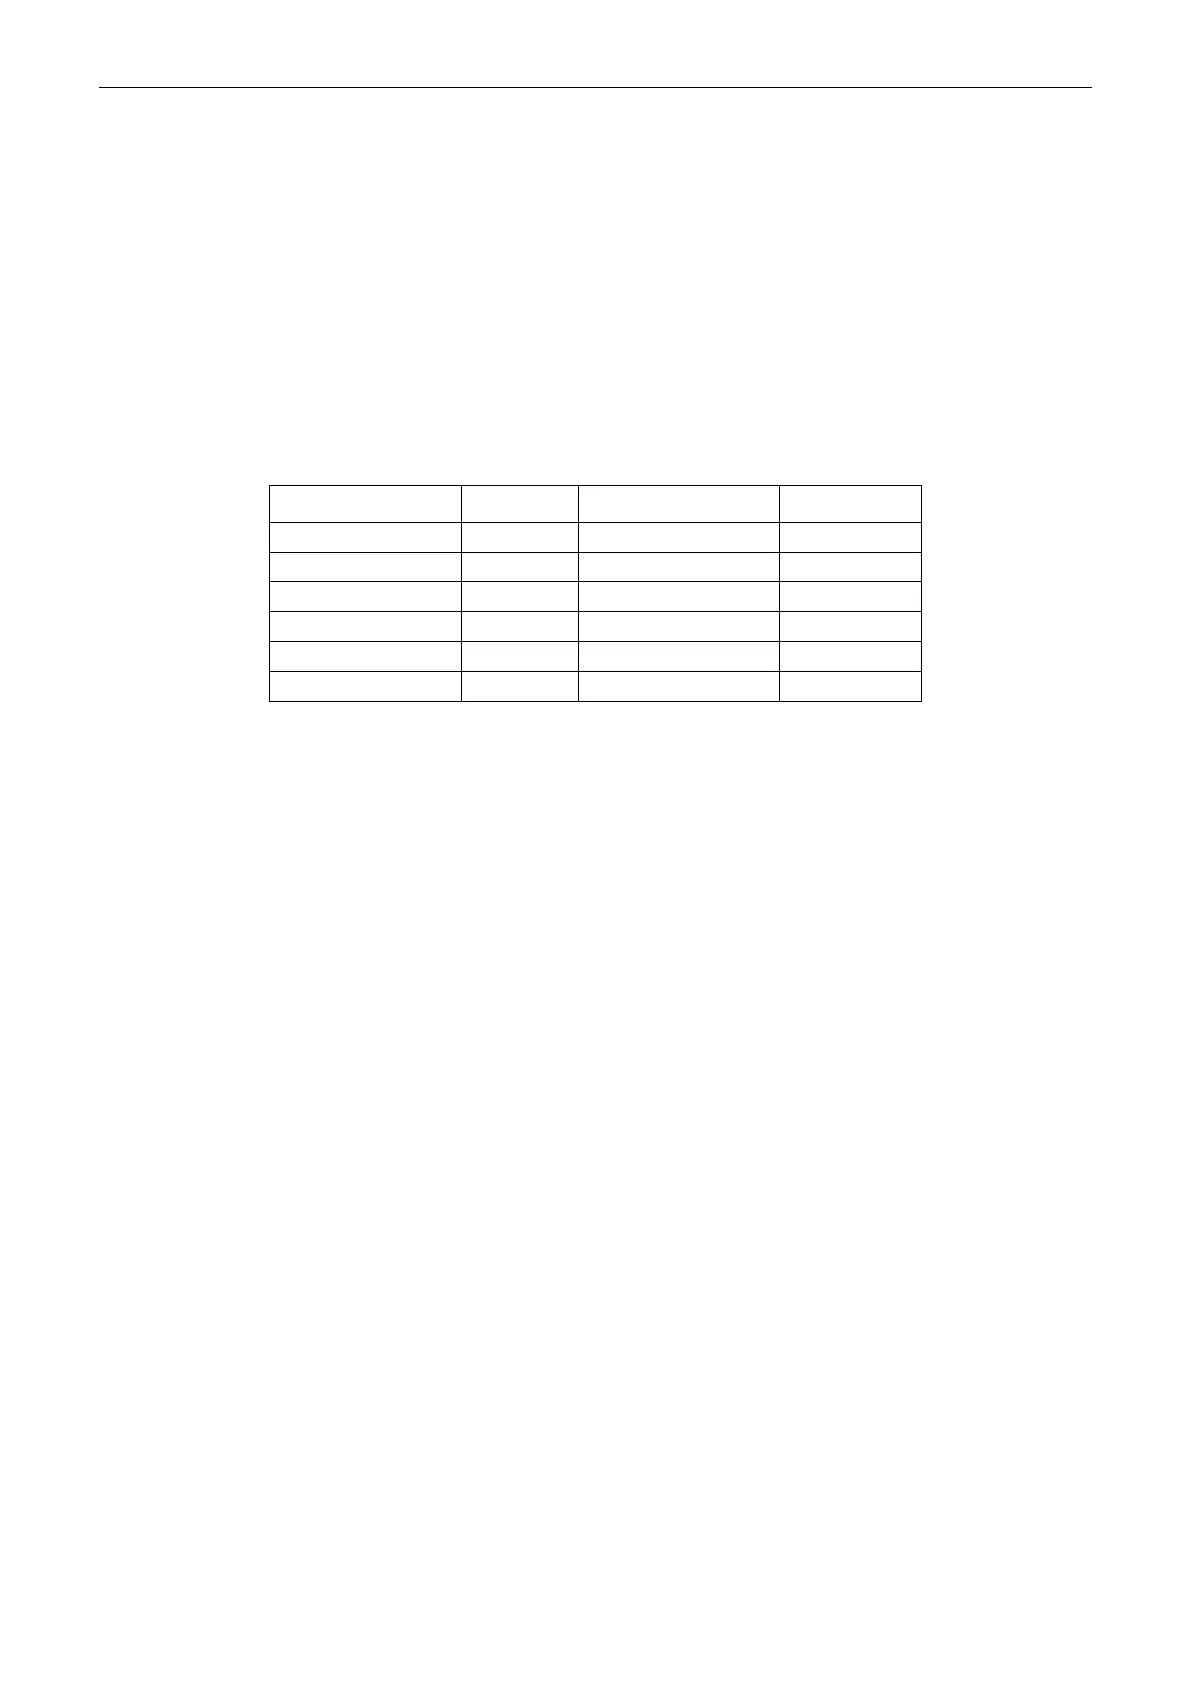
Before performing the calibration, be sure to have the appropriate calibration weights as listed in table 4-1.
Ensure that the LFT switch/calibration lock is set to the unlocked position.
You can also adjust the GEO setting according to your location. For detailed GEO information, please check
the Geo Code Adjustment section below.
Table 4-1 Suggested Span Calibration Mass (Sold Separately)
Note:
The calibration unit is consistent with the capacity unit.
4.2.2 Zero Calibration [ZErO]
Zero calibration uses one calibration point. The zero calibration point is established with no weight on the scale.
Use this calibration method to adjust for a different static load without affecting the span or linearity calibration.
Calibration procedures:
1. Long press the Menu button until you see mM.E.N.U.
2. Release the button and wait for the display to show C.A.L. Press the Yes button.
3. The display shows ZErO. Press the Yes button.
4. 0 kg and the calibration unit are flashing on the display. With no weight on the pan, press the Yes button to
establish the zero point.
5. The display shows --C--, and then -DONE- when the Zero calibration is finished.
Note:
If zero calibration is failed or if after 40 seconds the calibration is still not successful, CAL E is displayed for
3 seconds and the previous calibration data will be restored.
6. Then the display shows SPAN. Press the Exit button to exit.
4.2.3 Span Calibration [SpaN]
Span calibration uses one calibration point. It is established with a calibration mass placed on the scale.
Note: Span calibration should be performed after zero calibration.
Calibration procedures:
1. Long press the Menu button until you see mM.E.N.U.
2. Release the button and wait for the display to show C.A.L. Press the Yes button.
3. Short press the No button to navigate until you see SPAN. Press the Yes button.
4. The calibration point and the unit are flashing on the display based on the scale capacity and unit set in the
menu. (e.g. 030.000 kg) If you do not need to change the calibration point, skip to step 6.
5. To change the calibration point:
a) Short press the No button several times until the desired number appears.
Note: press the Back button can decrease the digit.
b) Short press the Yes button to accept the number and move on to the next digit.



 To Next Page