C5550 MFP User’s Guide
Installing upgrades > 144
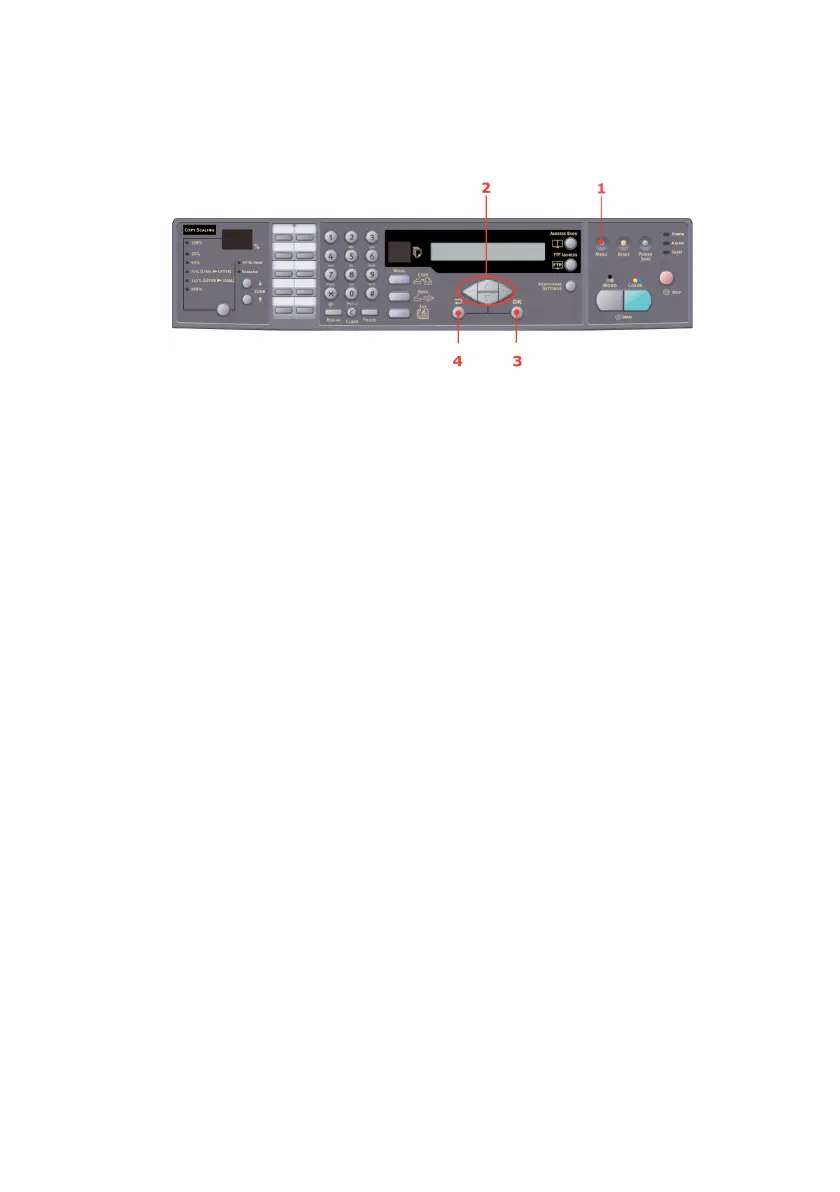
10. When the MFP is ready, print a menu map as follows:
Control menu_oda.jpg
(a) Press Menu (1) on the scanner control panel.
(b) Using the UP/DOWN arrow keys (2), navigate to
the Report Print menu and press OK (3) once for the
menu map.
(c) Press OK (3) again to print the menu map.
(d) When the menu map is printed, press Return (4) to
exit the menu system.
11. Examine the first page of the menu map.
Near the top of the page, between the two horizontal lines,
you will see the current MFP configuration. This list
contains the figure for total memory size.
This should indicate the total memory now installed, which
should be the size of memory board you have installed plus
256MB.
H
ARD
DISK
DRIVE
The optional 40GB internal hard disk drive (HDD) enables
collating of printed pages and can be used to store overlays and
macros, fonts, and secure or proof documents waiting to be
printed.
1. Switch the MFP off and disconnect the AC power cable.