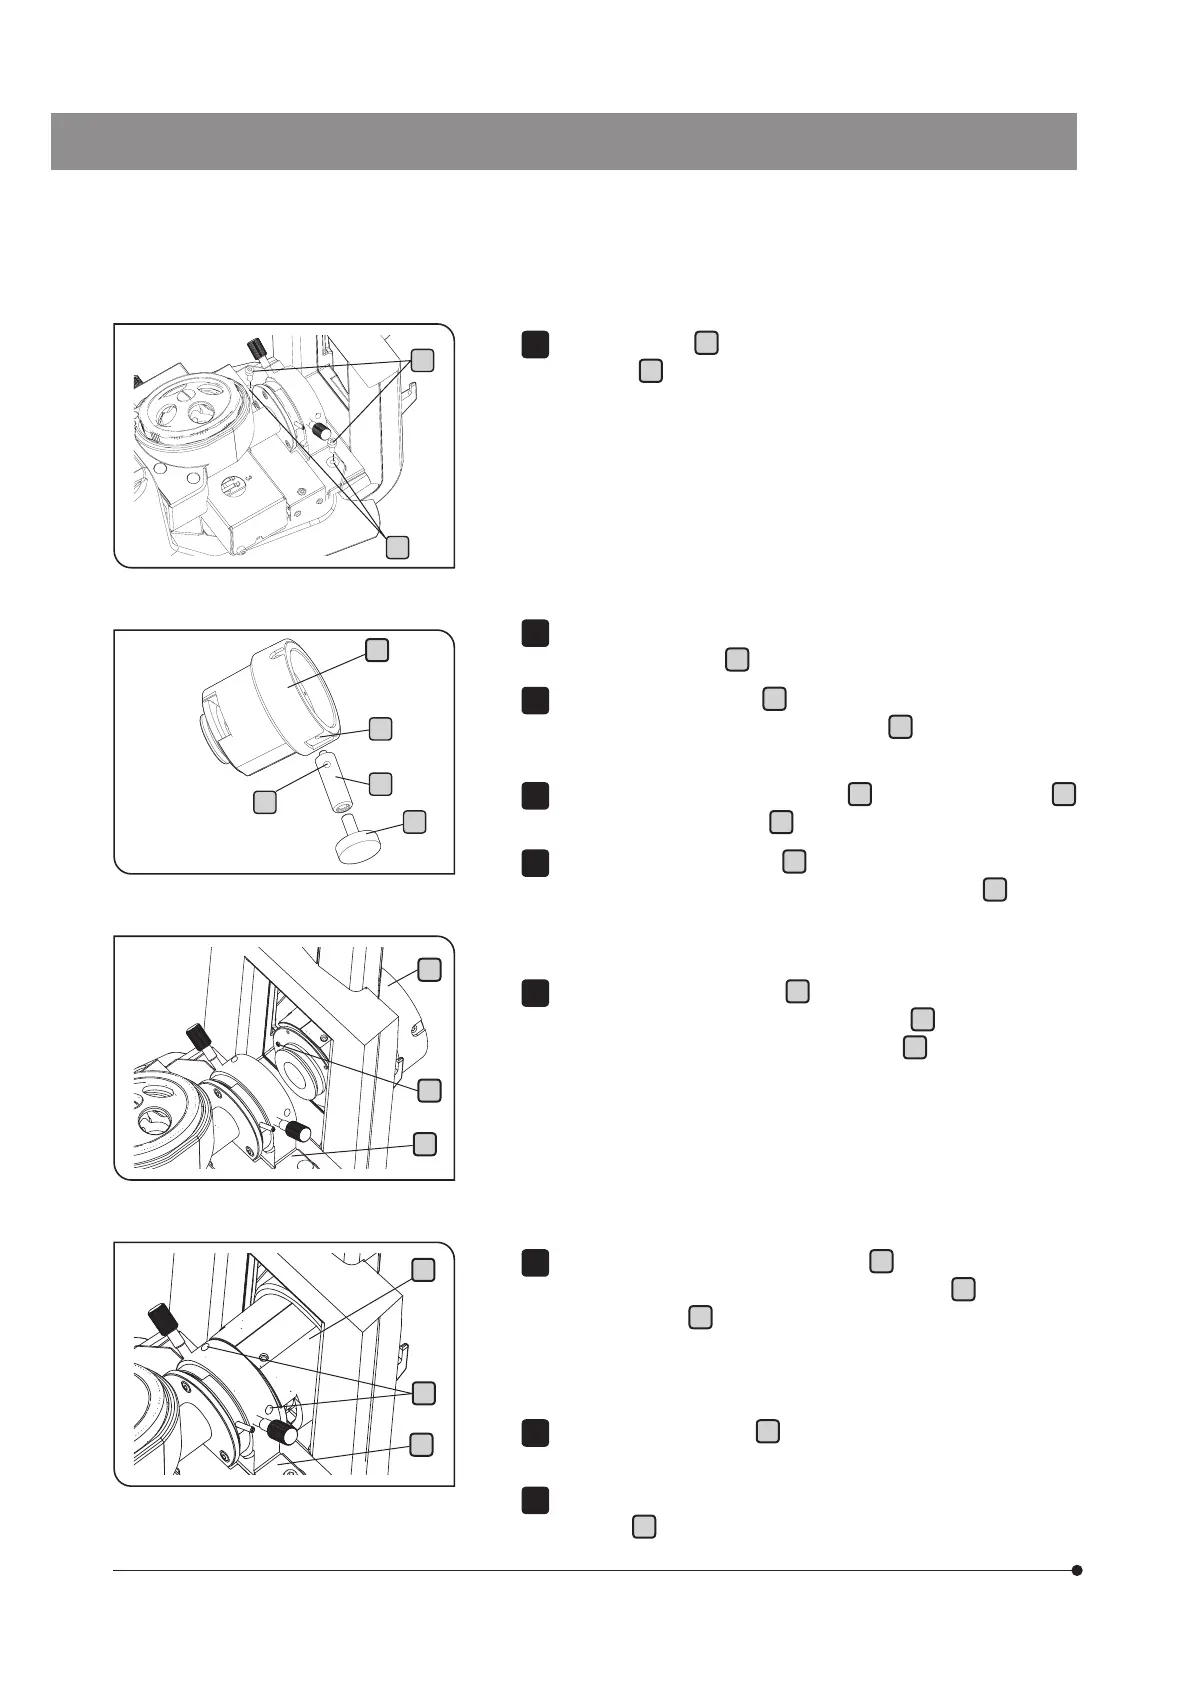
36
Insert the screws
a
which secured the dust cover into the holes (2
positions)
g
of the frame side part, and tighten them with the Allen
wrench to secure to the microscope frame.
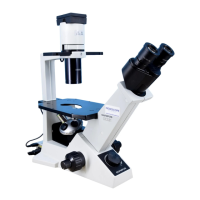
8
Detach the the filter slider for reflected light illumination from the
light source side part
e
. For procedures to detach it, see page 37.
Attach the column portion
i
of support pillar for fluorescence
illuminator by screwing into the screw hole
h
of the light source
side part.
Insert the Allen wrench into the hole
k
of the column portion
i
,
and tighten column portion
i
to secure to the light source side part.
Screw the adjuster portion
l
of support pillar for fluorescence
illuminator into the screw hole of the column portion
i
until the
screw becomes slightly visible.
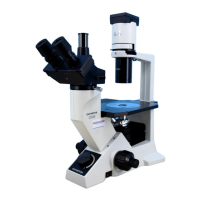
9
10
12
After the light source side part
e
is inserted under the stage from the
back of the microscope frame, insert the pins
m
of the light source
side part to the groove of the frame side part
d
.
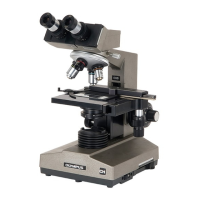
13
Tighten the setting screws (2 positions)
c
of the illuminator using
the Allen wrench, and combine the frame side part
d
with the light
source side part
e
.
14
Rotate the adjuster portion
l
so that the bottom surface of the adjuster
portion contacts the desk top surface.
Attach the filter slider for reflected light illumination to the light source
side part
e
. For procedures to attach it, see page 37.
15
16
e
d
c
d
m
e
g
a
h
l
k
i
e