9
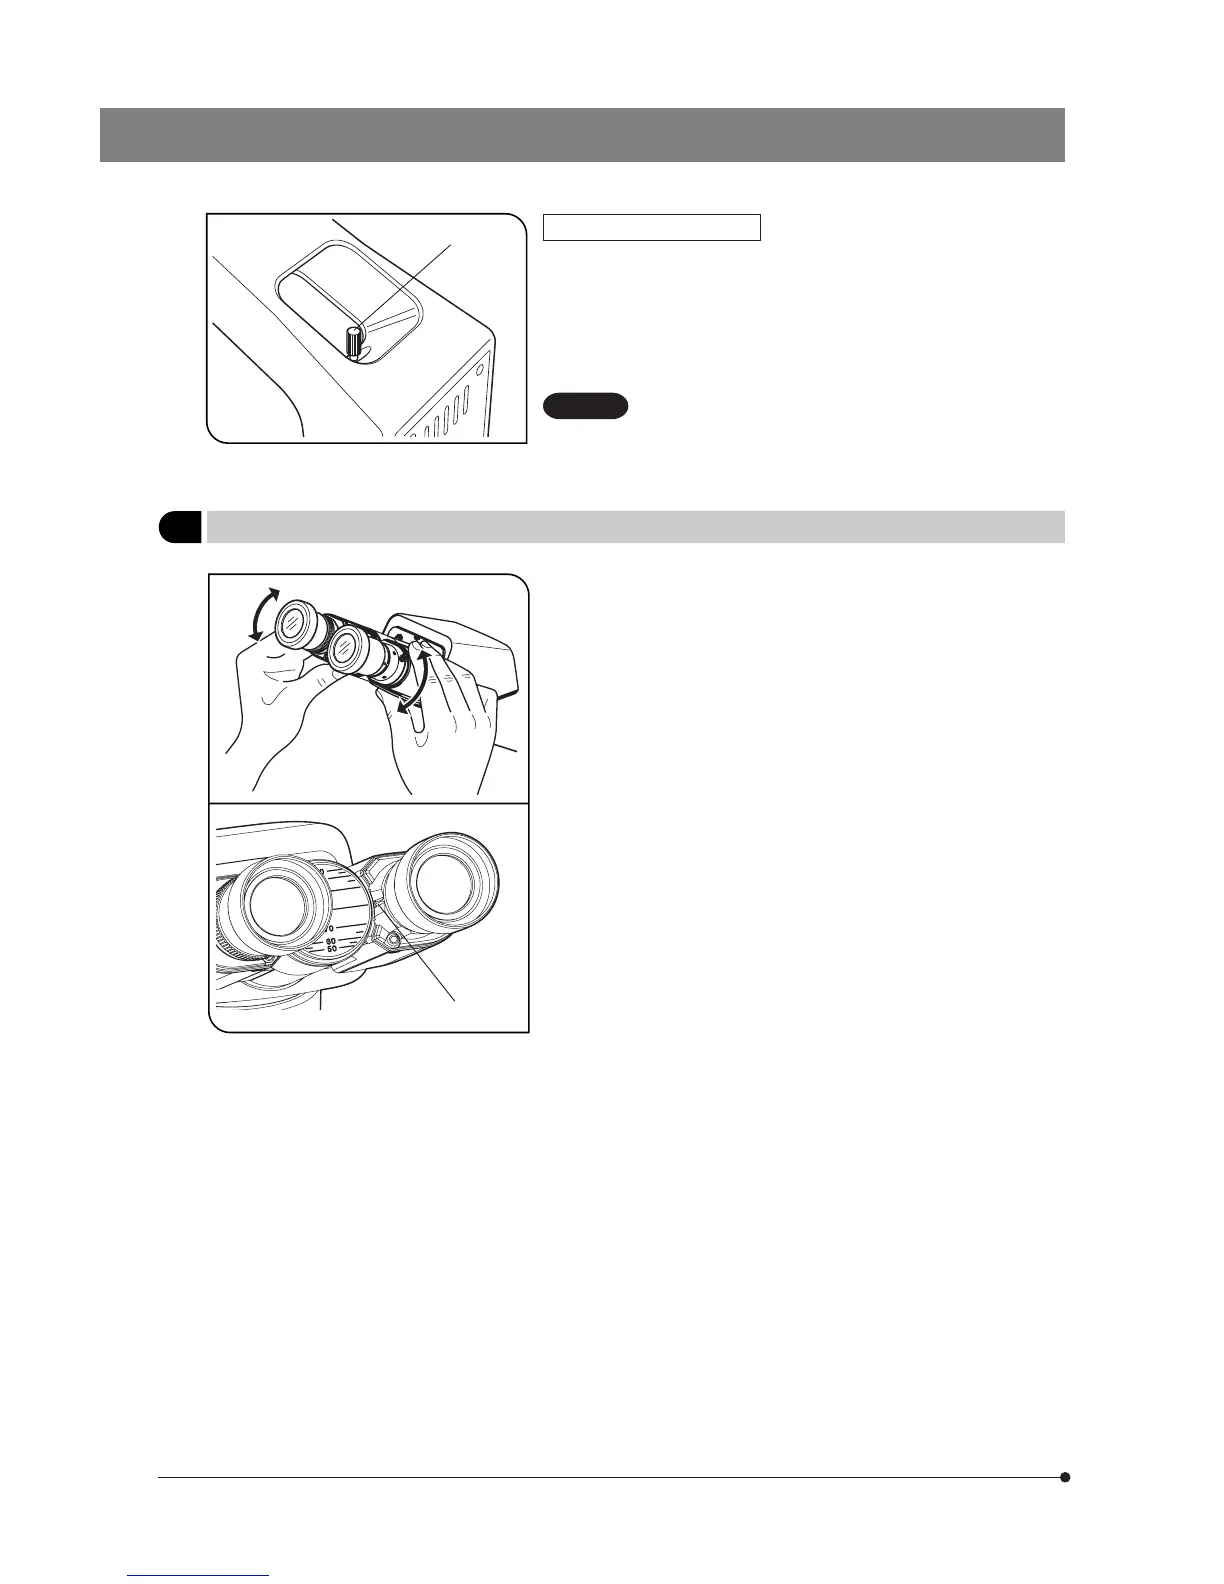
Fig. 10
Pre-focusing Knob (Fig. 10)
}The pre-focusing knob controls the mechanism for preventing collision
between the specimen and objective.
1. After bringing the specimen into focus, turn the pre-focusing knob 1
inside the hole of the arm so that the pre-focusing mechanism hits the
stage guide.
2. To provide a certain margin for focusing, rotate the knob by about half
turn backward from the stopped position.
If the function of this mechanism is not required, set the
pre-focusing knob 1 at the highest position. If the pre-
focusing knob 1 is not set at the highest position, the
specimen may not be focused.
@
CAUTION
4
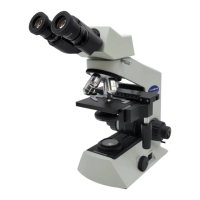
Adjusting the Interpupillary Distance
(Fig. 11)
}The interpupillary distance adjustment is to regulate the two eyepieces
according to that between your eyes so that you can observe a single
microscopic image through two eyepieces. This helps to reduce fatigue
during observation.
While looking through the eyepieces, move both eyepieces until the left
and right fields of view coincide completely.
When the both of eyepieces are lined in the horizontal position, the posi-
tion of index ridge on the right side eyepiece sleeve 1 indicates the
interpupillary distance value.
}Note your interpupillary distance so that it can be quickly duplicated.
}You can move the eyepieces upward and downward from the position
where both eyepieces are in a straight line with maximum interpupillary
distance.
Fig. 11
@