4.9 Inspection of brightness adjustment
51
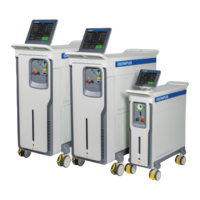
CLV-190 INSTRUCTION MANUAL
Ch.4
Tabl e 4.1
Inspection of automatic brightness adjustment
When disconnecting the camera head or the video converter from the endoscope
without turning the examination lamp OFF, make sure that the brightness mode
indicator is set to “MANU” and that the light intensity adjustment button is set to the
minimum examination light intensity. If the camera head or the video converter is
disconnected while the brightness mode indicator is set to “AUTO”, the intense light
may cause eye injury.
4.9 Inspection of brightness adjustment
Confirm that the brightness of the examination lamp can be adjusted.
The inspection method differs according to the endoscope to be used. Select either
the “AUTO” or “MANU” mode as shown in Table 4.1.
Brightness
adjustment mode
Connected endoscopes
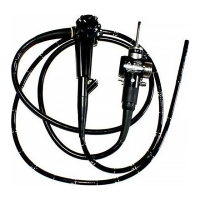
AUTO EVIS EXERA III 190 series videoscope
EVIS EXERA 160, EVIS EXERA II 180 series videoscope
EVIS 100, EVIS 130, EVIS 140 series videoscope
OES fiber endoscope used in combination with the video converter
Rigid videoscope
Flexible videoscope
Rigid endoscope used in combination with a camera head and the light guide cable
Fiber endoscope used in combination with a camera head and the light guide cable
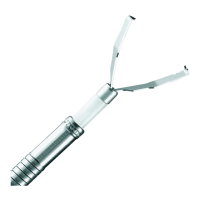
MANU OES fiber endoscope
Rigid endoscope used in combination with the light guide cable
Fiber endoscope used in combination with the light guide cable

 Loading...