Assembling the Supers
Your Beehaus supers come in component form. Although you might not need the supers immediately, it is a good idea to
assemble them so that they are to hand when you do need them.
To assemble a Super, you will need 2 ends, 2 sides, 2 long bolt rods and 4 bolt ends per super. Assemble on a flat surface such as a
kitchen work top.
vaTht
Screw the bolt end on to the bolt
rod. Repeat on other end.
Secure the other side panel and
tighten fixings.
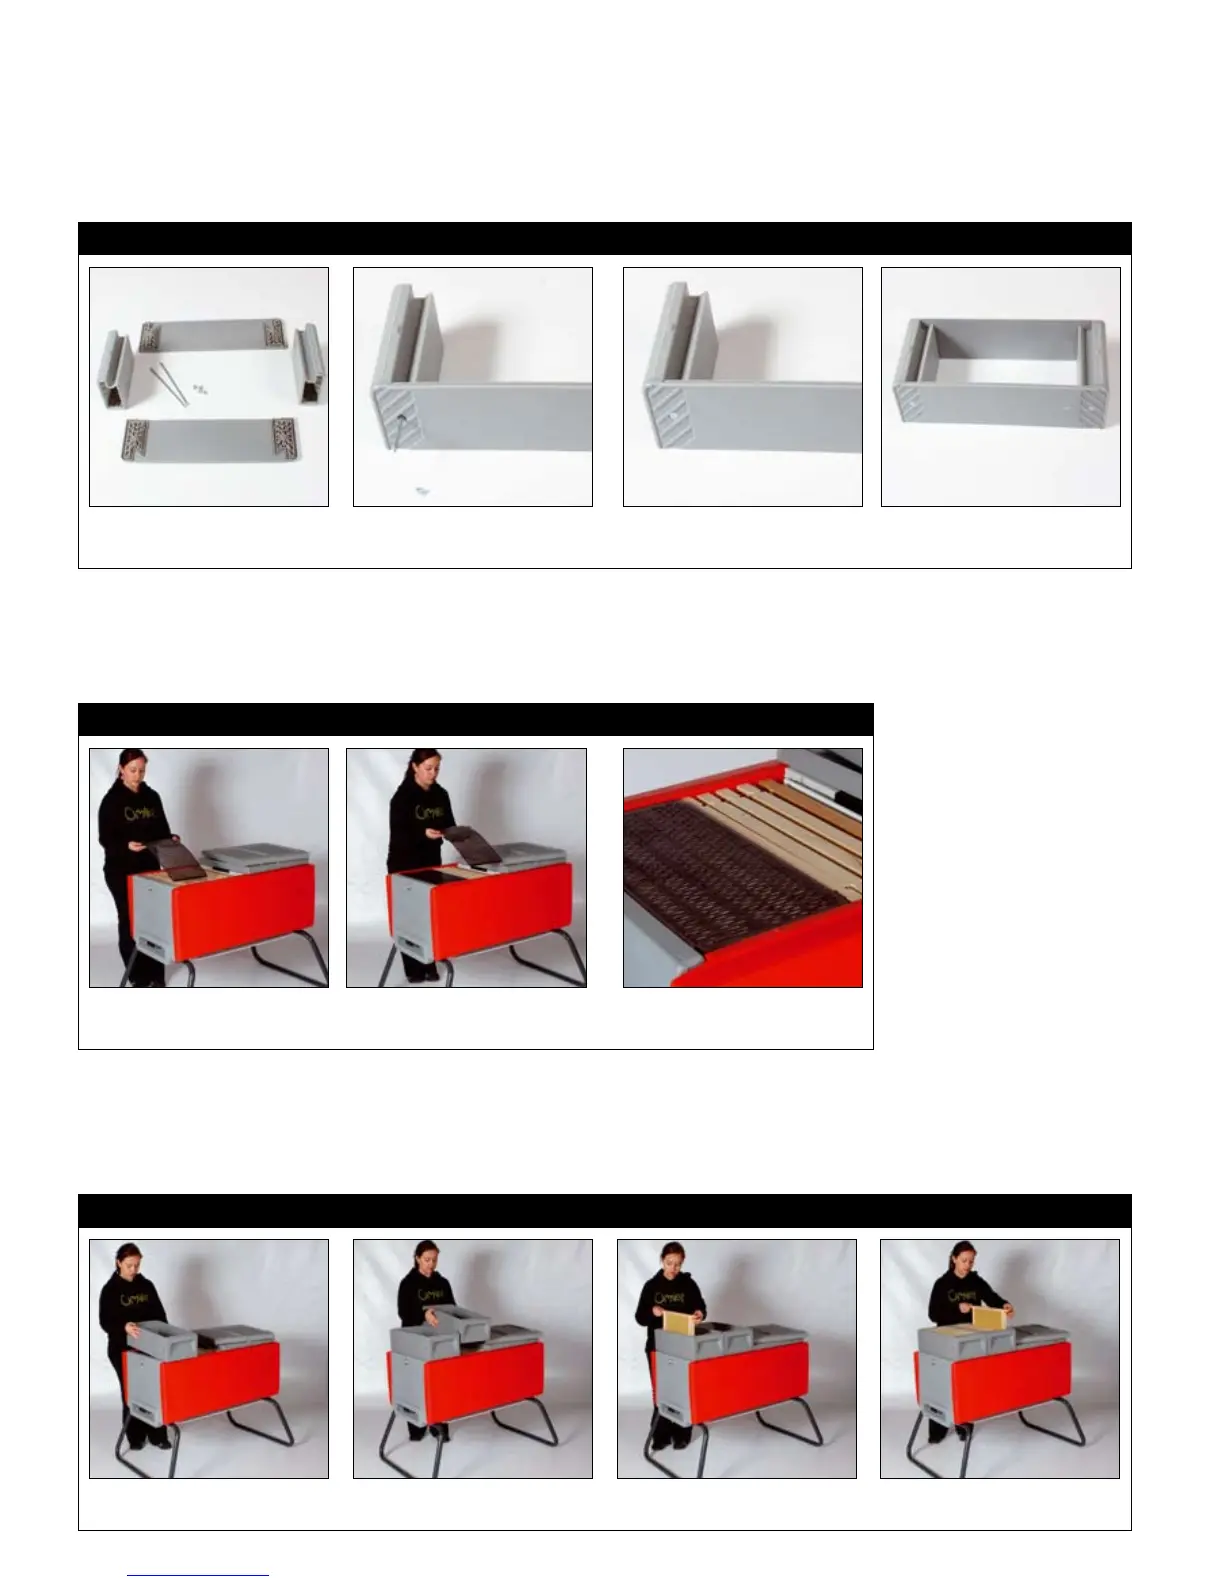
Assembling supers
The parts for 1 super. Line up a side panel and insert
bolt rod. Repeat on other end.
Fitting queen excluders
Place the queen excluders on top of the frames. Its normal for 2 queen excluders
to overlap.
Adding Queen Excluders
Your Beehaus has 4 queen excluders which stop the queen walking up and laying eggs in the supers, which are for honey storage
only. You should add queen excluders if you have supers on your Beehaus.
Adding a super to your Beehaus
Over the course of the beekeeping season you will need to adapt your Beehaus to suit your colonies requirements. You must
provide space for your bees to store honey by adding supers to your Beehaus.
Step 1 - Adding the supers
Insert the small super frames into the supers. Each super can hold a
total of 5 Manley spaced frames or 6 Hoffman spaced frames.
Place the supers directly on top of the queen excluder.