EasyManuals Logo

Omron NX1P2 series User Manual

Omron NX1P2 series
340 pages
To Next Page IconTo Next Page
To Previous Page IconTo Previous Page
Page #188 background imageLoading...
Page #188 background image
5 Installation and Wiring
5 - 56
NX-series NX1P2 CPU Unit Hardware Users Manual (W578)
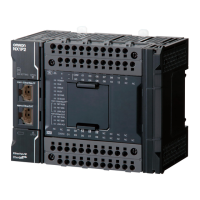
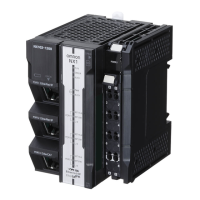
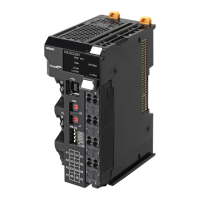
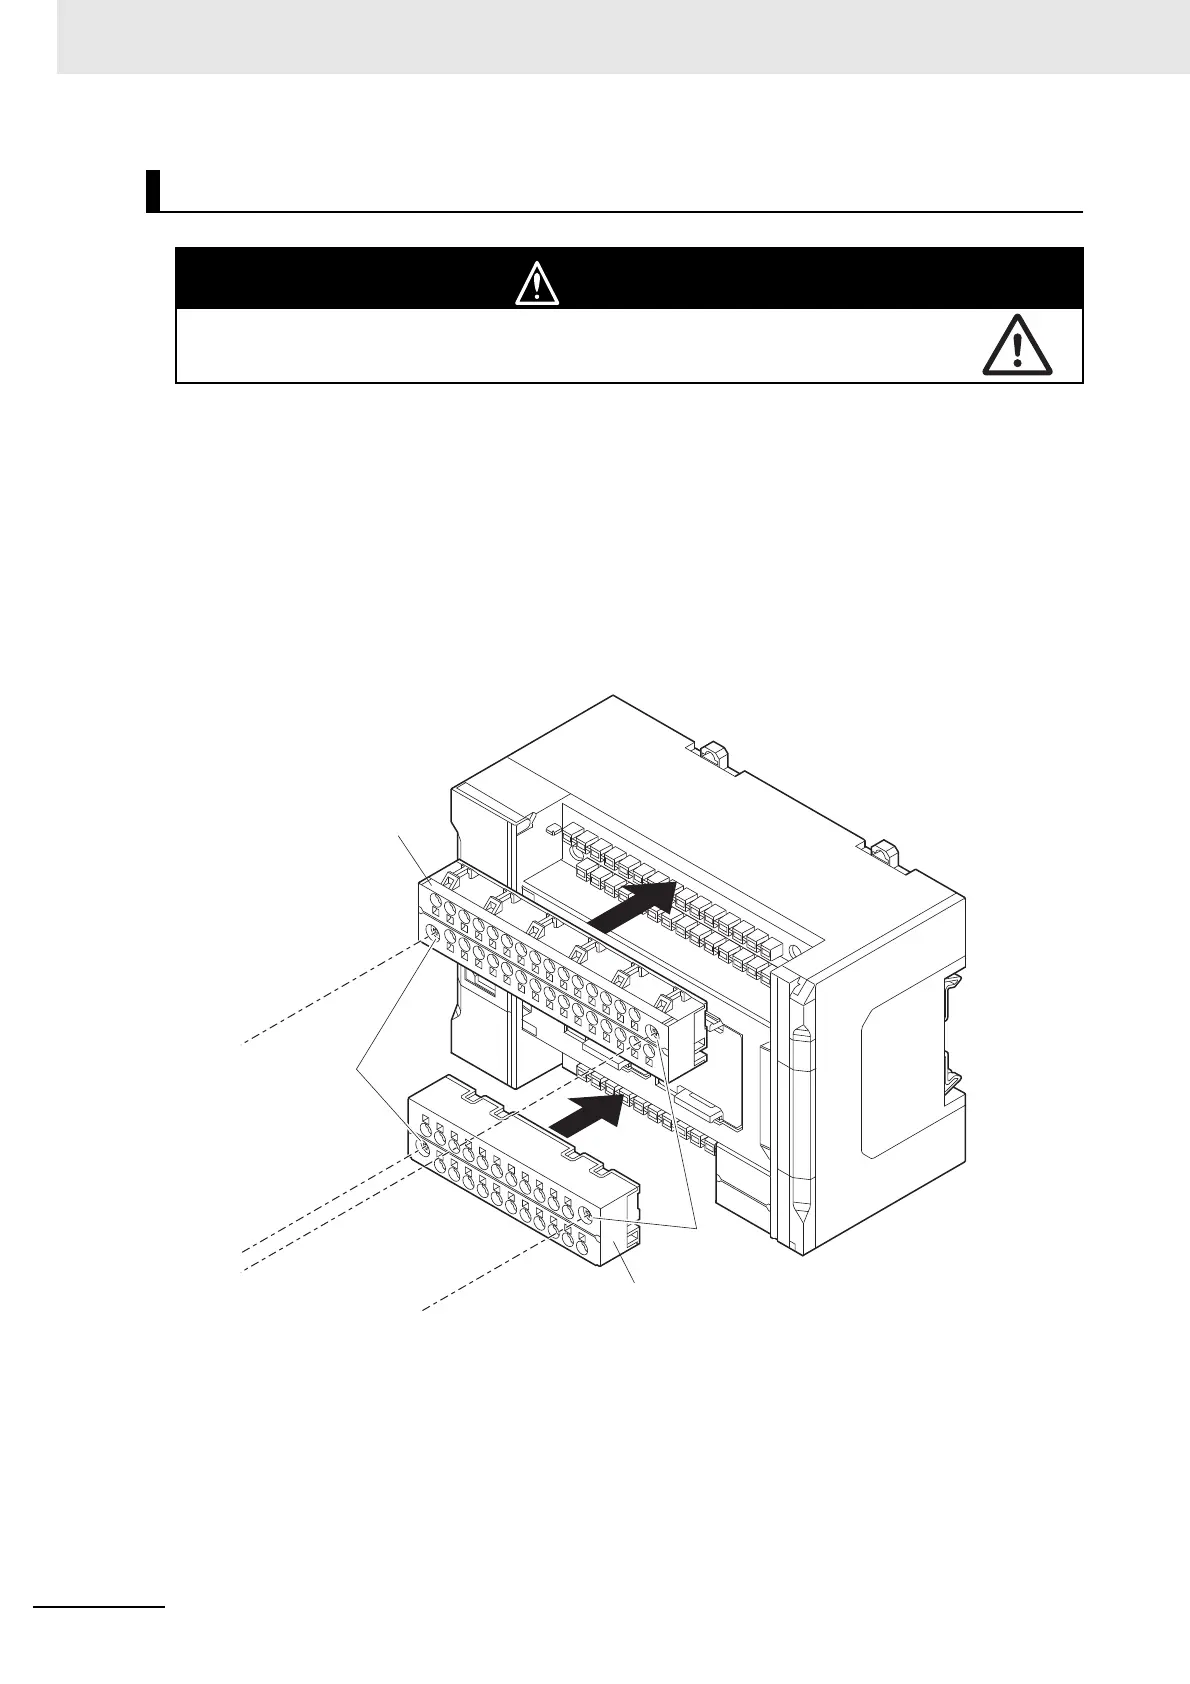
1 Press the terminal block into the CPU Unit, and tighten the M3 screws on the right and left sides
of the terminal block to mount it securely.
These screws are the self-raising screws, so you need to tighten the screws to connect the ter-
minal block.
Tighten the right and left screws alternately if they are hard to tighten.
If the terminal blocks are only pressed into positions, it is not fixed and electrical connection is
not ensured. Be sure to tighten the right and left screws firmly.
Tighten the screws to the torque of 0.5 N·m.
After you mount the terminal block, make sure that it is fixed to the Unit.
Attaching a Terminal Block
Be sure that all terminal fixing screws are tightened to the specified torque. Loose screws may
result in fire or malfunction.
CAUTION
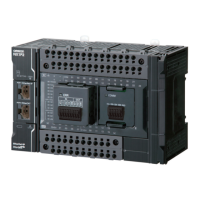
Input terminal block
Output terminal block
M3
screw
M3 screw

Table of Contents

Other manuals for Omron NX1P2 series

Questions and Answers:

Question and Answer IconNeed help?

Do you have a question about the Omron NX1P2 series and is the answer not in the manual?

Omron NX1P2 series Specifications

General IconGeneral
ModelNX1P2 Series
ManufacturerOmron
TypeController
CPU Units1
Program Capacity5 MB
Data Memory Capacity128 KB
Ethernet Ports1
Serial Ports1
Built-in EtherNet/IP PortYes
Built-in EtherCAT PortYes
Built-in USB PortYes
SD Memory Card SlotYes
USB Port1
Power Supply Voltage24 VDC
Programming LanguageLadder, Structured Text, Function Block Diagram
Communication ProtocolsEtherNet/IP, EtherCAT, Serial (RS-232C)

Related product manuals