51
First Time Setup—Continued
If you connect an -capable Onkyo MiniDisc
recorder, CD recorder, or next generation HDD-compat-
ible component to the TAPE IN/OUT or VIDEO 3 IN
jacks, for to work properly, you must change this
setting.
This setting can only be changed on the AV receiver.
iPod photo: If you’re using an iPod photo with the
DS-A1 Remote Interactive Dock, connect the DS-A1 to
the VIDEO 3 IN jacks.
Note:
HDD can be selected for the TAPE input selector or
VIDEO 3 input selector, but not both at the same time.
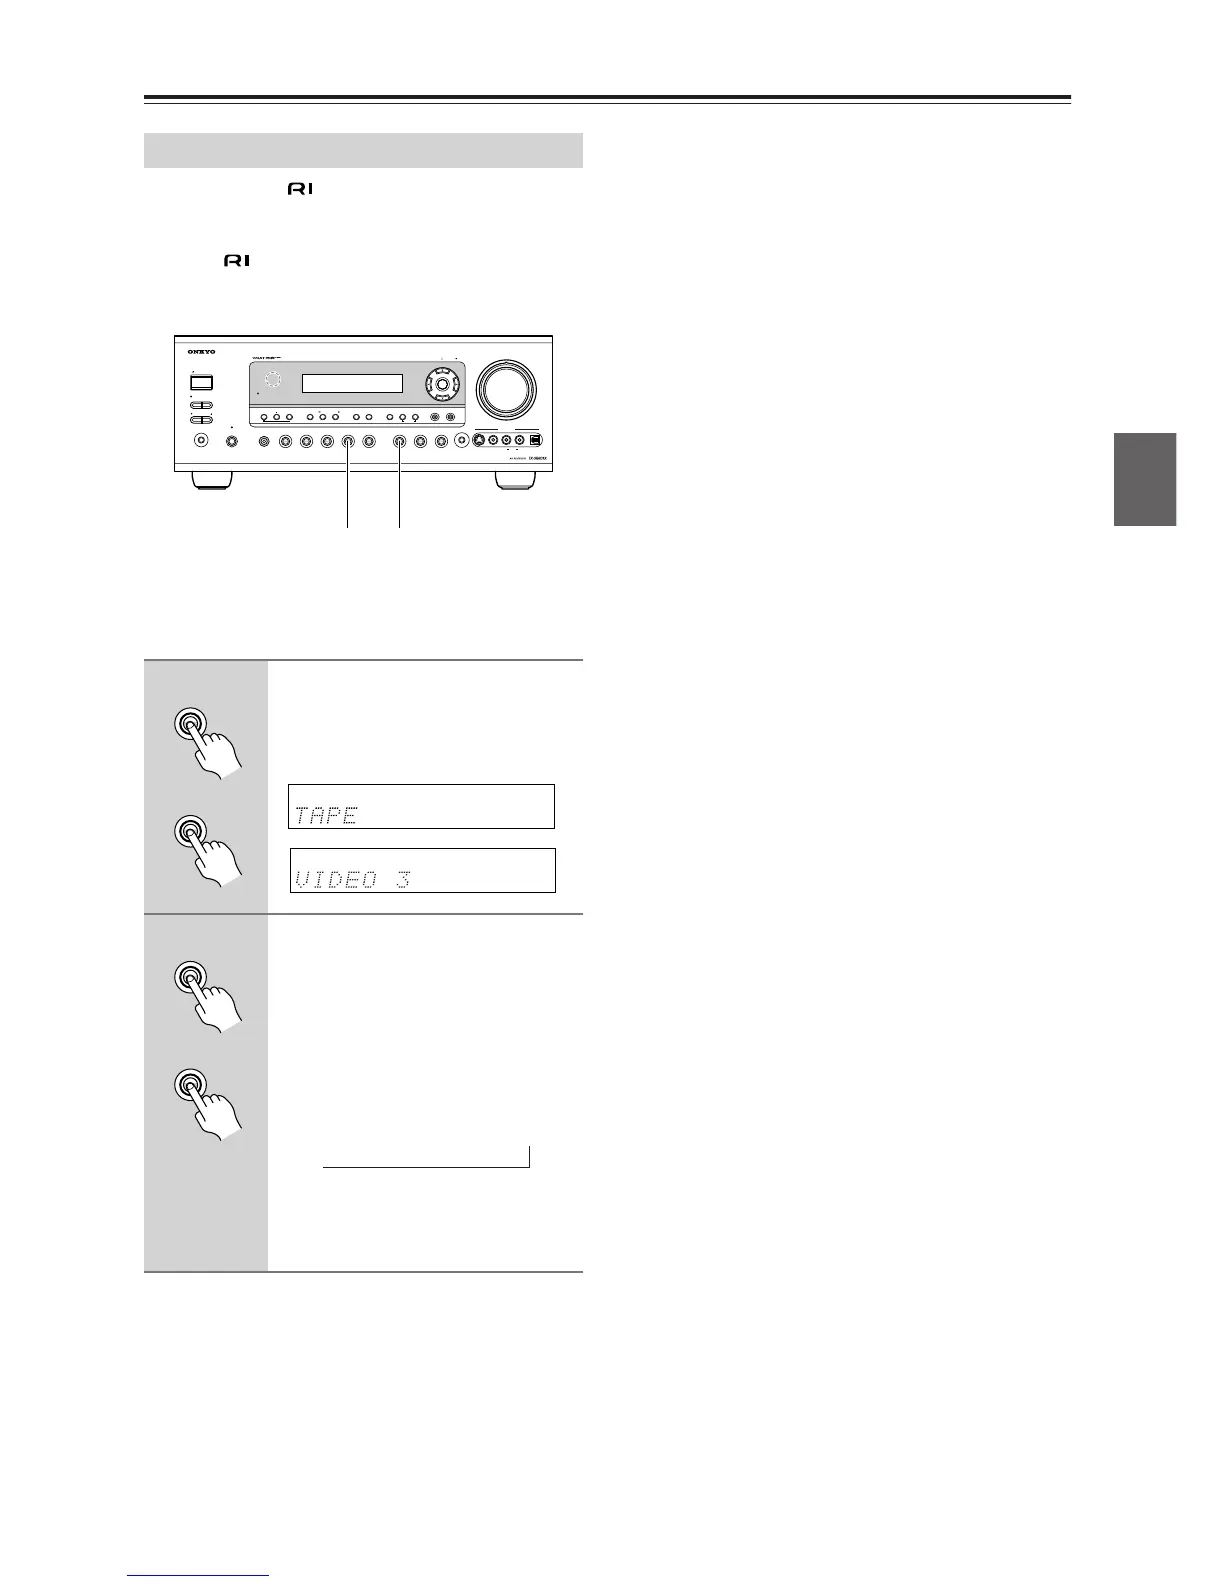
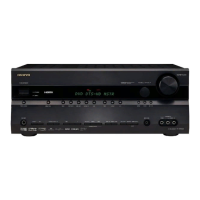
Changing the Input Display
1
Press the [TAPE] or [VIDEO 3]
input selector button so that
“TAPE” or “VIDEO 3” appears on
the display.
2
Press and hold down the [TAPE]
or [VIDEO 3] input selector but-
ton (about 3 seconds) to change
the setting.
Repeat this step to select MD, CDR, or
HDD.
For the TAPE input selector, the setting
changes in this order:
TAPE
→ MD → CDR → HDD
For the VIDEO 3 input selector, the set-
ting changes in this order:
VIDEO 3
↔ HDD
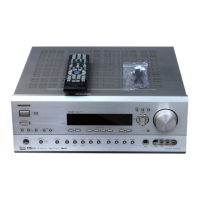
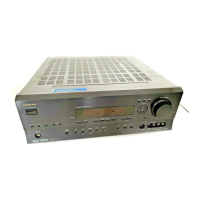
STANDBY/ON
ZONE2
ZONE 2 LEVEL
PHONES
PURE AUDIO MULTl CH
TONE
+
STEREO
LISTENING MODE
DISPLAY
DIGITAL INPUT
RT/PTY/TP MEMORY
TUNING MODE
RETURN
TUNING / PRESET
ENTER
SETUP
DVD VIDEO 1 VIDEO 2
VCR 1 VCR 2
VIDEO 3 VIDEO 4 TAPE TUNER CD
SETUP MIC S VIDEO VIDEO
MASTER VOLUME
VIDEO 4 INPUT
LR
AUDIO
DIGITAL
OFF
STANDBY
CLEAR
1, 21, 2
TAPE
VIDEO 3
TAPE
VIDEO 3
→