If the Hash system setting is set to Prompt, an advanced settings screen will
appear which will allow selection of the hash types for the job. Select the desired
hash types and then tap the Start button to begin the Hash job.
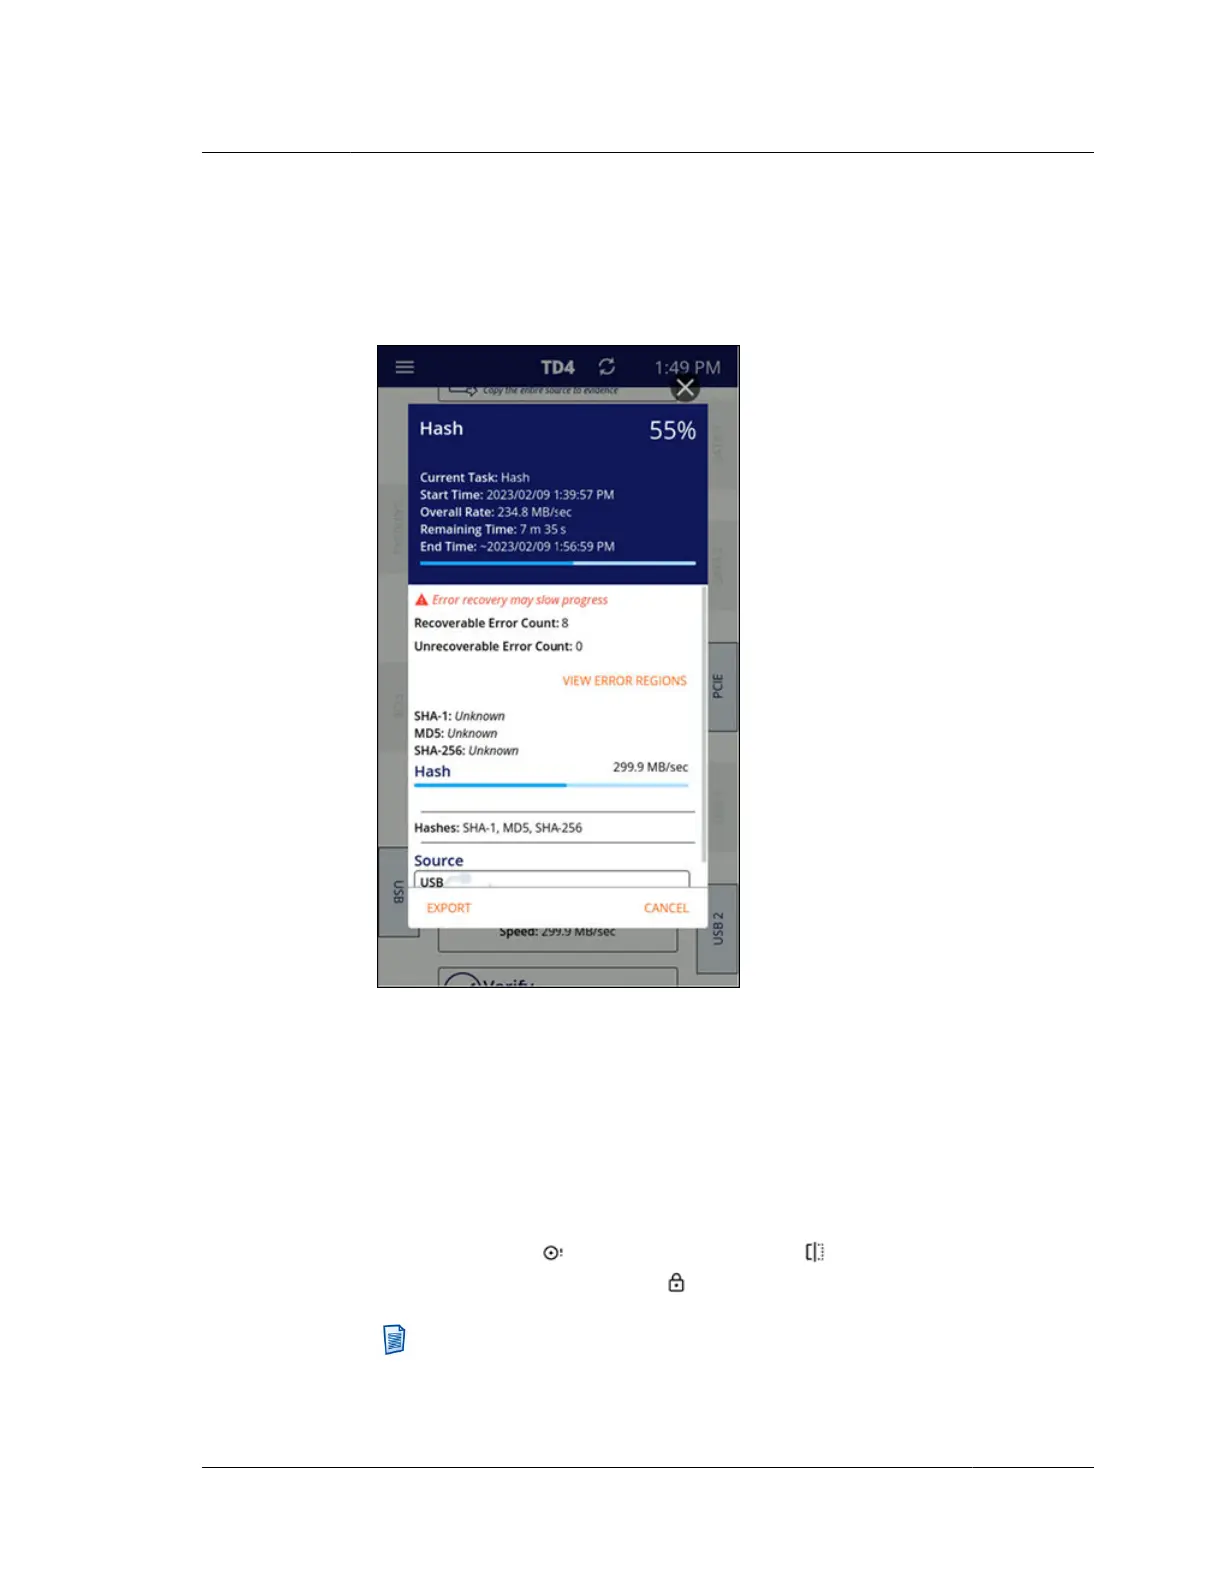
3. After the Hash job is started, the job status screen will appear, as shown below.
You may cancel an active Hash job by tapping Cancel in the bottom-right corner
of the job status screen. You may also export the job log from this screen (even
for an in-progress job, if desired) by tapping the Export button in the bottom-left
corner and then selecting the desired destination or accessory drive/filesystem.
The source drive used in the Hash job will be shown near the bottom of the job
status screen. This drive card provides basic drive information, such as the
connected port name, the overall size of the drive, and either the Evidence ID (if
entered) or the drive’s make/model/serial number. Icons will appear on these
drive cards to provide at-a-glance indication of things like no detectable
filesystem present , HPA/DCO/AMA in place , or the presence of Tableau
encryption (locked or unlocked) .
Note: The drive cards in the job status screen can be tapped to show
detailed drive information. However, when drive details are viewed from
this area, the information is considered historical as of the start of the job,
4.11. Hashing
ISTD230100-UGD-EN-1
User Guide
67