Assistant Service
Manual
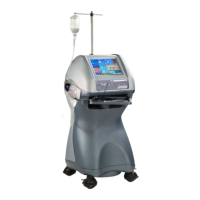
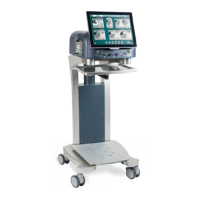
OPTIKON 2000
Code 121008S
7-7 Rev. D
1. Disconnect the Assistant from the external air supply and remove the
red plug (fig.4,no.7) to vent residual air from the system.
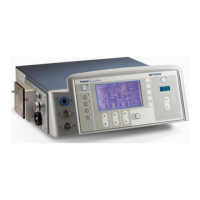
2. Adjust R47 on the 391120 Sensors board (rotating counter
clockwise to decrease) to read 0 mBar on the ASSISTANT display
(External pressure).
3. Reposition the red plug. Connect the ASSISTANT to an adjustable
pressure source set to 3.5bar.
4. Rotate R45 on the 391120 Sensors board to read 3500 mBar on the
ASSISTANT Measurements frame (External pressure).
VACUUM SENSOR CALIBRATION
This sensor monitors the vacuum level in the aspiration line connected to the
surgical handpiece. DO NOT INSTALL THE I/A CASSETTE for this
calibration.
1. Adjust the R48 trimmer on the 391120 to read a vacuum of 10mmHg
in the Measurements frame of the System Calibration Software
window (Offset calibration),
2. Connect a vacuum gauge and a syringe to the sensor port on the side
plate and aspirate to create a vacuum (negative pressure) of 400 (
±
±±
±
2)
mmHg.
3.
Adjust R50 trimmer on the 391120 to read a vacuum of 410mmHg in
the appropriate area of the System Calibration Software window (Gain
calibration).
AIR TAMPONADE CALIBRATION
This section to calibrate the pressure sensor controlling injection pressure of
the Air tamponade system.
Offset Calibration
1. Connect a voltage meter between TP2 and TP3 (Gnd) of the 391120
Sensors board.
2. (Do not activate air). Adjust R49 to read a voltage of 0.010V). The
voltage is decreased rotating the trimmer counter clockwise.
Gain Calibration
1. Connect a pressure gauge to the Air output on the front panel of the
ASSISTANT.
2. Activate Air at 80mmHg by using the controls in the Air Preset frame.