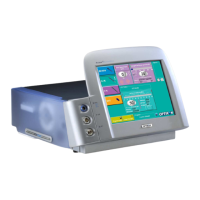
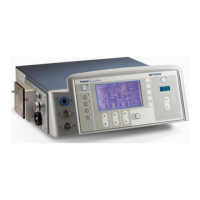
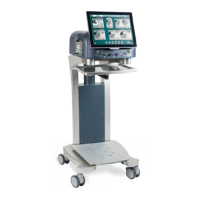
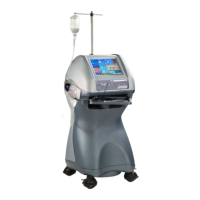
Pulsar
2
Service Manual
OPTIKON 2000
Cod. 111004SEN Rev.C
6-7
6.4.5 VACUUM SENSOR CALIBRATION
This sensor monitors the vacuum level in the aspiration line connected to the
surgical handpiece. DO NOT INSTALL THE I/A TUBING for this calibration.
NOTE: select “Calibration” in the “Mode” frame!
1. Adjust the R48 trimmer on the 393120 to read a vacuum of 20mmHg in
the Measurements frame of the System Calibration Software window
(Offset calibration),
2. Connect a vacuum gauge and a syringe to the sensor port on the side
plate and aspirate to create a vacuum (negative pressure) of 400 (±
±±
± 2)
mmHg.
3.
Adjust R50 trimmer on the 393120 to read a vacuum of 420mmHg in
the appropriate area of the System Calibration Software window (Gain
calibration).
6.4.6 TANK FULL ALARM CALIBRATION
The tank full alarm is calibrated by adjusting the position of the optical sensor
reading the fluids level in the Disposable Cassette Tank. To calibrate the
sensor:
1. Insert the clean cassette in the Pulsar2 slot.
2. Loose the Phillips screws which holds in position the optical
level sensor.
3. Connect the voltage meter between pin 1(Gnds) and 4 of J5 on
393200 Control board.
4. Adjust the distance of the sensor level from the cassette to
read a voltage in the 0.5-1Vdc range
5. Remove the cassette, the voltage should go to 5Vdc
6. Insert the cassette and fill it with water.
7. When the water reaches the sensor level, the voltage should be
in the 3.2-3.8Vdc range.
8. Stop the sensor in this position by screwing back the Phillips
screw.
Note: When moving the sensor, take care to maintain its surface parallel to the
cassette wall.