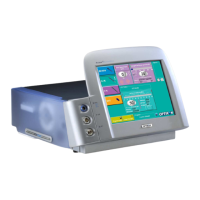
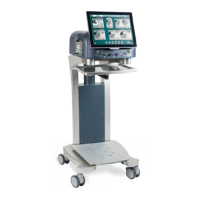
Pulsar
2
Service Manual
OPTIKON 2000
Cod. 111004SEN Rev.C
6-1
6. CHECKS AND CALIBRATIONS
6.1 POWER SUPPLY BOARD 391110
Disconnect all output cables from the board (J2, J4, J5). Connect the
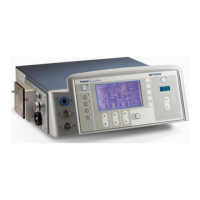
PULSAR2
to the mains and switch it on.
Verify, with a digital voltage meter, the output voltages of the board on the
J2 connector:
Pin 1, Pin 2 GND pwr (Power Ground)
Pin 3 +24 ± 0.5V (Power)
Pin 8 (Power fail) +3.3 ± 0.2V (Signal)
Pin 9 +5 ± 0.15V (Signal)
Pin 10 -12 ± 0.5V (Signal)
Pin 11 +12 ± 0.5V (Signal)
Pin 12 GND (Signal Ground)
Switch the PULSAR2
off and re-connect all the output connectors (J2, J4,
J5) to the Power Supply Board.
6.2 CONTROL BOARD 393200
Check of reference voltages
-Connect multimeter between TP1 and GNDs
VAREF 4 (±0.1)Vdc
-Connect multimeter between TP2 and GNDs
VAREF_PED 10.0 (±0.2)Vdc
6.3 U/S DRIVER 347150
Check of reference voltages
-Connect multimeter between TP6 and TP3 (GNDs) VREF 2.5 (2.42÷2.58) Vdc
-Connect multimeter between TP7 and TP3 (GNDs) VREF 4 (3.85÷4.15) Vdc
-Connect multimeter between TP5 and TP3 (GNDs) Vsupply VCO 10
(9.59÷10.49) Vdc