931040P / 1014 2. THE DETECTIVE-EX/DX-100
13
Figure 7. The User Interface.
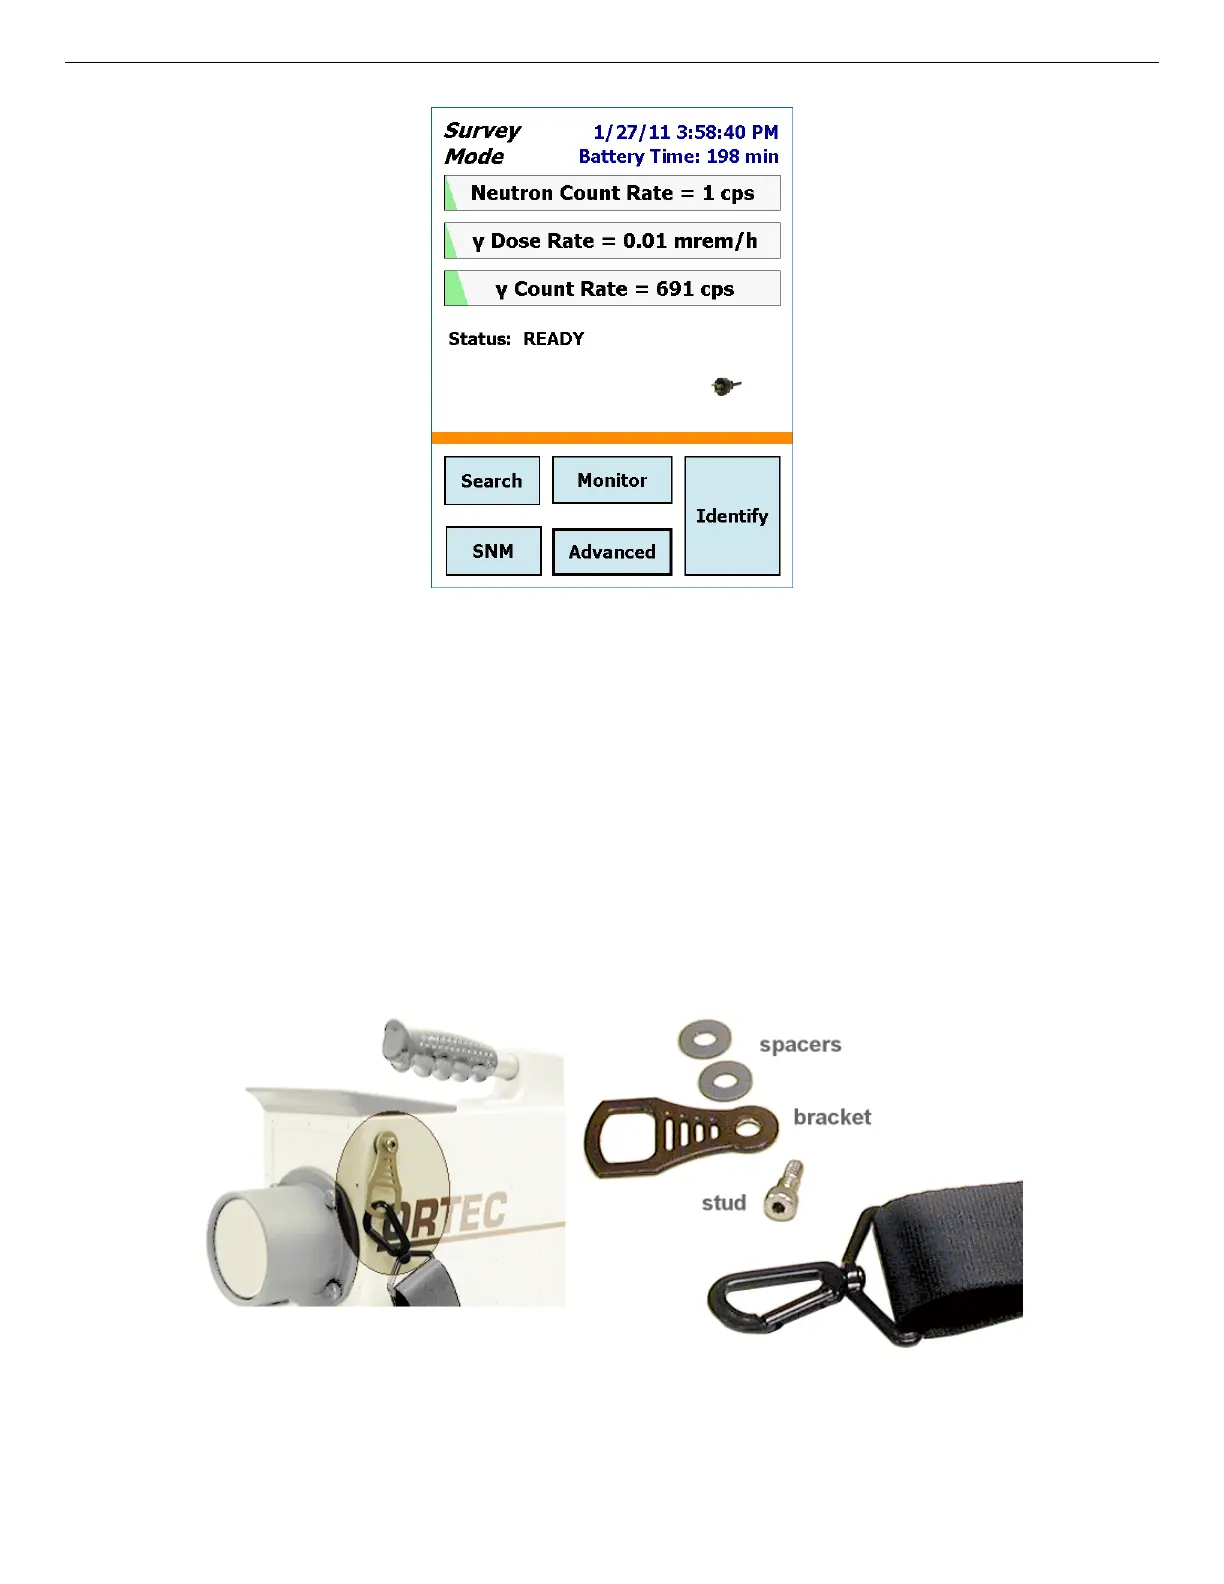
Figure 8. Carrying Strap Attachment.
2.2.4. Attaching the Carrying Strap
The carrying strap (Fig. 8) should be installed on the top-diagonal corners of the Detective-EX;
that is, looking down on the display panel, the strap should be anchored to the left-front and
right-rear corners or vice versa. If you wish to change the factory orientation, use a 5/32-in. hex
wrench to exchange positions of the strap-hanger studs and the regular hex-head screws. Thread
the strap-hanger stud through the hanger bracket, followed by the two spacers, then insert the
stud into the Detective-EX and tighten until the hanger bracket resists rotation but still turns (do
not overtighten).
 Loading...