© 2024 PacBio. All rights reserved. For research use only. Not for use in diagnostic procedures.
PN 103-140-400 REV05 JUN2024
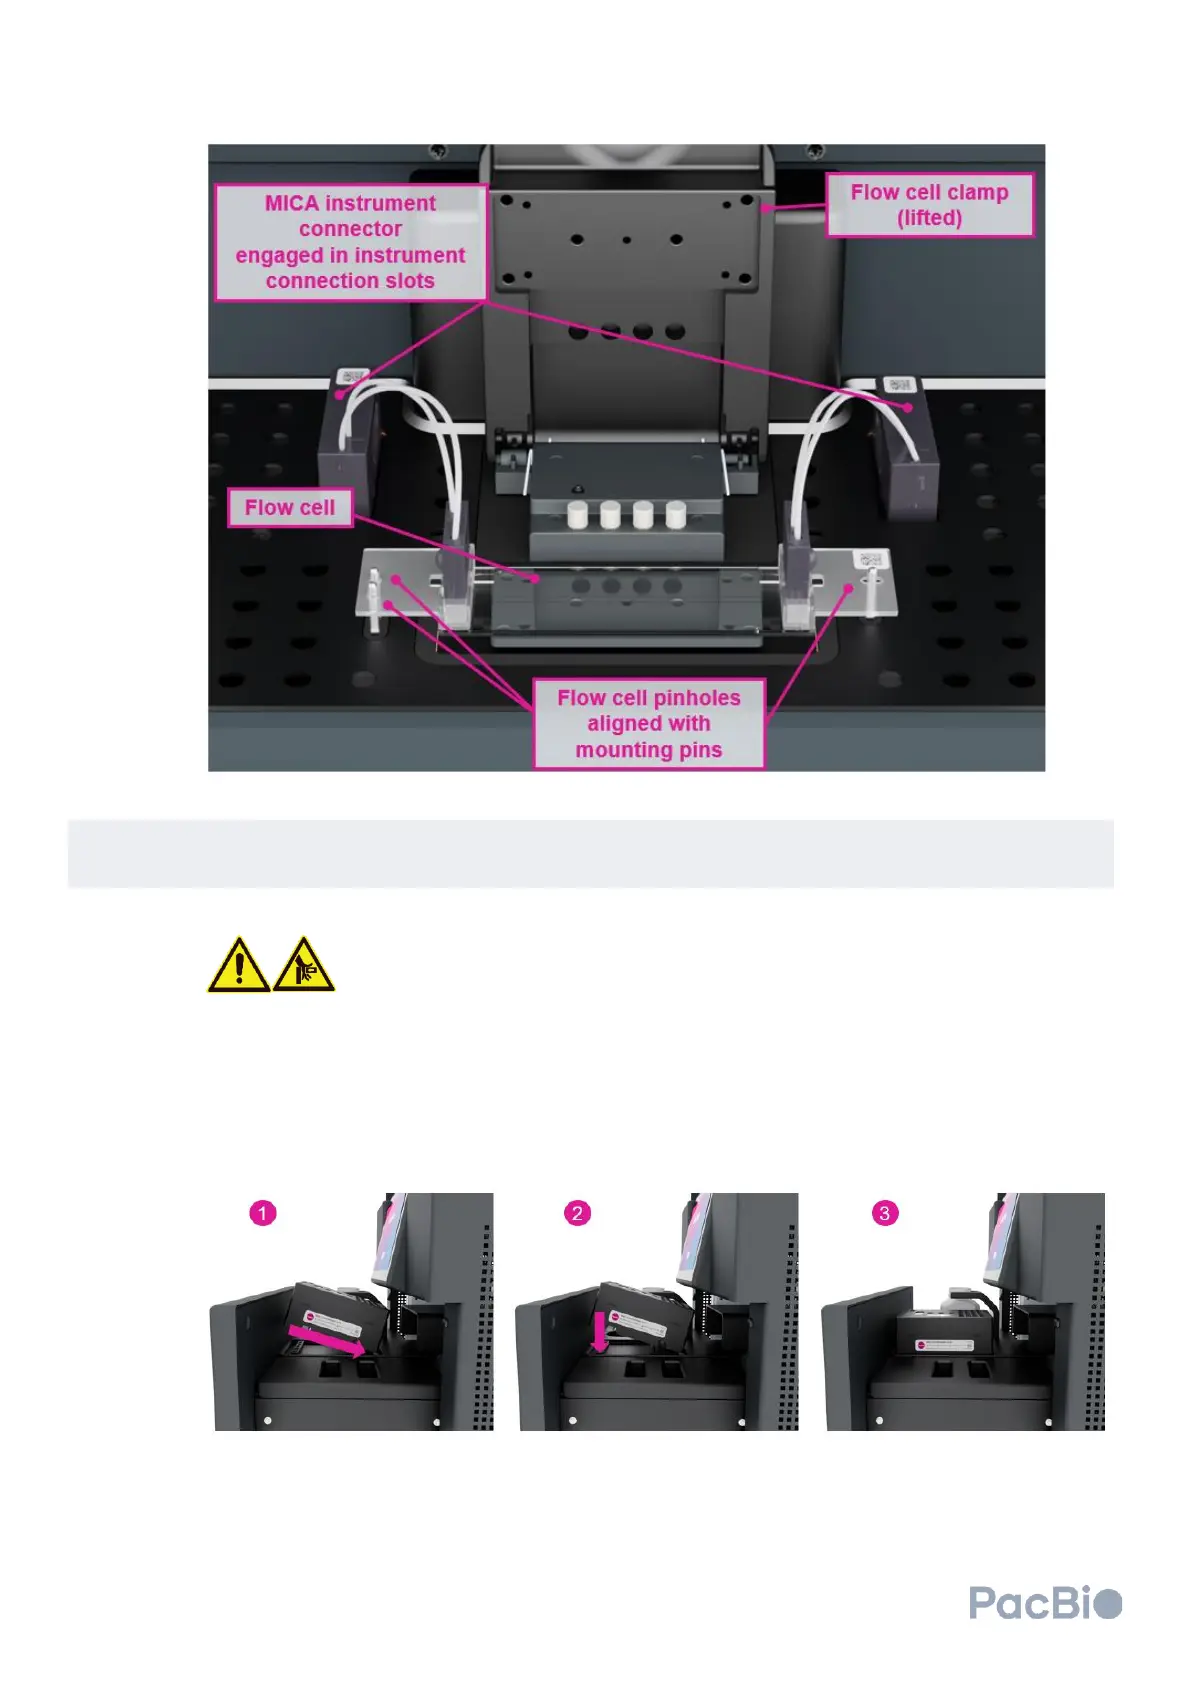
Reconnect the lid to the flow cell kit base in reverse manner in which it was opened (refer to step 5.5). Retain
the flow cell kit for flow cell removal and storage after clustering is complete.
Load the clustering reagent plate into the cluster generator instrument drawer:
Do not place your hands or fingers in or between the reagent drawer and cluster
generator once the automated opening or closure of the drawer has been
started.
1. Hold the clustering reagent plate with the white arrow on the top of the plate pointing towards the
instrument. Lower one side of the plate, angled such that the white arrow points down into the
instrument drawer. Ensure the downward angled side of the plate is seated within the loading tray.
2. Lower down the upward-facing edge (closest to the user) to meet the surface of the loading tray. The
clustering plate should now be level with the loading tray.
If placed properly, the clustering reagent plate QR code should be visible from the right side of
the instrument to scan into the software.