Chapter 7 : Email, text, multimedia, and instant messaging 87
• Any other time you open Email, open the application menu, tap
Preferences & Accounts, tap Add Account, and then tap Email
Account.
4 Enter your email address and password, and tap Manual Setup.
5 Ta p the Mail Type field and tap your account type.
6 Enter info for the incoming and outgoing mail server as needed, based
on the server information you got from your system administrator.
7 Ta p Sign In.
8 Depending on the account, you may be presented with options for
which apps should download data from that account. For each app,
tap On or Off, and then tap Create.
9 Ta p Done.
Enter advanced account settings
These settings apply only to the account you select in step 3.
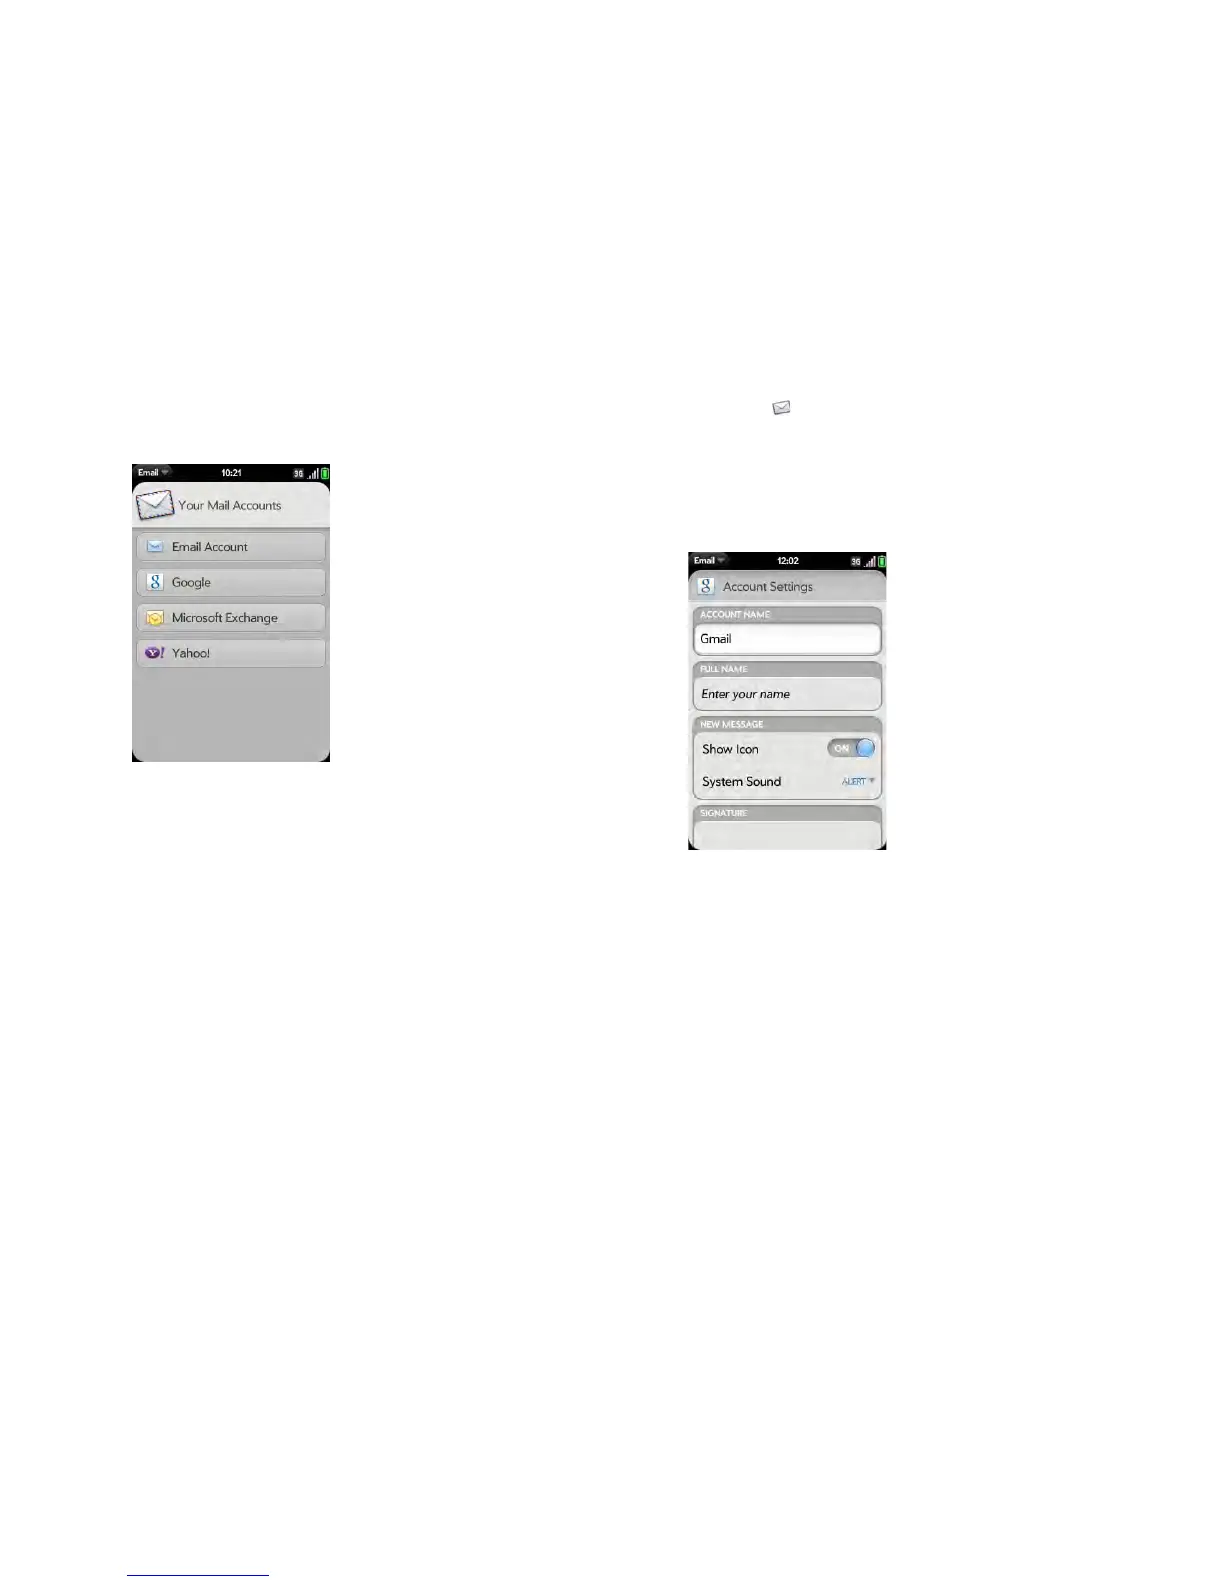
1 Open Email .
2 Open the application menu and tap Preferences & Accounts.
3 Tap the account name.
4 Set any of the following:
Account Name: Enter the name that appears in the account list.
Full Name: Enter the name you want to appear in the From field for
messages you send.
Show Icon: Set whether a notification icon appears onscreen when a
new message arrives.
Alert: When Show Icon is on, set whether a sound plays when a new
message arrives (see Turn new email notifications on/off).
Signature: Tap to create a signature that’s added to outgoing
messages (see Add a signature to outgoing messages).