34
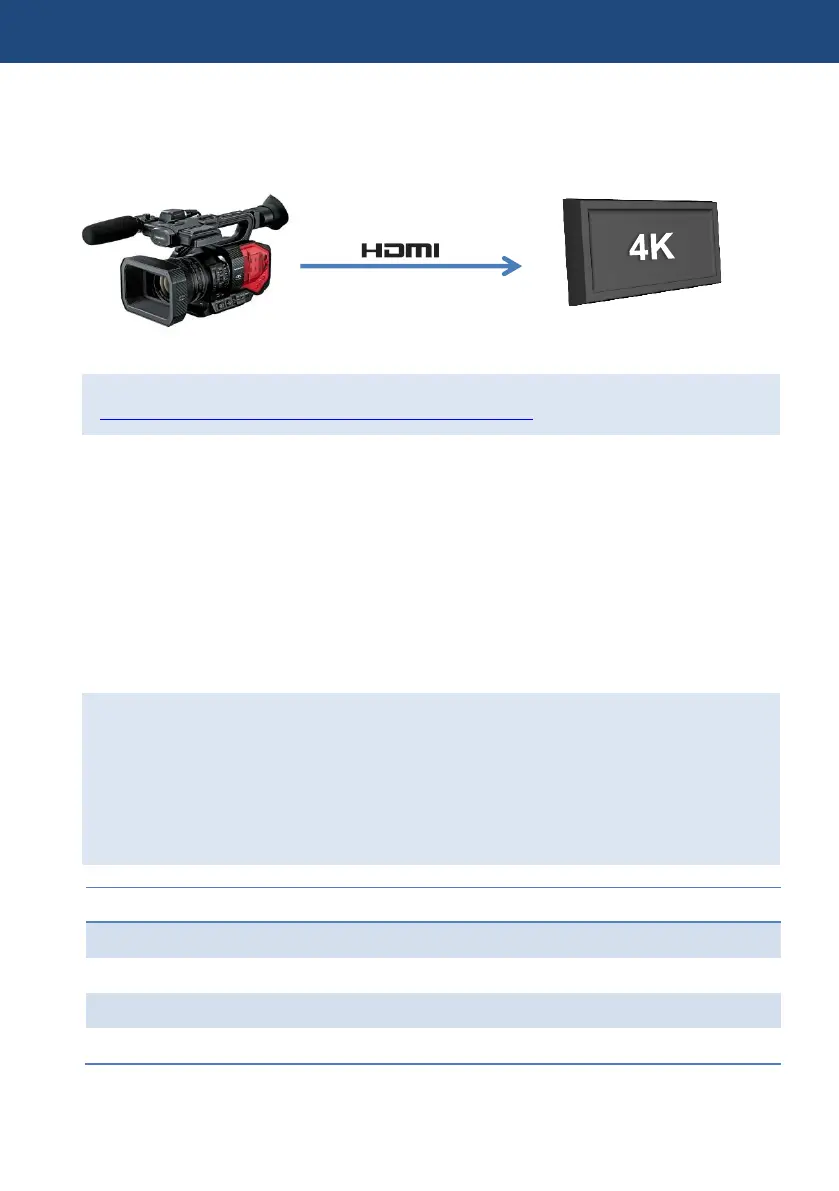
4-4. Recording 4:2:2 10-bit image with external 4K recorders
Excellent image quality 10-bit 4:2:2 sampled images can be output from the HDMI port.
The following describes workflow know-how when using external recorders.
For information of qualified recorders, and test reports, visit at
http://pro-av.panasonic.net/en/products/ag-dvx200/index.html
How to connect and record
1. Connect an AG-DVX200 and a supported recorder with an HDMI2.0 cable.
2. Set menu items below on the AG-DVX200.
- SYSTEM MODE > OUTPUT BITS: 4:2:2(10bit)
- OUTPUT SETUP > OUTPUT SEL: HDMI
- OUTPUT SETUP > SDI REMOTE: ON
- OUTPUT SETUP > REMOTE REC LINK: OFF
- OUTPUT SETUP > HDMI TC OUTPUT: ON
3. Assign the “AUTO REC” item to one of the assignable USER buttons. (see P.17)
4. The USER button can now be used as a REC/PAUSE button for the external recorder.
Two control methods when using external recorders
REC/PAUSE operation of external recorders can be performed with the REC button on the
AG-DVX200 when output sampling (OUTPUT BITS item) is set “4:2:2(8bit)”, but it does not
work when setting is “4:2:2(10bit)” because internal recording of this sampling mode is not
supported.
However, external recorder remote control can be performed by using an assignable USER
button for the REC function even in 4:2:2 (10bit) mode. See following table for menu settings
example by sampling type (8bit/10bit).
OUTPUT SETUP > OUTPUT SEL
OUTPUT SETUP > SDI REMOTE
OUTPUT SETUP > REMOTE REC LINK
OUTPUT SETUP > HDMI TC OUTPUT
10-bit, 4:2:2 image, audio,
Timecode
External Recorders
(Example: Atomos SHOGUN)
4. Understanding advanced features