56
6-1. Connecting to PC/Mac
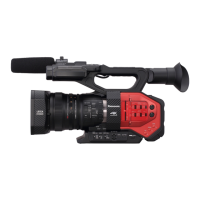
Recorded clips can be transferred rapidly from the AG-DVX200 to PC/Mac over USB3.0 port.
How to connect
1. Turn ON the power of the AG-DVX200.
2. Press “THUMBNAIL” button to switch to Playback mode.
3. Set MENU > OTHER FUNCTIONS > USB MODE SELECT: DEVICE
4. Turn OFF the power of the AG-DVX200 and connect the AG-DVX200 and the PC/Mac with a
USB3.0 cable.
5. Turn ON the power and tap “PC” on the touch screen to switch to the PC connection mode.
* The built-in LCD panel will turn OFF for 5 seconds straight after connection is established
when battery powered (the LCD panel works again when tapped).
* Data cannot be written from PC/Mac to the mounted SD card.
6-2. File structure of SD memory card
* Several kind of different files are stored under PRIVATE folder for AVCHD clips. Always copy the
PRIVATE folder as a file set. Copying *.MTS files only may cause clip to be unplayable.
USB3.0 cable
(Not supplied with AG-DVX200)
Files stored:
a) Still pictures in JPEG format. Up to 999 files
can be stored.
b) Video clips in MOV format.
c) Video clips in MP4 format.
d) Still pictures created from videos with the
AG-DVX200.
e) Thumbnails (AVCHD clips)
f) Video clips in AVCHD (MTS) format.
g) For file management
 Loading...
