35
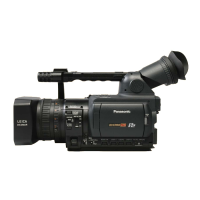
4-5. Synchronizing timecode for multi-cam operation
The AG-DVX200 is equipped with a timecode IN/OUT terminal (common use for IN and OUT).
The following describes workflow know-how when using time code synchronization feature with
two AG-DVX200 units.
Preparation
1. Connect TC PRESET IN/OUT terminals on both master and slave units with a BNC
cable.
2. Make sure that the settings of following menu items are the same for both units.
MENU > SYSTEM MODE > REC FORMAT
MENU > SYSTEM MODE > REC MODE
MENU > RECORDING SETUP > DF MODE (59.94Hz system mode only)
Settings for master unit
3. Set MENU > RECORDING SETUP > TCG to “FREE RUN”.
4. Set MENU > RECORDING SETUP > EXT TC LINK to “MASTER” (now timecode signal
is output from the TC PRESET IN/OUT terminal).
Settings for slave unit
5. Set MENU > RECORDING SETUP > EXT TC LINK to “SLAVE” (now the TC PRESET
IN/OUT terminal switches to input mode, and TCG setting changes to FREE RUN
automatically).
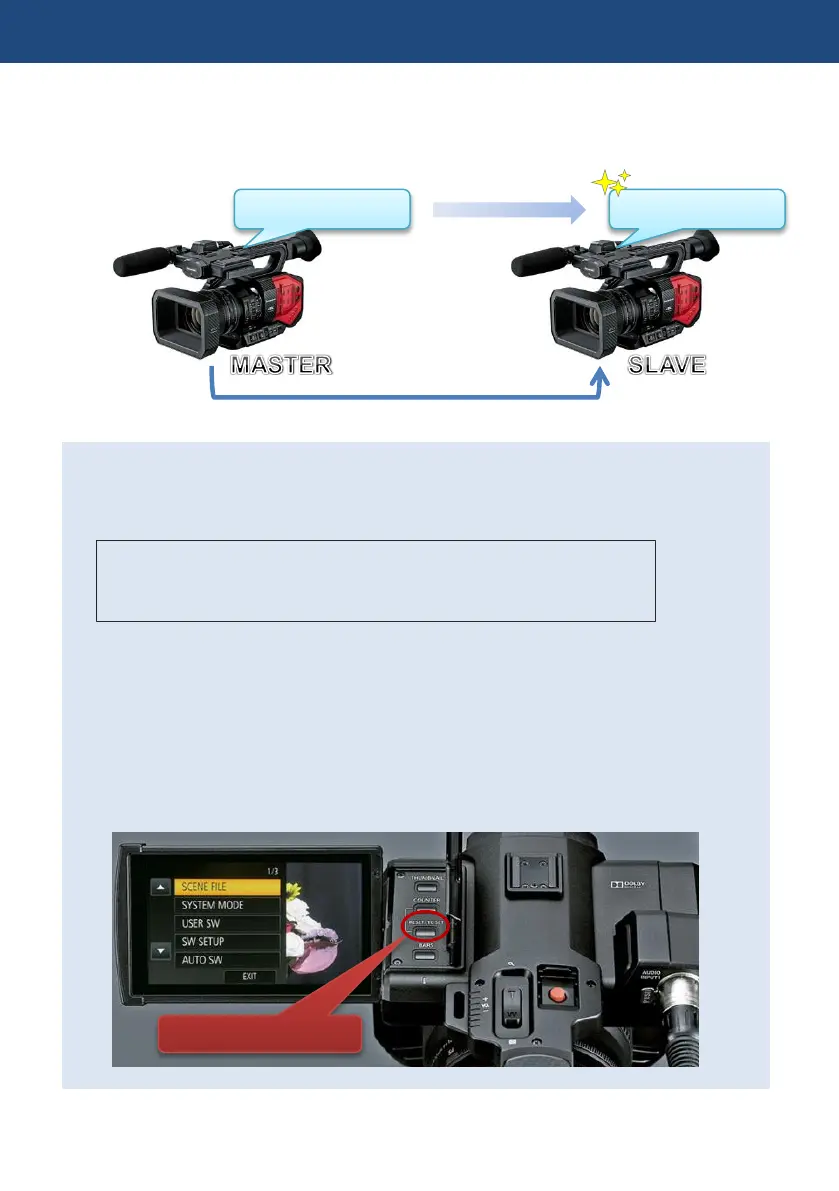
6. Press the RESET/TC SET button near the built-in LCD panel to synchronize timecode.
4. Understanding advanced features