7-22
7
<Procedure of CZ-RTC3>
1
Keep pressing the , and
buttons simultaneously for 4 or more seconds.
The “Maintenance func” screen appears on the
LCD display.
2
Press the or button to see each
menu.
If you wish to see the next screen instantly, press
the or button.
Select “9. Auto address” on the LCD display and
press the button.
3
The “Auto address” screen appears on the LCD
display.
Change the “Code no.” to “A1” by pressing the
or button.
4
Select the “O/D unit no.” by pressing the or
button.
Select one of the “O/D unit no.” for automatic
address by pressing the or button.
Then press the button.
Approximately about 10 minutes are required.
When automatic address setting is completed, the
units return to normal stopped status.
1
Keep pressing the , and
buttons simultaneously for 4 or more seconds.
The “Maintenance func” screen appears on the
LCD display.
2
Press the or button to see each
menu.
If you wish to see the next screen instantly, press
the or button.
Select “7. Simple settings” on the LCD display and
press the
button.
The “Simple settings” screen appears on the LCD
display.
Select the “Unit no.” by pressing the or
button for changes.
The indoor unit fan operates only at the selected
indoor unit.
Automatic address setting
Checking indoor unit addresses
Fig. 7-11
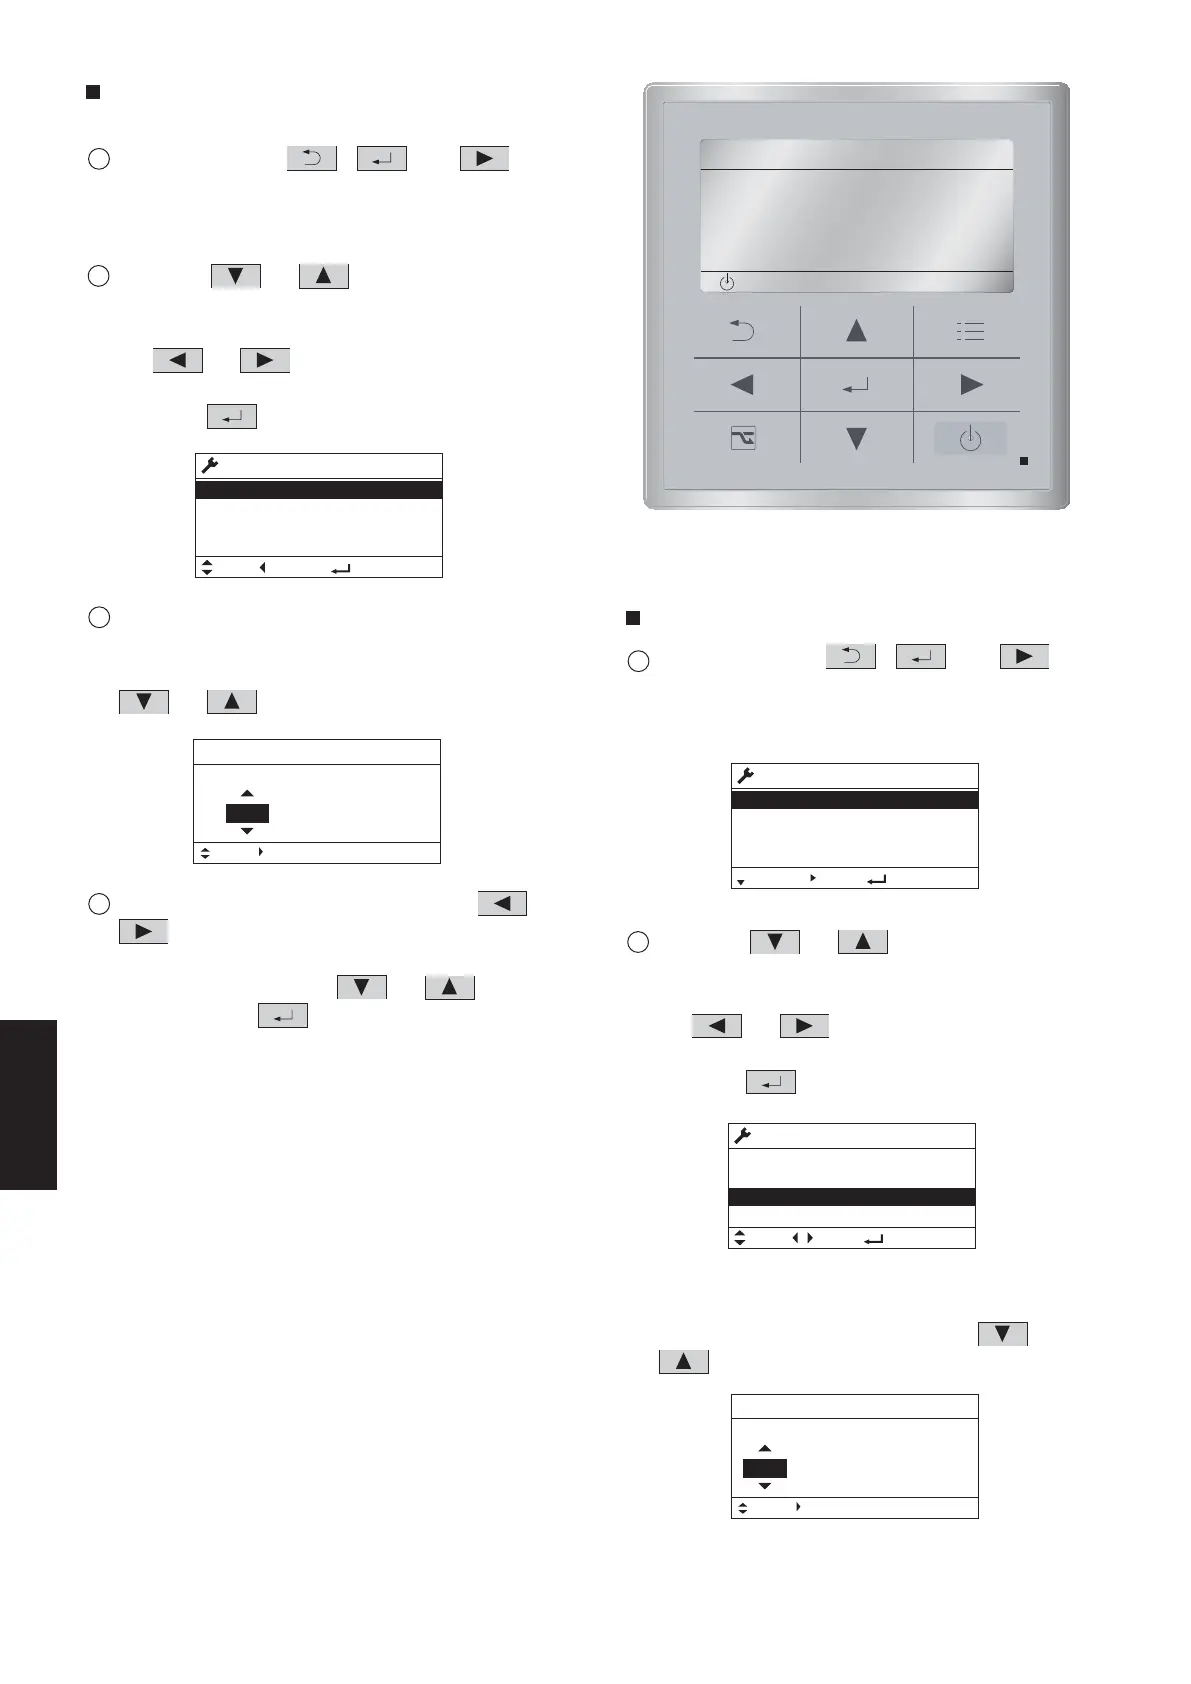
CZ-RTC3
START
[]
20:30 (THU)
Maintenance func
10. Set elec. consumption
12. Check touch key
Sel. Page [ ] Confirm
20:30 (THU)
11. Set touch key
9. Auto address
Auto address
Code no. O/D unit no.
Sel. Next
20:30 (THU)
1
A1
Maintenance func
1. Outdoor unit error data
2. Service contact
3. RC setting mode
4.Test run
Sel. Page [ ] Confirm
20:30 (THU)
Maintenance func
5. Sensor info.
6. Servicing check
8. Detailed settings
Sel. Page [ ] Confirm
20:30 (THU)
7. Simple settings
Simple settings
Unit no. Code no. Set data
013-1 0001
Sel. Next
20:30 (THU)
SM830231-02Single欧州.indb22SM830231-02Single欧州.indb22 2014/09/0921:19:332014/09/0921:19:33
 Loading...