Press OK to store new programme.
No.
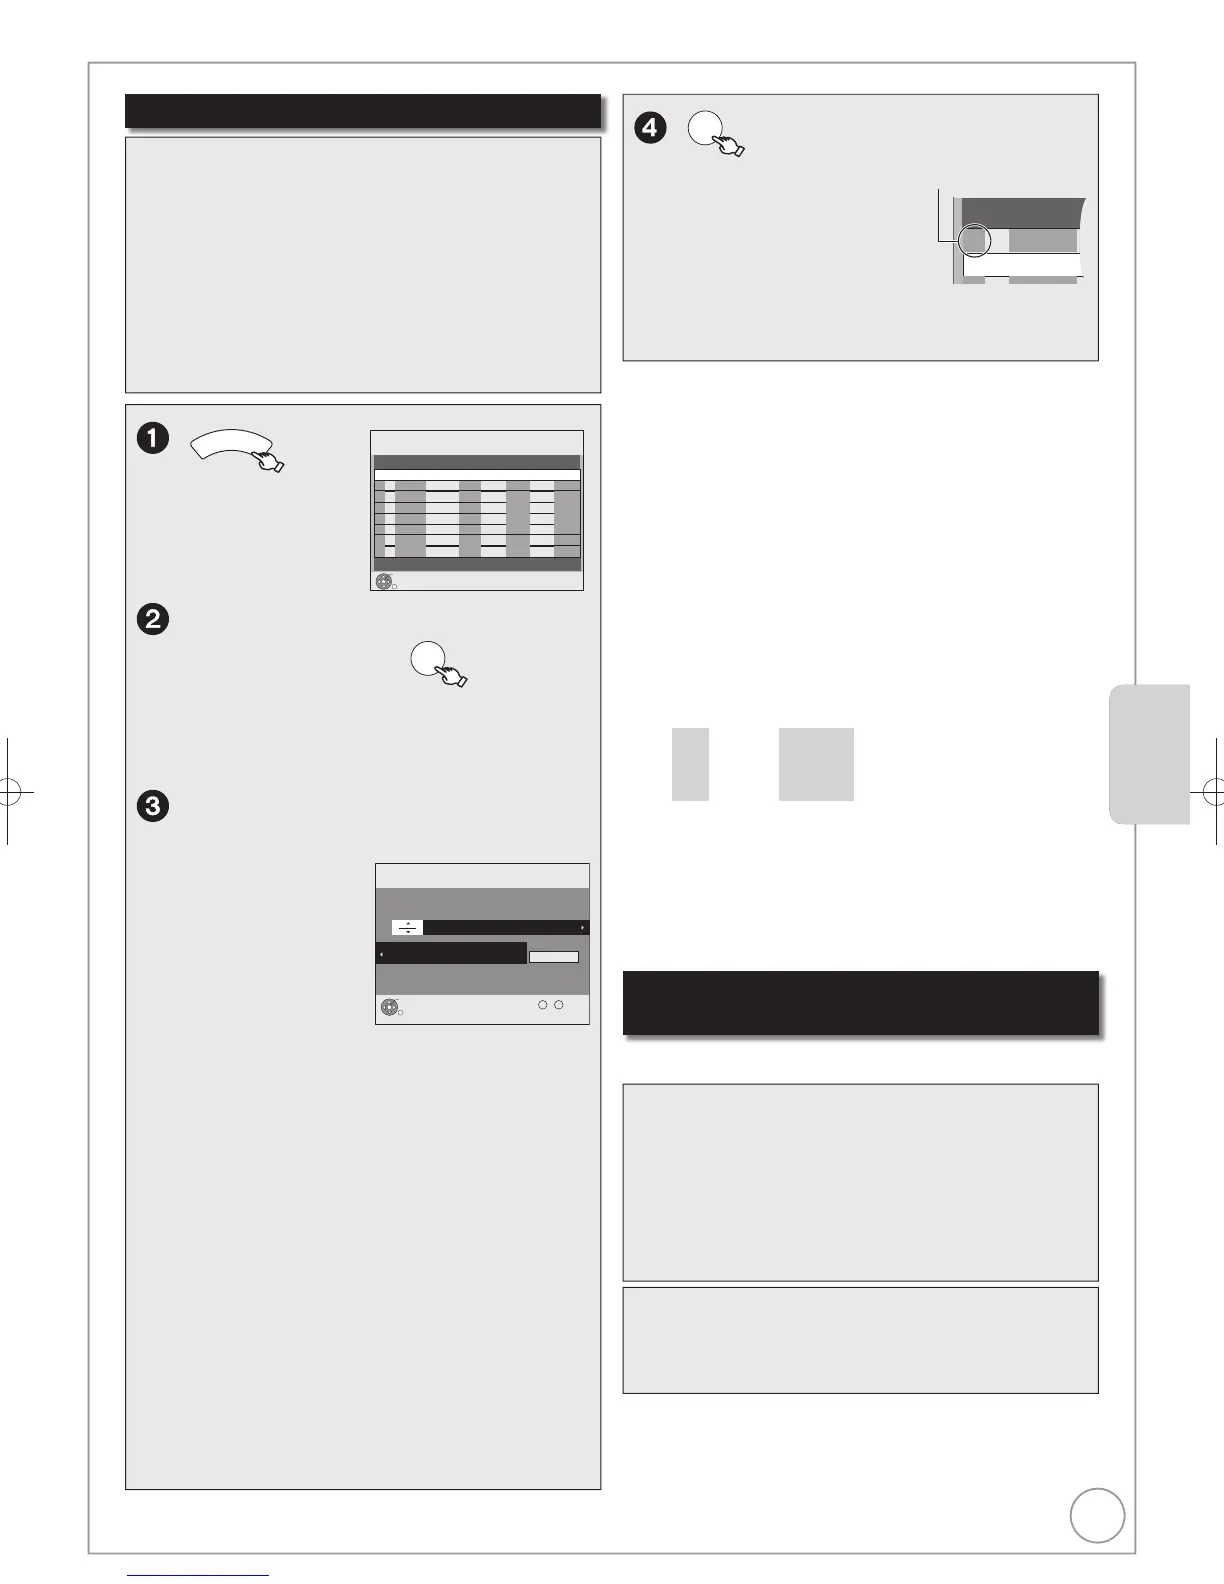
Please set Channel.
Channel – TV Station Name/External Input
When recording digital satellite
programmes, select “AV2”.
Date: – You can set a daily or weekly
programme ( right, Tips).
Start (start time)/Stop (end time):
– Hold button to change in 30-minute
increments or decrements.
Drive: – HDD or DVD
When the recording drive is “DVD” and
there is not enough remaining space,
recording automatically switches to the
“HDD” ( 33, Relief Recording).
Mode:
– Recording mode ( 26)
RENEW
([HDD])
– Auto Renewal Recording ( 33)
ON/OFF
Programme Name:
Press [OK] ( 72, Entering Text).
Preparation:
Turn on the television and select the appropriate video
input to suit the connections to this unit.
]RAM\ If the disc is protected, release protection
( 64).
Insert a disc with enough remaining blank space.
Confirm that the clock on the unit’s display is set to
the correct time.
If connected via a digital satellite receiver, please
ensure before a timer recording starts the required
channel is set on the digital satellite receiver.
Advanced Timer Recording
Advanced FeaturesAdvanced Features
To record programmes from digital
satellite receiver by RGB signals
Preparation:
Make sure you connect the AV2 input terminal of
this unit to “VCR Scart terminal” of a SKY Digital
STB/digital receiver with a 21-pin scart cable
( 11).
Set “AV2 Input” to “RGB/Video” or “RGB” ( 71).
Set your Sky Digital STB to output “RGB” signals.
Follow the steps indicated for “Manual
timer recordings” ( left).
Notes
After setting the Personal Planner programmes as required, the
digital set top box must be kept turning on (not set to standby) to
ensure continuous output of RGB signals.
Tips
To exit the timer recording list
Press [PROG/CHECK].
“Date” Setting
Each press of [] changes items in the order below.
(Each press of [] changes items in the reverse order.)
Titles recorded using the same daily or weekly timer are bundled
and displayed as a “group” in the DIRECT NAVIGATOR screen
( 34) except when using Auto Renewal Recording.
You can also use the numbered buttons to enter “Channel”,
“Date”, “Start” and “Stop”.
You can also press [DRIVE SELECT] to switch the drive and
[REC MODE] to switch “Mode”.
Notes
“” on the unit’s display fl ashes when the unit cannot go to timer
recording standby.
If two timer recording times overlap, the fi rst recording always
has priority. The second recording will start only after the fi rst
recording has fi nished.
Recorded subtitles cannot be deleted later.
A Timer Recording will not start while a disc is being formatted,
deleted or fi nalised. The recording begins afterwards.
 Loading...