29
RQT9127
Advanced timer recording
[RAM] [-R] [-R]DL] [-RW‹V›] [+R] [+R]DL] [+RW] [VHS]
≥You can enter up to 16 programmes up to a month in advance.
(Each daily or weekly programme is counted as one programme.)
[RAM] [-RW‹V›] [+R] [+R]DL] [+RW]
≥To use a new disc, formatting is necessary.
Preparation
≥Turn on the television and select the appropriate video input to suit
the connections to this unit.
≥Insert a disc or video cassette with enough remaining blank space
(➡ 14).
≥Make sure that the clock settings are correct (➡ 64).
Entering G-
CODE numbers is an easy way of timer recording. You can
find these numbers in TV listings in newspapers and magazines.
1 Press [G-Code].
2 Press the numbered buttons to enter
the G-
CODE number.
Press [2] to move back to correct a digit.
3 Press [OK].
≥Confirm the programme (start and end time) by using a TV
magazine, etc. and make corrections if necessary using
[3, 4, 2, 1] (➡ right, step 3).
≥When “-- ---” appears in the “Name” column, you cannot set
timer recording. Press [3, 4] to select desired programme
position. After you have entered the information of a TV
station, it is kept in the unit’s memory.
4 Press [OK].
The timer programme is stored and the timer icon is
displayed.
“F” lights on the unit’s display to indicate timer recording
standby has been activated.
Repeat steps 1–4 to programme other recordings.
Press [Í DVD/VHS] to turn the unit off.
1 Press [PROG/CHECK].
2 Press [3, 4] to select “New Timer
Programme” and press [OK].
3 Press [1] to move through the items
and change the items with [3, 4].
≥When “Name” is selected, you can press the “Blue” button to
change the group [e.g., TV, Radio, Edit Favourites screen
(➡ 58)] and then press [3, 4] to select the channel you
want to record.
≥Press and hold [3, 4] to alter the Start (Start time) and
Stop (Finish time) in 30-minute increments.
≥You can also set Name (Programme position/TV Station
Name), Date, Start (Start time), and Stop (Finish time) with
the numbered buttons.
≥Date
≥You can also press [DRIVE SELECT] to select the recording
drive.
≥You can also press [REC MODE] to change the recording
mode.
≥Programme Name
Press [2, 1] to select “Programme Name” and press [OK].
(➡ 46, Entering text)
4 Press [OK].
The timer programme is stored and the timer icon is
displayed.
“F” lights on the unit’s display to indicate timer recording
standby has been activated.
Repeat steps 2–4 to programme other recordings.
Press [Í DVD/VHS] to turn the unit off.
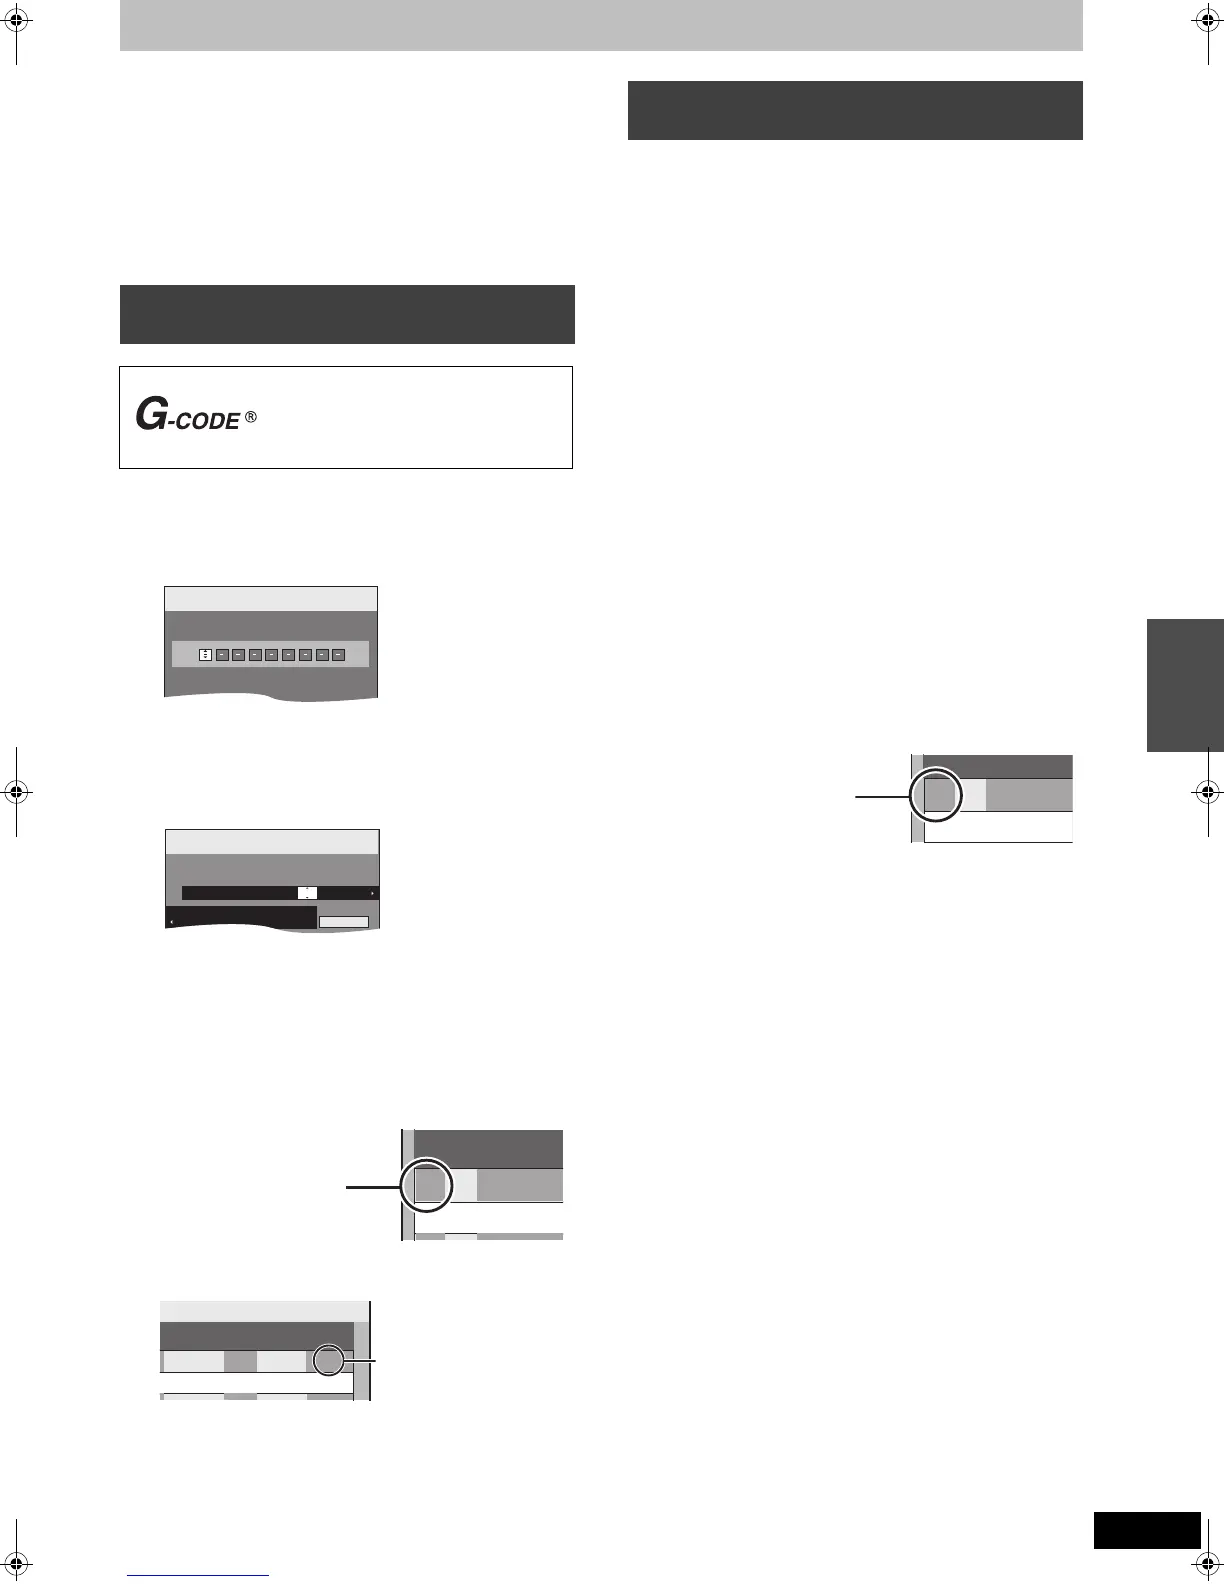
Using G-CODE system to make timer
recordings (Analogue broadcast only)
G-CODE is a registered trademark of
Gemstar Development Corporation. The
G-
CODE system is manufactured under
license from Gemstar Development
Corporation.
G-Code
Record
Remain
Input G-Code Number 0-9, and press OK.
1:58 SP
DVD
--:----
VHS
TUE 14.10.08. 12:54:00
Timer
Recording
Remain
Mode
StopStartName Date
Drive
22:3022:0015. 10. WED
2A ARD
SP
Programme Name
All Services : ARD
DVD
1:58 SP
DVD
--:----
VHS
TUE 14.10.08. 12:54:00
No.
Name
ARD
01
&
TUE 14.10.08 12:56:00
Mode
Stop Drive
DVD
Drive
space
SP
OK
20:00
Programme
Check to make sure “OK”
is displayed (➡ 30).
Manually programming timer
recordings
[.
l
l
l
l
a.
Date: Current date up to one month later minus
one day
;:
Daily timer: SUN-SAT>MON-SAT>MON-FRI
;:
Weekly timer: SUN>--->SAT
Copying from an external device/Advanced timer recording
DMREZ48VGN-RQT9127-L_eng.book 29 ページ 2008年5月7日 水曜日 午前9時28分
 Loading...