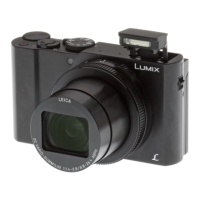
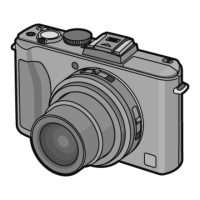
Recording pictures (advanced)
72
VQT0S19
n Setting the White Balance manually
(White set p)
Use this mode when you want to set the
white balance manually.
1 Set to [p] (White Set) and then
press q.
2 Select [:] (White set 1) or [;]
(White set 2) and then press q.
3 Aim the camera at a sheet of white paper
or a similar white object so that the frame
on the center of the screen turns white
and then press q.
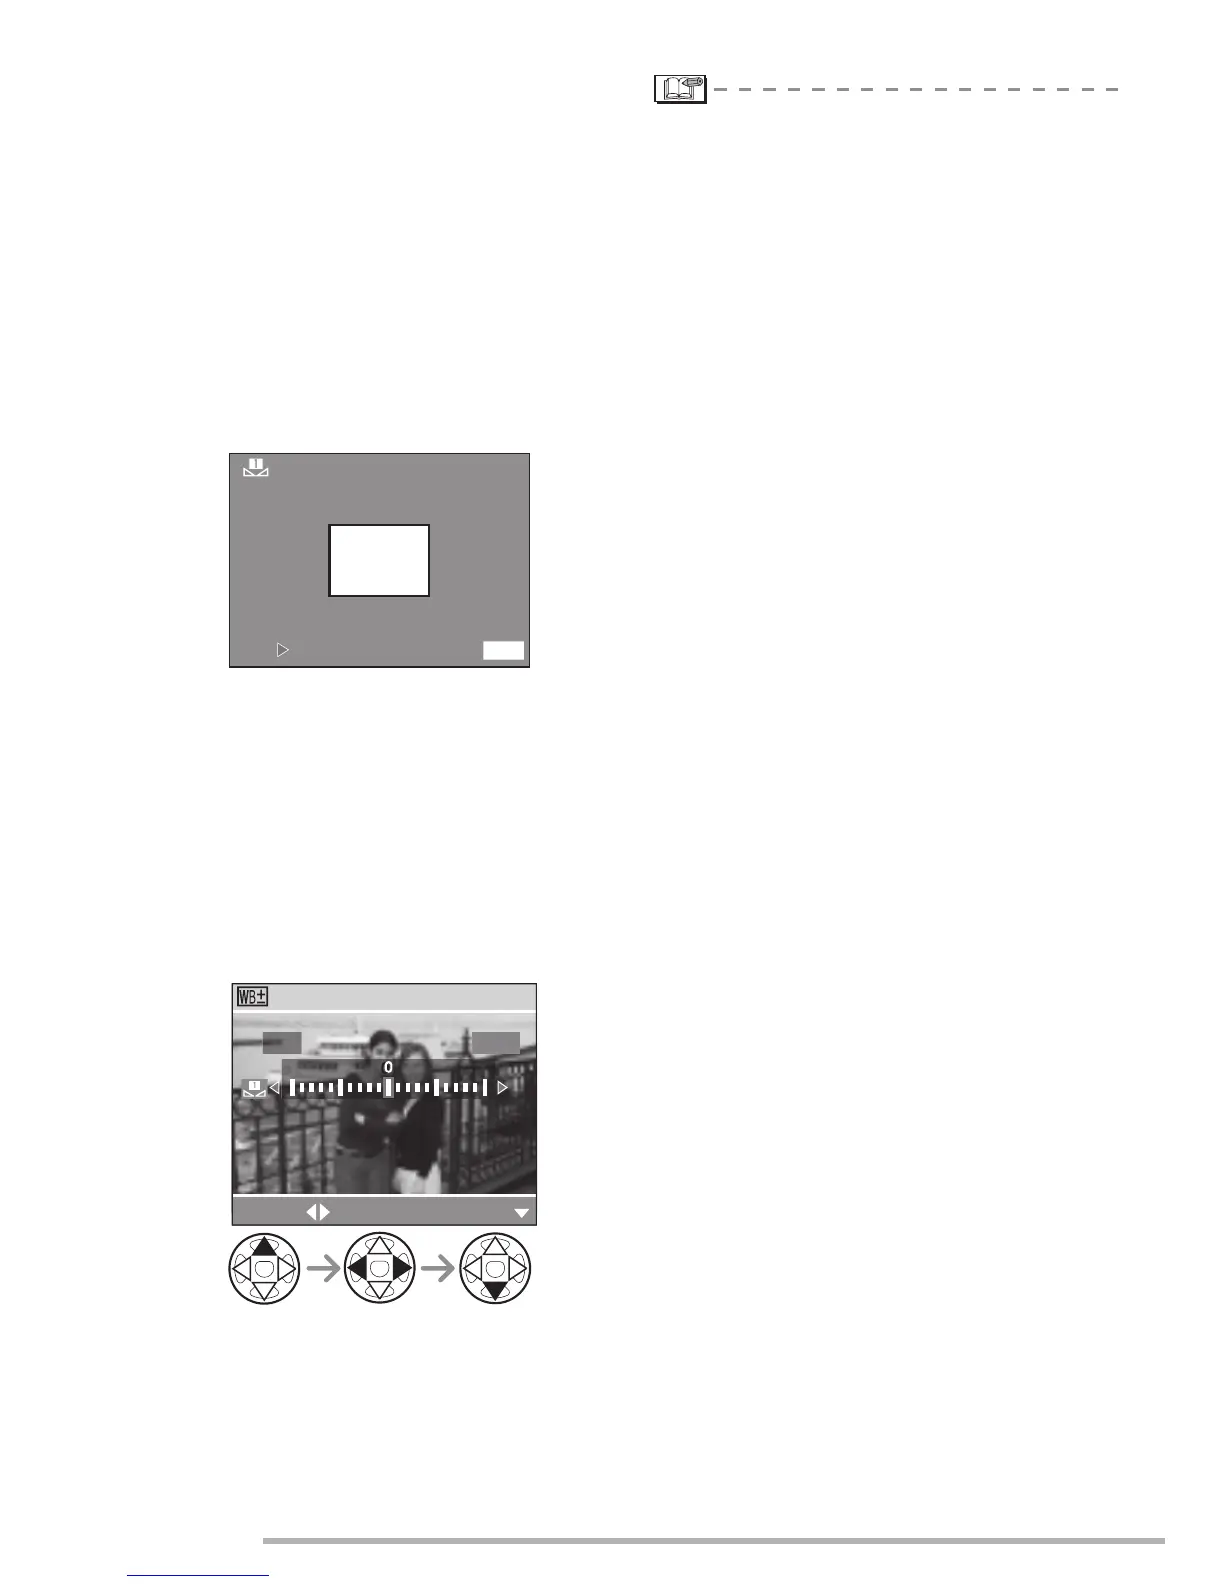
n Finely Adjusting the White Balance
(White Balance Fine Adjustment L)
When you cannot acquire the desired hue
by setting the white balance, you can adjust
the white balance finely.
1 Set the white balance to [k]/[l]/
[m]/[:]/[;]. (P71)
2 Press e several times until [L WB
ADJUST.] appears.
3 Finely adjust the white balance.
• q [BLUE]: Press when the hue is
reddish.
• w [RED]: Press when the hue is
bluish.
About the white balance
•
This is fixed to [AUTO] in Auto mode [
0
].
• When taking a picture with the flash, the
white balance will be automatically
adjusted [except for [k] (Daylight)], but
the white balance may not be properly
adjusted if the photo flash is insufficient.
About the white balance fine adjustment
• The white balance icon on the screen
turns red or blue if you have performed
white balance fine adjustment.
• You can set the value independently for
each of the modes in white balance.
• The setting on the fine adjustment of the
white balance is reflected to the picture
when taking a picture with the flash.
• If you change the white balance setting for
set mode [p], the white balance fine
adjustment values for [:] and [;]
return to “0”.
• When the color effect is set to any of
[COOL], [WARM], [B/W] or [SEPIA] (P78),
you cannot finely adjust the white
balance.
About the white set
• After starting white set, do not move the
camera or the subject until you return to
the menu.
SET CANCEL
WHITE SET
MENU
WB ADJUST.
BLUE
RED
SELECT EXIT
 Loading...