Before Use
-18-
[CARD FORMAT]
Formatting a Card
-39-
3) [DISPLAY]
Display Setup Sub-Menu
[SCREEN]
Screen Setting
-39-
[DISPLAY]
Display Mode
-47-
[DATE/TIME]
Date and Time Indication
-47-
4) [LCD/EVF]
Adjusting Brightness and Colour Level
[LCD/EVF SET]
LCD and Viewfinder Adjustment
-14-
[EVF ON/AUTO]
Using the Viewfinder
-13-
5) [INITIAL]
Initial Setup Sub-Menu
[AV JACK]
AV Socket
-58-
[REMOTE]
Remote Controller Mode
-9-
Setting Date and Time
Since the internal clock of the Movie Camera has
a slight imprecision, make sure to check the time
before recording.
1 Set [INITIAL] >> [CLOCK SET] >> [YES].
2 Press the [;/∫] Button to select [YEAR],
[MONTH], [DAY], [HOUR] or [MIN.] and
press the [6/5] Button to set it to the
desired value.
≥Year will cycle in the order shown below.
2000, 2001, ..., 2089, 2000, ...
3 Press the [MENU] Button (18) to finish
setting the date and time.
≥The clock operation starts from [00] second.
≥If the built-in battery is weak, the [0] Indication
flashes. In this case, charge the built-in battery.
≥The clock uses the 24-hour system.
MENU
STILL
ENTER
FADE
is
(18)
CLOCK SET
;/∫:SELECT &/%:SETUP
!/MENU:EXIT
1YEAR 2004
MONTH 10
DAY 8
HOUR 14
MIN. 30
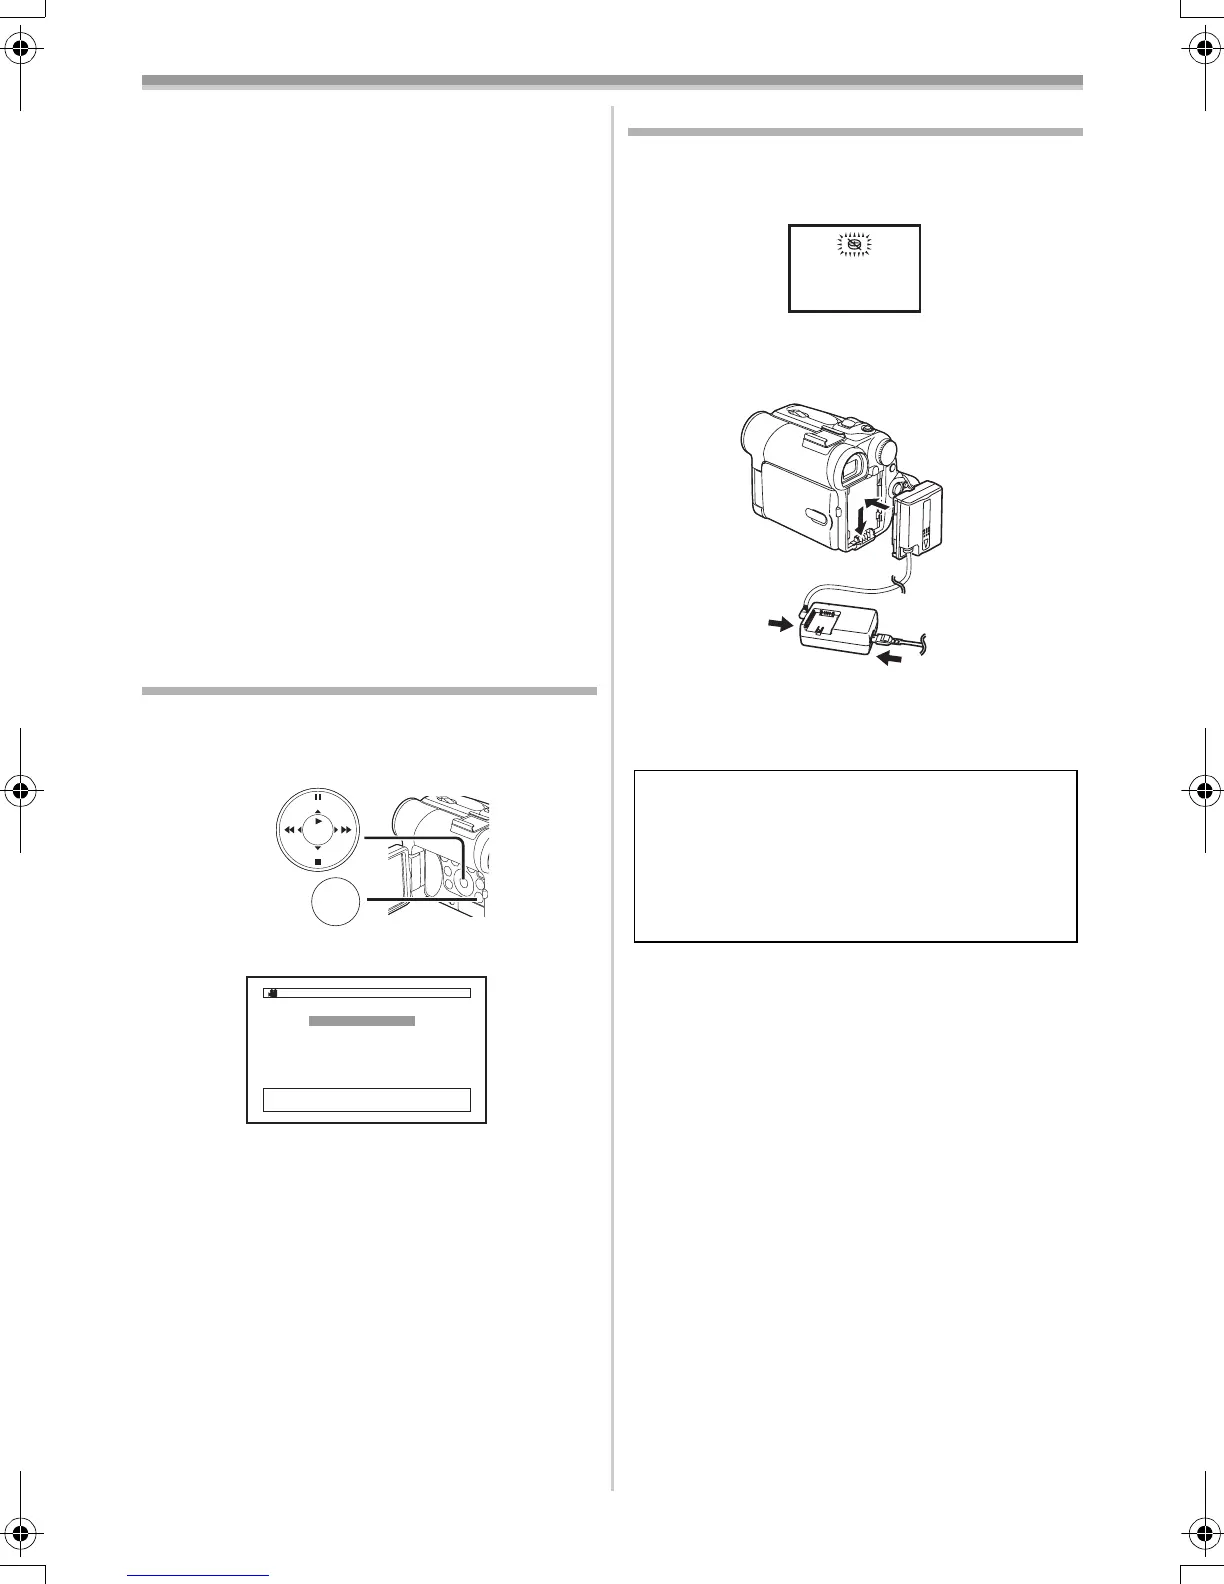
Internal Lithium Battery Recharge
The internal lithium battery sustains the operation
of the clock. When the [0] Indication flashes,
the internal lithium battery is near exhaustion.
1 Connect the AC Adaptor to the Movie
Camera with the power turned off and then
connect to the AC Mains socket.
≥After charging for 4 hours, the built-in lithium
battery can power the clock for approximately
3 months.
WARNING
THE LITHIUM BATTERY IN THIS
EQUIPMENT MUST ONLY BE REPLACED
BY QUALIFIED PERSONNEL. WHEN
NECESSARY, CONTACT YOUR LOCAL
PANASONIC SUPPLIER.
55B-ENG.book 18 ページ 2004年2月4日 水曜日 午前11時54分