Operation Notes
1-A_| i[_T_lI] I i1_0_]'_ [.] iP.I I ;11[(_] t-tl ile J l[=.]il-"[_-'ll
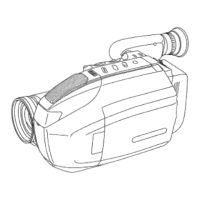
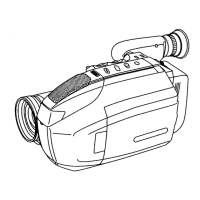
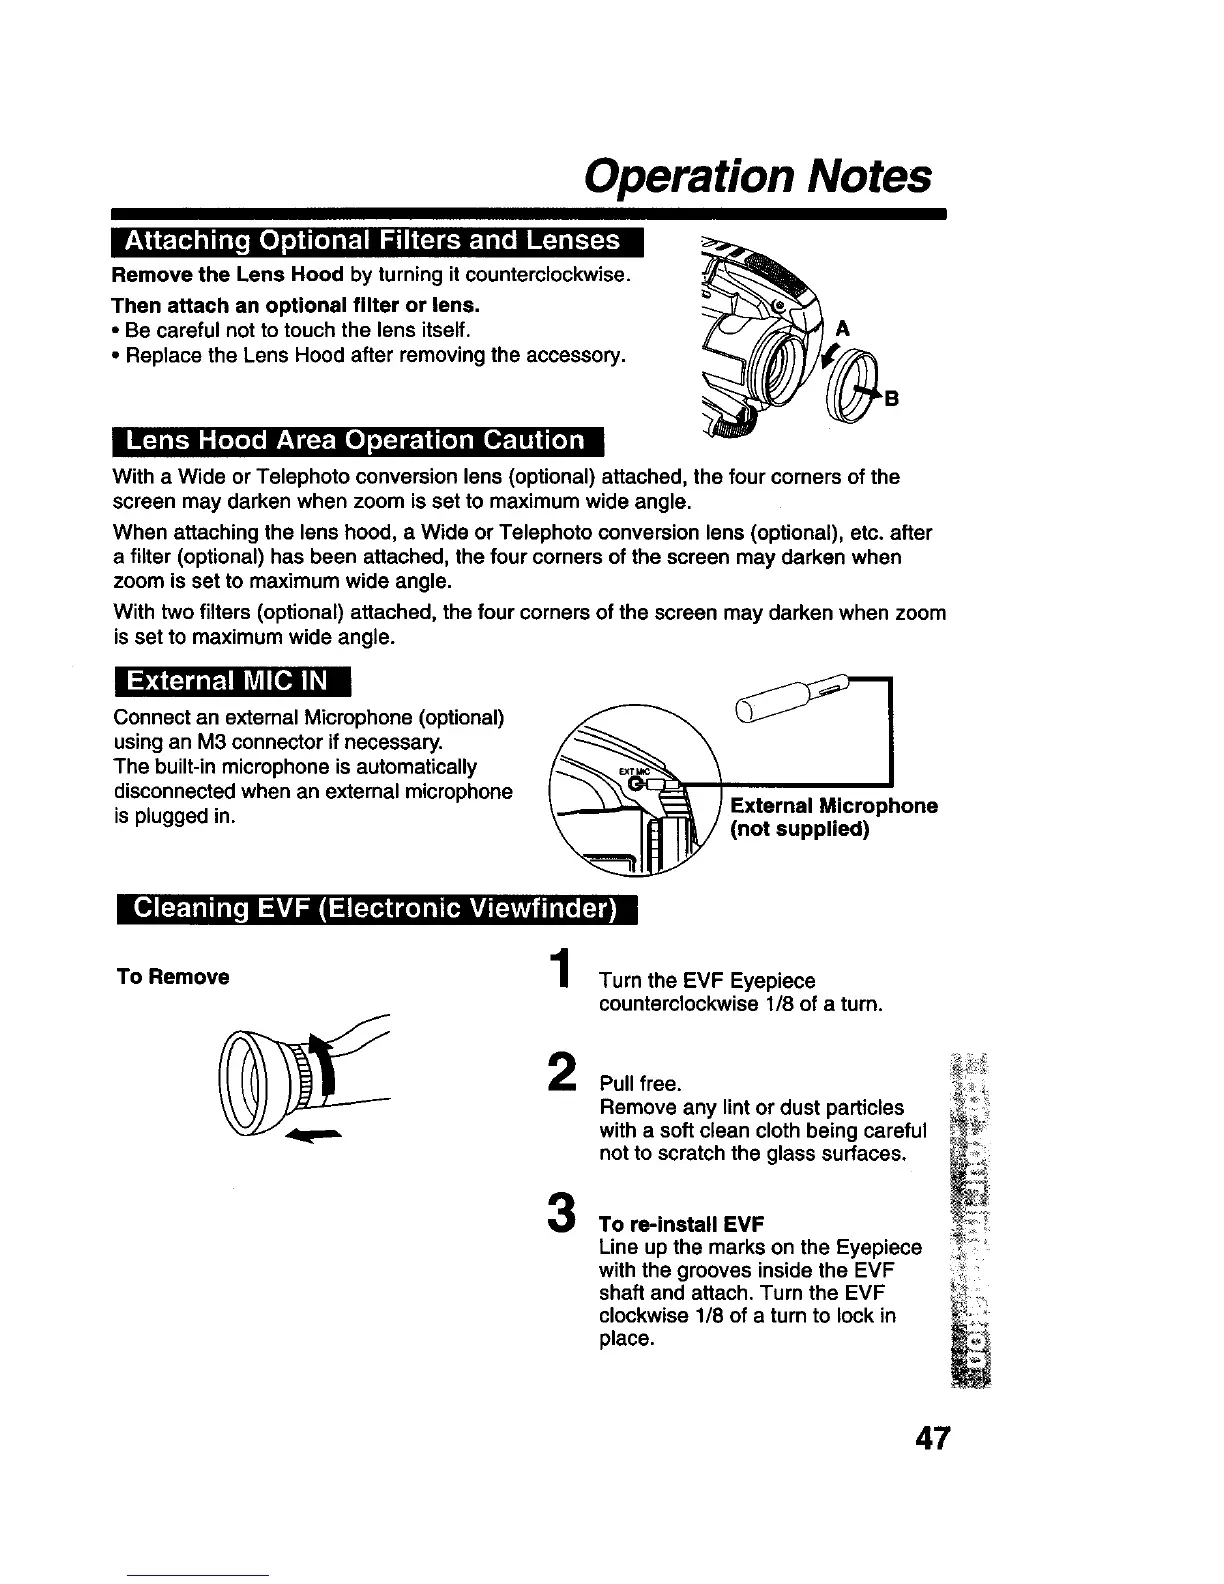
Remove the Lens Hood by turning it counterclockwise.
Then attach an optional filter or lens,
• Be careful not to touch the lens itself.
• Replace the Lens Hood after removing the accessory.
A
"1 i OII A - f 01". I I G I I
With a Wide or Telephoto conversion lens (optional) attached, the four corners of the
screen may darken when zoom is set to maximum wide angle.
When attaching the lens hood, a Wide or Telephoto conversion lens (optional), etc. after
a filter (optional) has been attached, the four corners of the screen may darken when
zoom is set to maximum wide angle.
With two filters (optional) attached, the four corners of the screen may darken when zoom
is set to maximum wide angle.
I =_ (:_iieJ I_VJl[i.] ll_i
Connect an external Microphone (optional)
using an M3 connector if necessary.
The built-in microphone is automatically
disconnected when an external microphone
is plugged in.
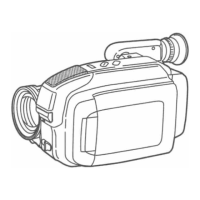
I[S] [:_.I i nii[, i ¢kv|_li €i [_,.] qdo]ii Fo.Evi[_v_vli_ [_ nm
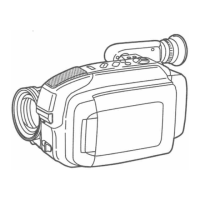
To Remove Turn the EVF Eyepiece
counterclockwise 1/8 of a turn.
2
Pull free.
Remove any lint or dust particles
with a soft clean cloth being careful
not to scratch the glass surfaces.
3
To re-install EVF
Line up the marks on the Eyepiece
with the grooves inside the EVF
shaft and attach. Turn the EVF
clockwise 1/8 of a turn to lock in
place.
47