[BRIGHTNESS]
You can adjust the dark (black) part of the projected image.
1) Press as to select [BRIGHTNESS].
2) Press qw or the <ENTER> button.
f The [BRIGHTNESS] individual adjustment screen is displayed.
3) Press qw to adjust the level.
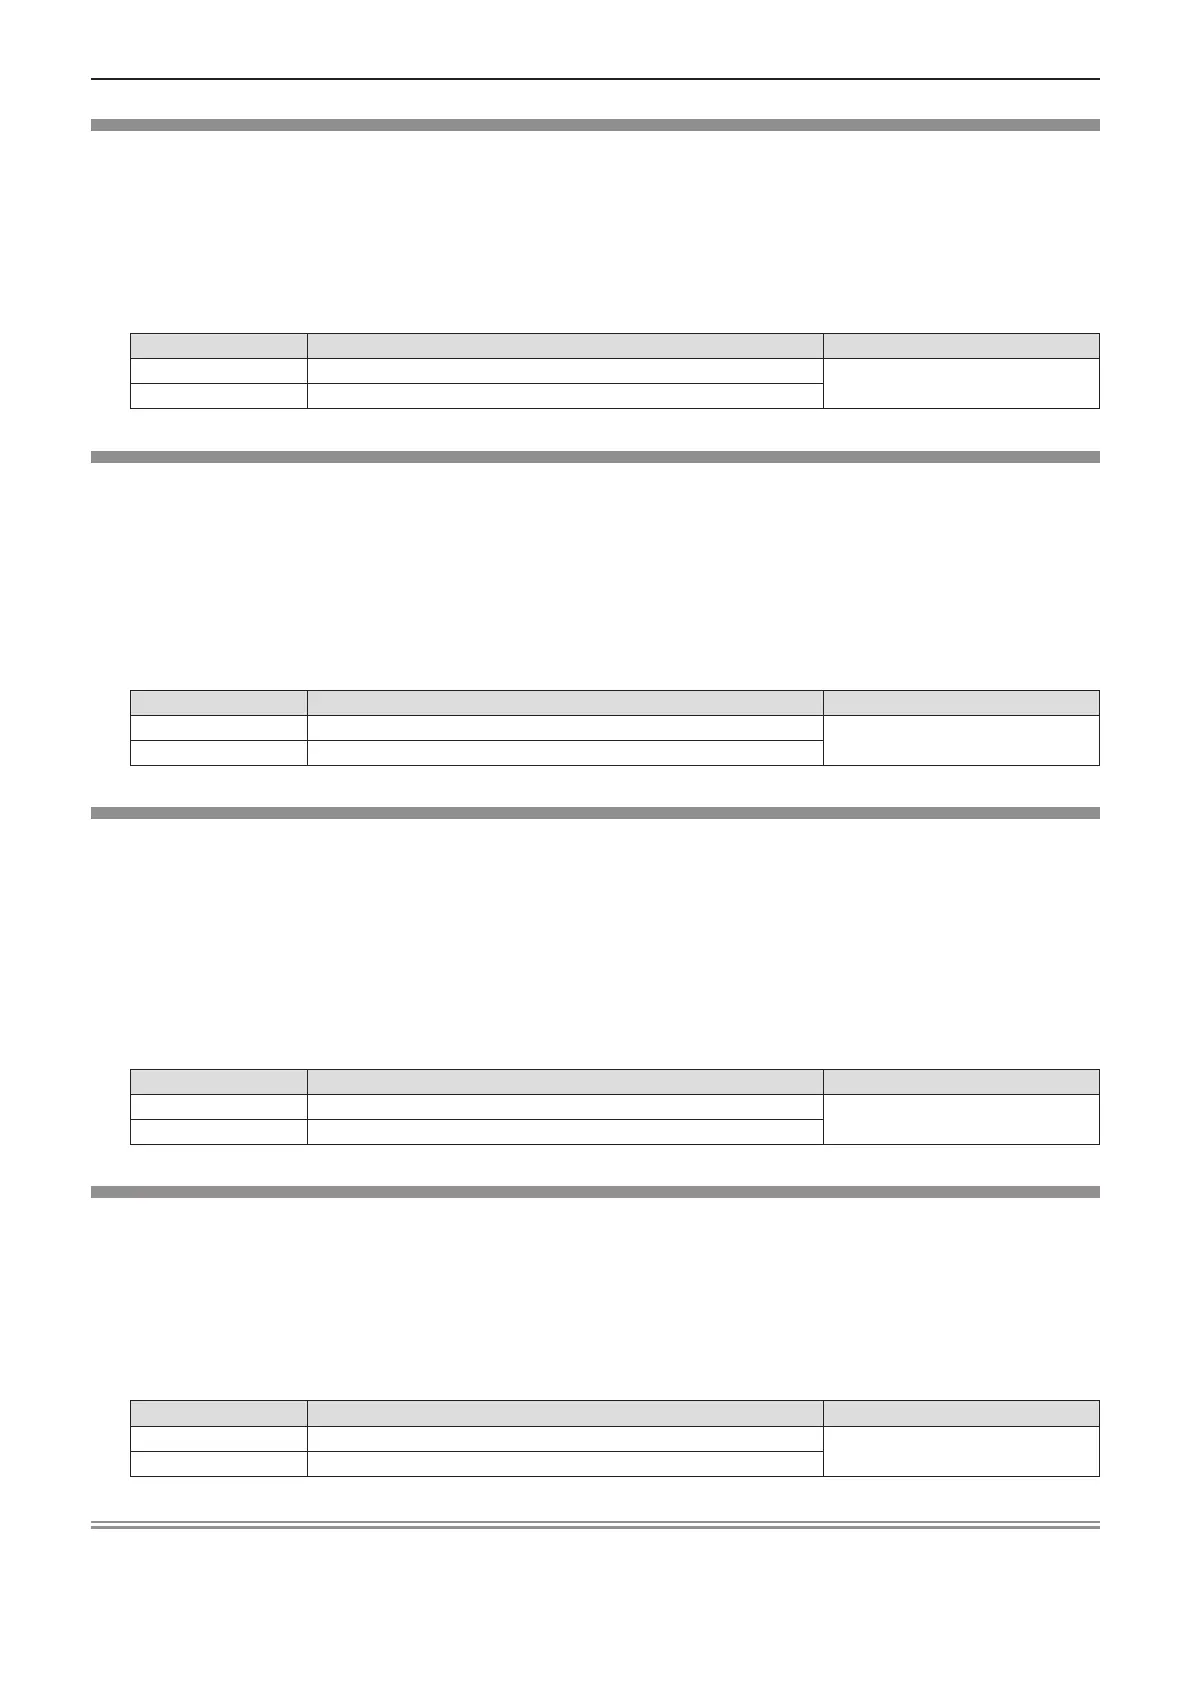
Operation Adjustment Adjustment range
Press the ► button. Increases the brightness of the dark (black) parts of the screen.
-32 ~ +32
Press the ◄ button. Reduces the brightness of the dark (black) parts of the screen.
[COLOR]
(Only for movie-based signal input)
You can adjust the color saturation of the projected image.
1) Press as to select [COLOR].
2) Press qw or the <ENTER> button.
f The [COLOR] individual adjustment screen is displayed.
3) Press qw to adjust the level.
Operation Adjustment Adjustment range
Press the ► button. Deepens colors.
-32 ~ +32
Press the ◄ button. Weakens colors.
[TINT]
(Only for NTSC/NTSC4.43 signal, when inputting movie-based signal to the <S-VIDEO IN> terminal or the <VIDEO IN>
terminal.)
You can adjust the skin tone in the projected image.
1) Press as to select [TINT].
2) Press qw or the <ENTER> button.
f The [TINT] individual adjustment screen is displayed.
3) Press qw to adjust the level.
Operation Adjustment Adjustment range
Press the ► button. Adjusts skin tone toward greenish color.
-32 ~ +32
Press the ◄ button. Adjusts skin tone toward reddish purple.
[SHARPNESS]
You can adjust the sharpness of the projected image.
1) Press as to select [SHARPNESS].
2) Press qw or the <ENTER> button.
f The [SHARPNESS] individual adjustment screen is displayed.
3) Press qw to adjust the level.
Operation Adjustment Adjustment range
Press the ► button. Contours become sharper.
0 ~ +15
Press the ◄ button. Contours become softer.
Note
f [SHARPNESS] will be invalid when [DAYLIGHT VIEW] is set to [AUTO] or [ON].
52 - ENGLISH
Chapter 4 Settings - [PICTURE] menu

 Loading...