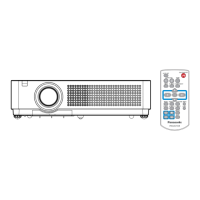
Connecting with Wired LAN
Example of a normal network connection
Computer
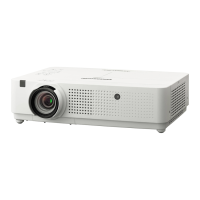
Projector
LAN cable (straight) LAN cable (straight)
Hub
Attention
f When a LAN cable is directly connected to the projector, the network connection must be made indoors.
Note
f A LAN cable is required to use the wired LAN function.
f Use shielded LAN cable (STP cable) that is compatible with category 5 or above.
f Use a LAN cable with length of 100 m or shorter.
Projector settings
1) Use the LAN cable (Straight) to connect the projector with computer.
2) Turn on the projector.
3) Press the <MENU> button to display the [NETWORK/USB] menu, and then select [WIRED LAN], and
press the <ENTER> button.
4) Set the detailed setup of [WIRED LAN].
f For details,please refer to “WIRED LAN” (x page 88).
Note
f Please conrm with your network administrator before you connect to an existing network.
f The following settings are set before the projector leaves the factory.
[DHCP] OFF
[IP ADDRESS] 192.168.10.100
[SUBNET MASK] 255.255.255.0
[DEFAULT GATEWAY] 192.168.10.1
[DNS1]/[DNS2] NONE
Computer settings
Connection can be made with wired LAN. However, conrm to your system administrator on network settings before chang-
ing any settings.
1) Turn on the computer.
2) Make the network setting according to your system administrator.
f If the projector settings are the default settings, the computer can be used with the following network settings.
[IP ADDRESS] 192.168.10.101
[SUBNET MASK] 255.255.255.0
[DEFAULT GATEWAY] 192.168.10.1
ENGLISH - 97
Chapter 4 Settings - [NETWORK/USB] menuChapter 4 Settings - [NETWORK/USB] menu
 Loading...


