RQTX0151
12
Shelf assembly
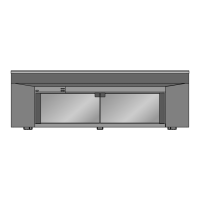
Installing and assembling the rack
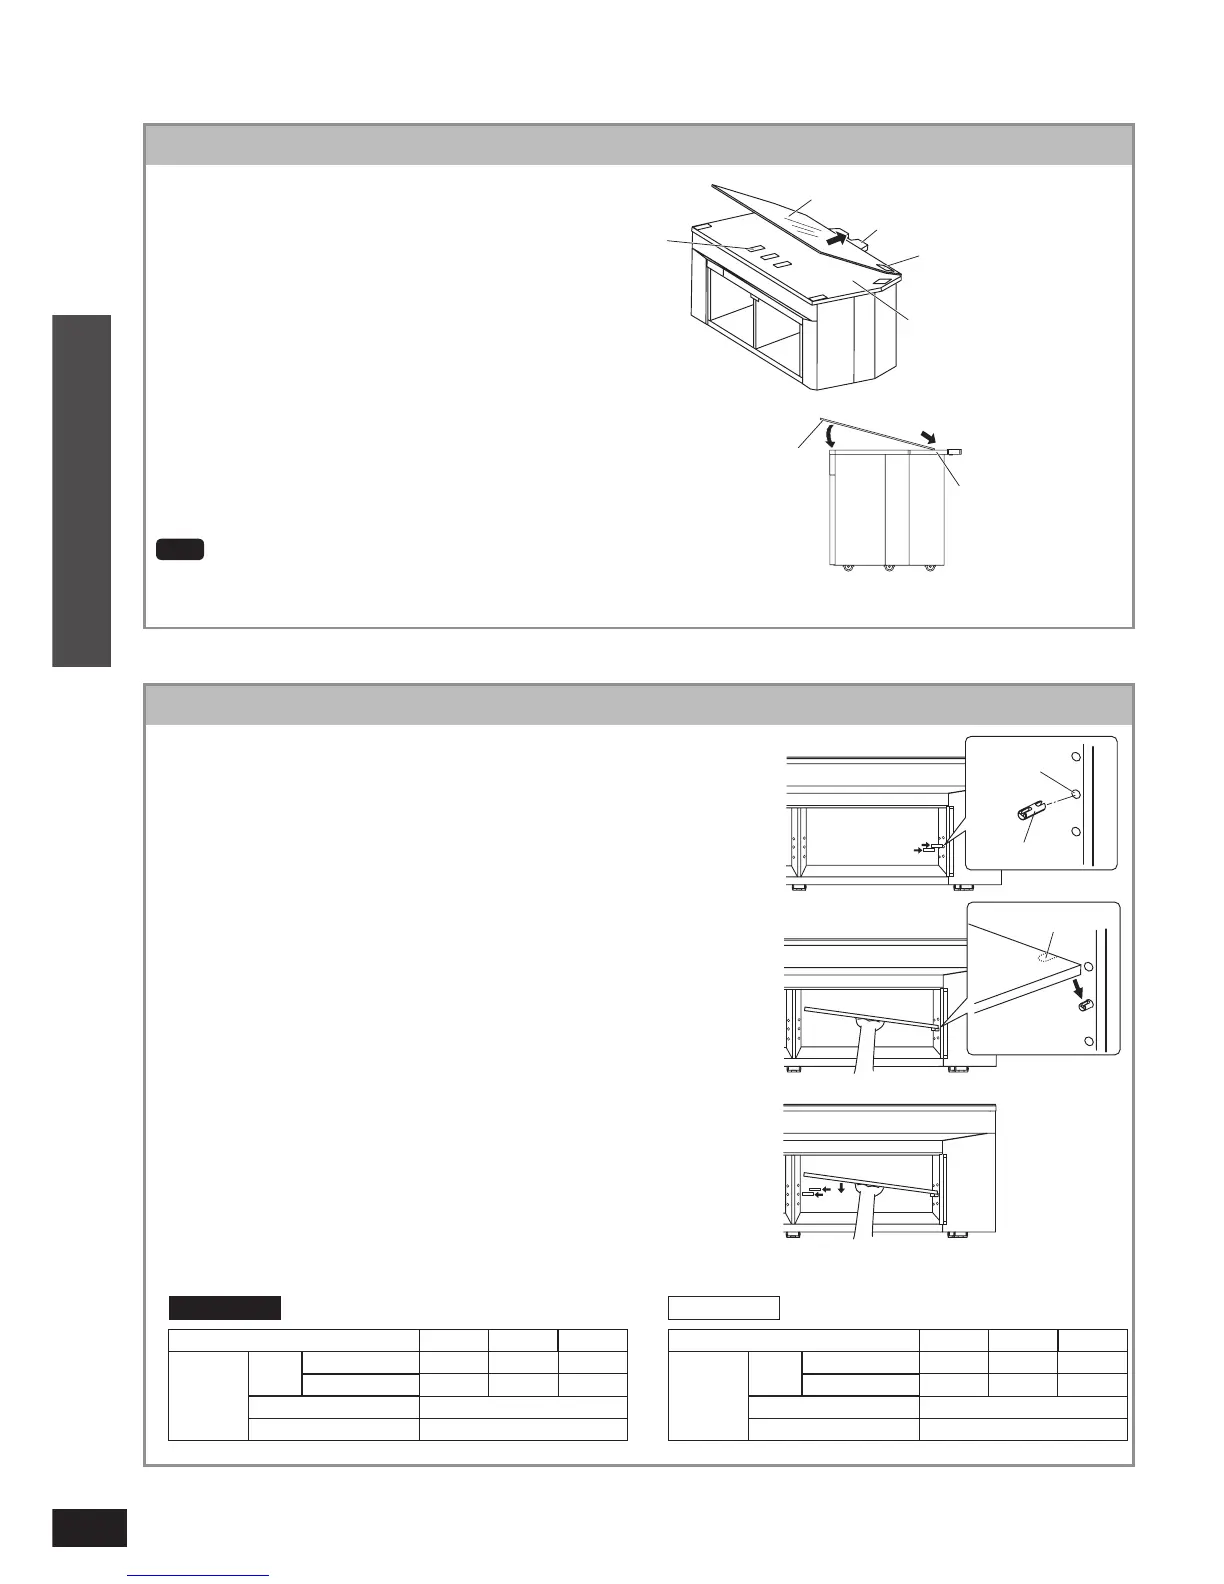
Glass top panel assembly
(Side view)
Adjust the glass top panel (included)
to protrusion.
The glass top panel has the front side and back
side. Face up the front side with the sticker.
The nonslip sheet has been put on the top panel of
the rack. Do not remove the sheet when installing
the glass top panel.
•
•
Put it down slowly adjusting to the
top panel of the rack.
Note
Lift up and down slowly not to make an impact on the glass.
1
2
Nonslip
sheet
Glass top panel
Protrusion
Sticker
Top panel of the rack
Glass top panel
Top panel of the rack
Insert the moulded dowel (included) into
the dowel hole on one side.
Insert the shelf (included) with a slope
and set it adjusting the shelf groove to the
moulded dowel.
Hold the shelf, insert the moulded dowel
into the dowel hole on the other side. Set
the shelf horizontally.
The height of the shelf can be adjusted at 3 different
levels.
Change the position of the dowels to move the shelf up or
down.
Insert the moulded dowel not to lose even when the shelf
is not set.
•
•
•
1
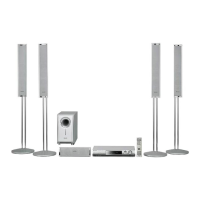
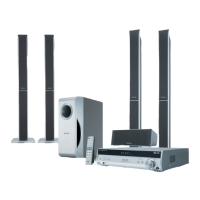
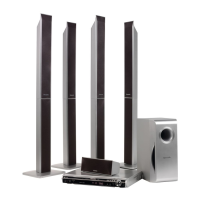
SC-HTR310 SC-HTR210
3
2
Hole
Groove (Under the shelf)
Shelf
UNIT: mm
Dowel position Upper Middle Lower
Compartment
H
Upper shelf 101 131 161
Lower shelf 101 71 41
W 448 (both L and R)
D 354
UNIT: mm
Dowel position Upper Middle Lower
Compartment
H
Upper shelf 98 128 158
Lower shelf 101 71 41
W 700
D 354
Moulded dowel
Connection
Installing and assembling the rack