20
!B>A>)-A9AFB9@J)KI;@:)4F;@4)>@=EP)
You can convert collective wand-scanned JPG files into panoramic photos by using the scanner’s
Stitching (STC) mode and PageManager software. This is especially helpful when scanning an
original wider than 8.5”.
To use the image stitching feature effectively, you should scan your originals with the right edge of the
original aligned against the left edge of the Stitch mark on the front of the scanner.
For best stitching, allow at least a 2” (45mm) overlap of edges on the original when scanning
1. Press to turn the scanner on.
2. To enter Stitching mode, use one of the following methods:
A. Press for 2 seconds.
OR
B. Use the -A9AFB9@J option in the Menu mode:
1) With the “Scan Ready” screen displayed, press to enter Menu mode.
2) Press to scroll to-A9AFB9@J, and then press to select it.
3. With your document on flat smooth surface, press to begin the first scan down the left
side of the image. When completed, the LCD indicates stitch (1) is complete.
4. Press again to stop the scan.
5. Scan the next section of the document to the right of the last scanned section, allowing at
least a 2” overlap over the right side of the last scanned section.
6. Repeat steps 3-5 until the entire document has been scanned (maximum 6 scans).
Be sure you have sufficient overlaps on the edges of the photos, maps, or other originals you want to
stitch, and press before and after each scan.
7. As scans are completed, a series of JPG files are
generated and stored in a folder titled \VV-$..
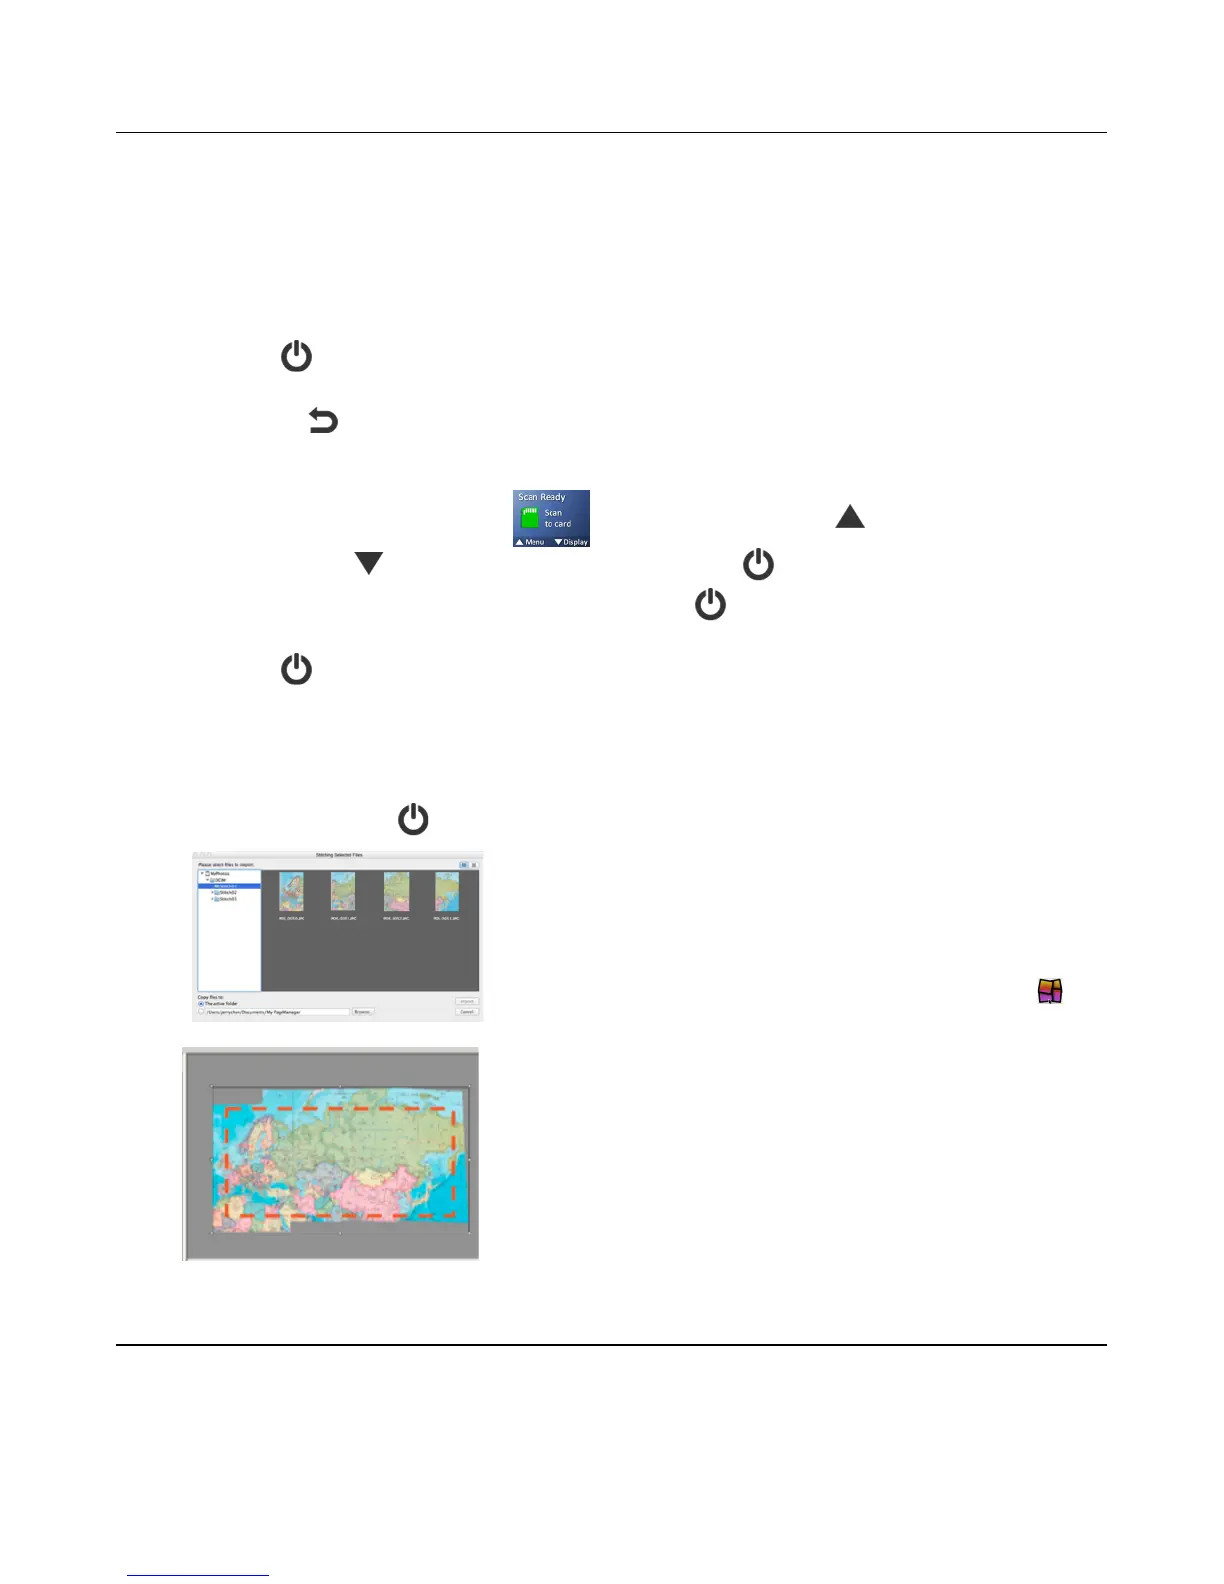
8. Use PageManager Import to import the images
into your computer.
9. Select the files and drag-n-drop to Stitch Icon
located in the application launch bar. PageManager
will process the selected images.
10. Save the new panoramic photo on the
PageManager workspace on your computer.
11. You can repeat same process to generate more
panoramic photos.

 Loading...


